Greek Salad with Sliced Steak

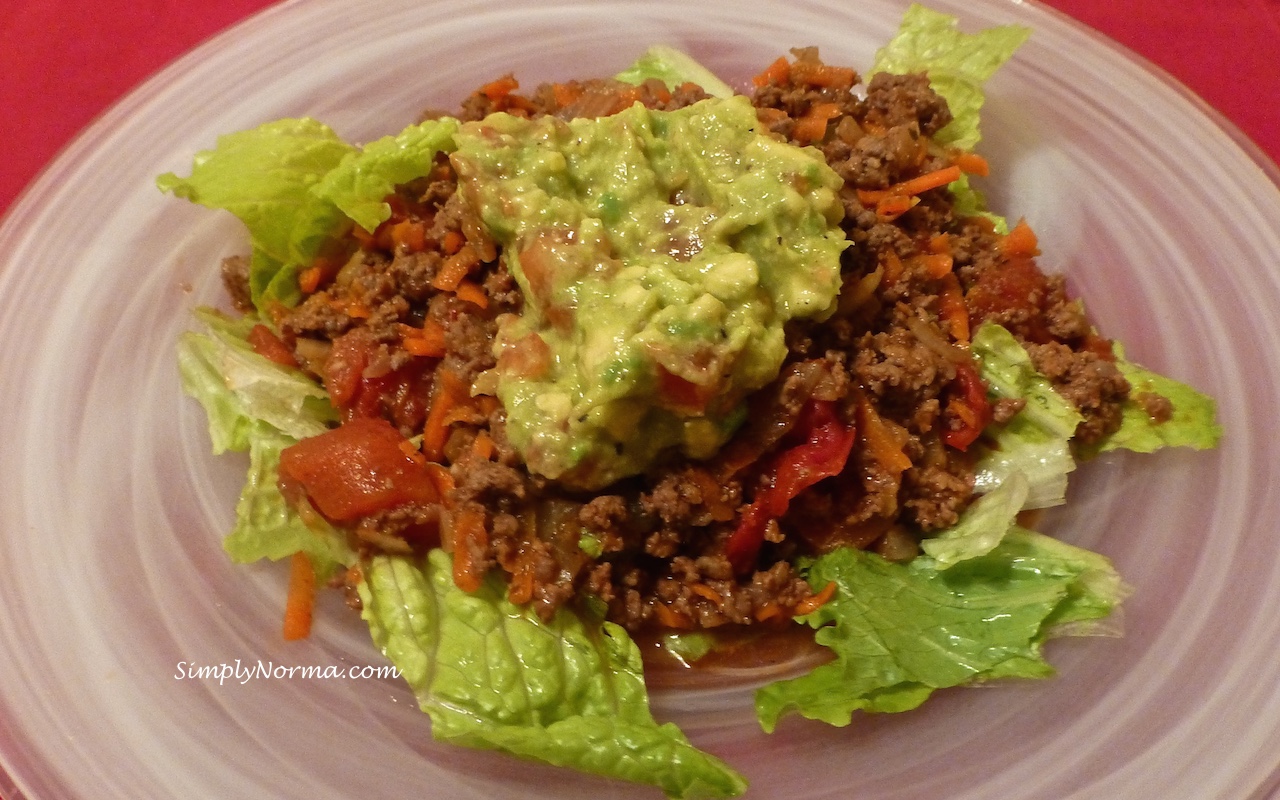
I like recipes that incorporate meat with a salad. It feels ~ well, let me use the word “whole.”

These types of paleo recipes are normally very simple to make and I was glad that I bumped into this one.

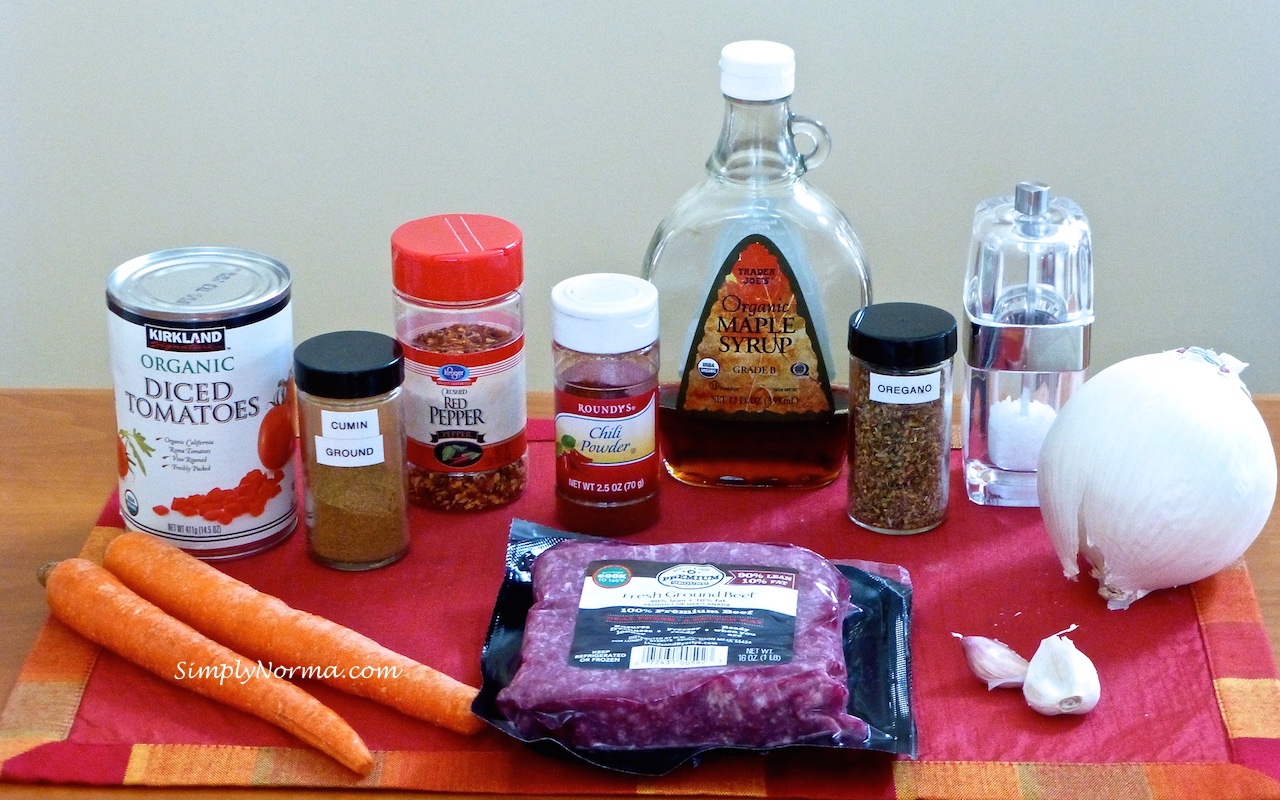
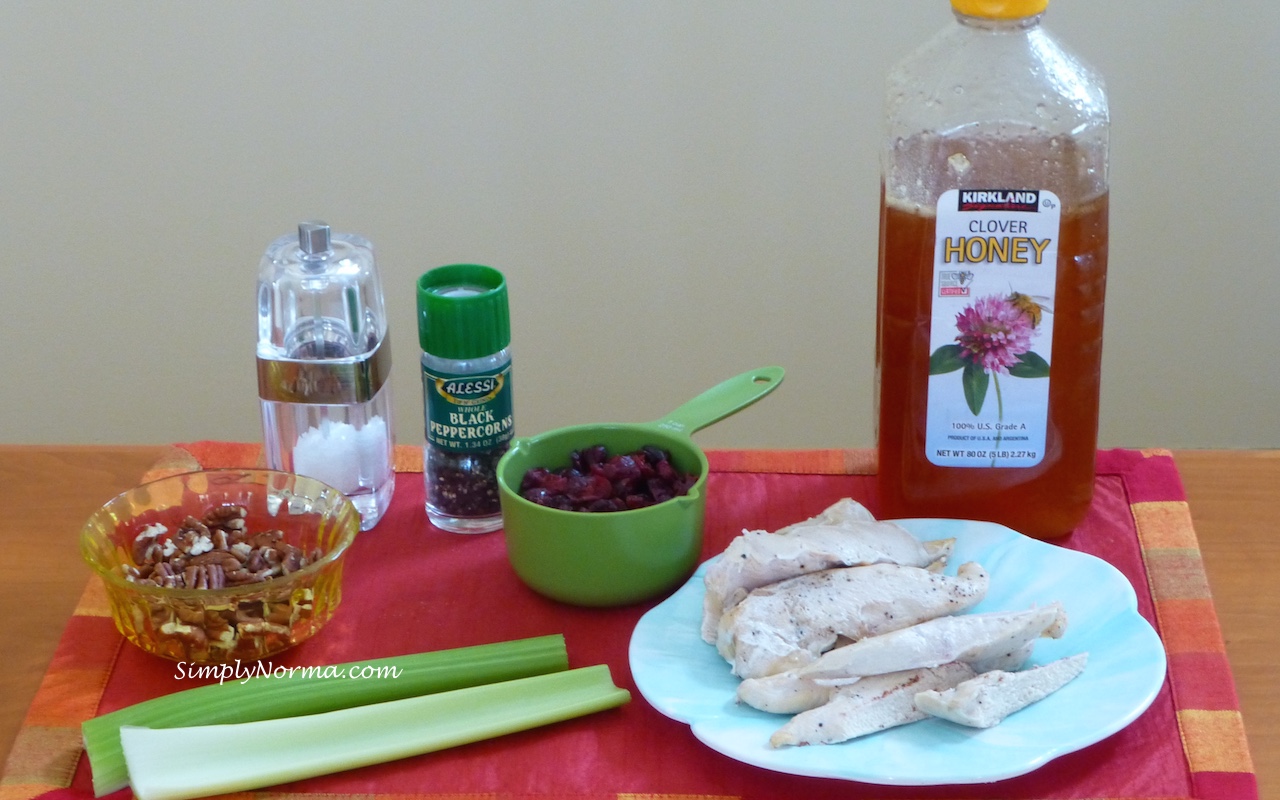
It does seem to have a quite a few ingredients …

Ingredients for Greek Salad with Sliced Steak (1 of 3)
Ingredients for Greek Salad with Sliced Steak (1 of 3) ~ Olive Oil not shown
Ingredients for Greek Salad with Sliced Steak (2 of 3)
Ingredients for Greek Salad with Sliced Steak (3 of 3)

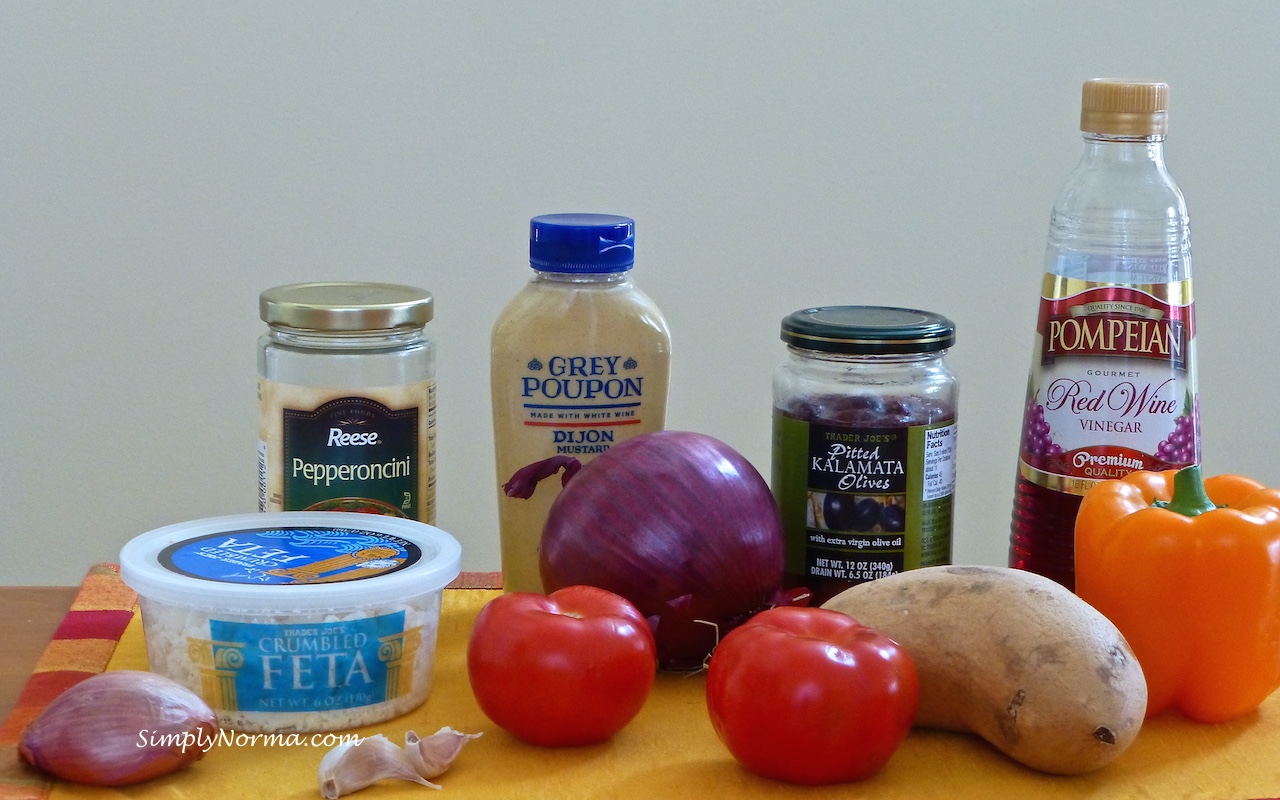
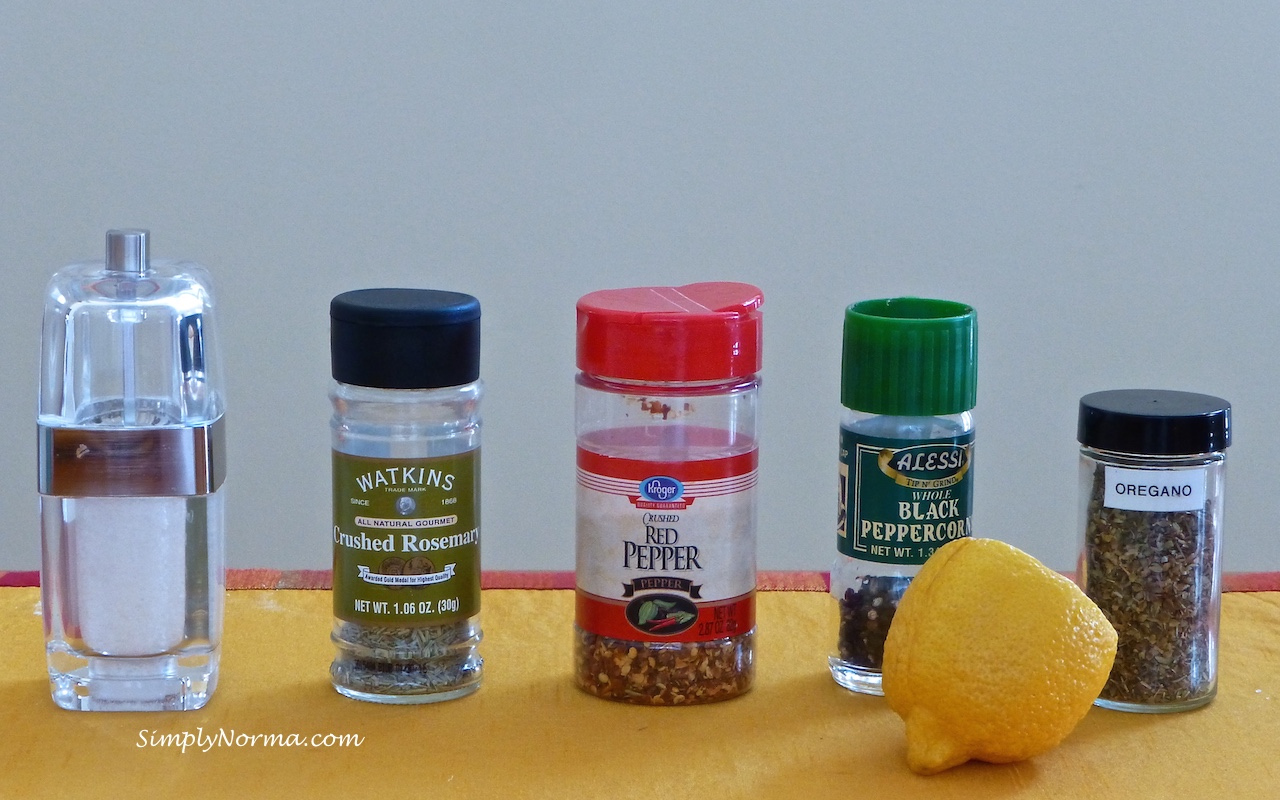
Even with all the ingredients, it still was worth making as I had most of them already in my cupboard.

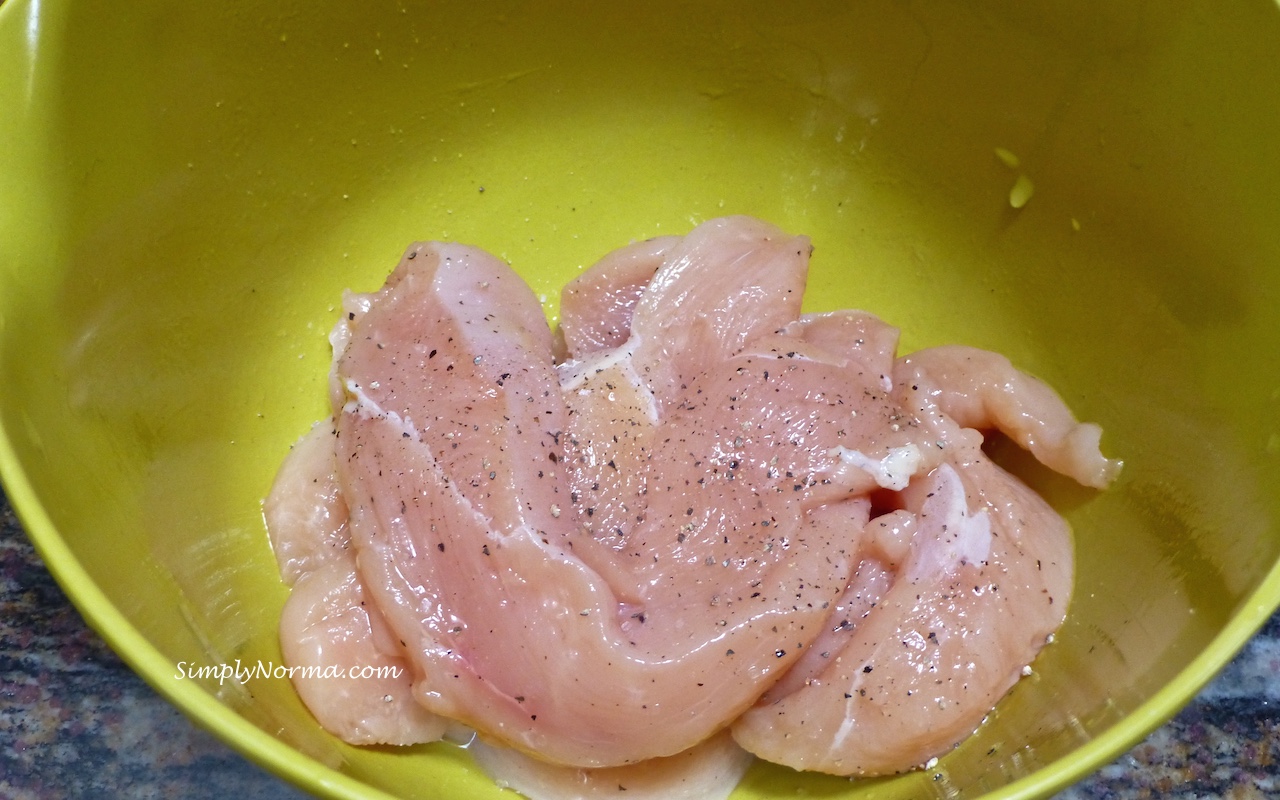
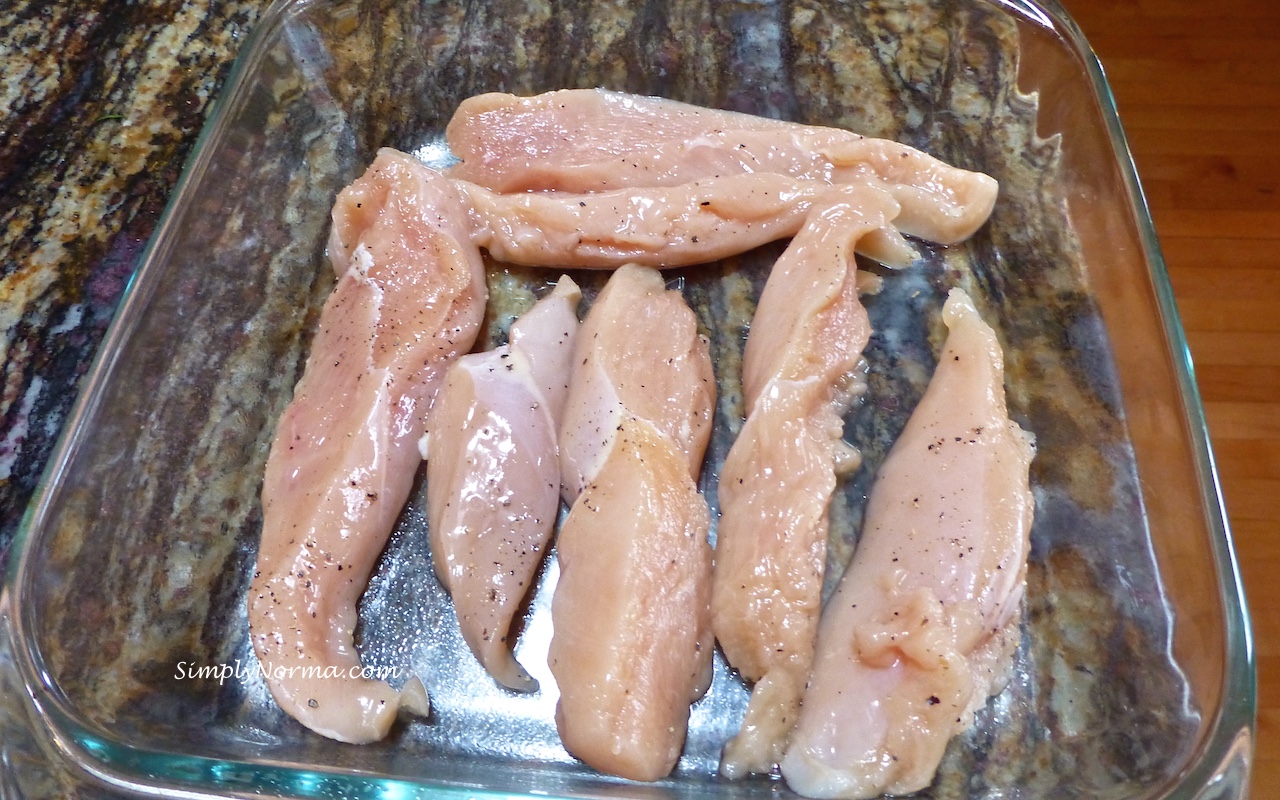
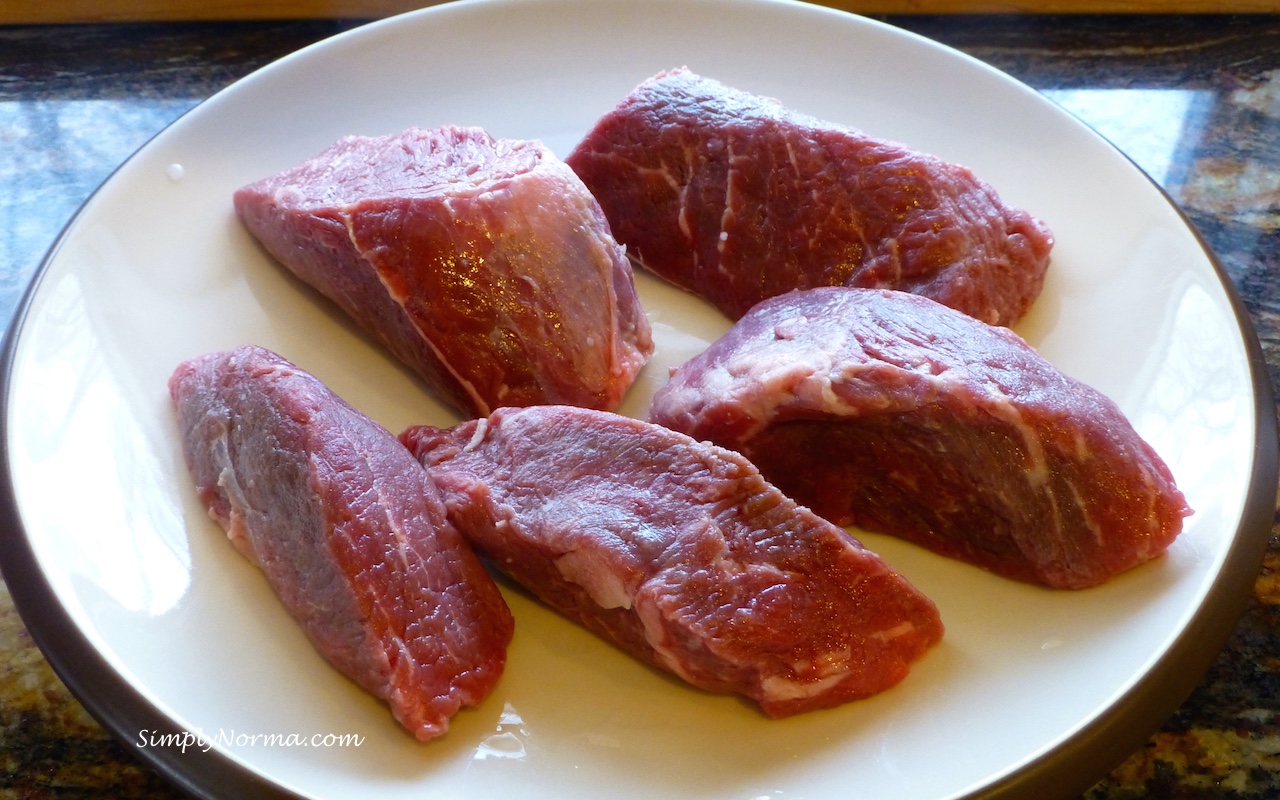
I purchased the steak at Costco, sliced it thin then prepared it for the salad.

Steak
Steak

So ~ let’s take a look at the recipe, shall we?

Ingredients

  • 1 large sweet potato, peeled and cut into 1/2-inch cubes
  • Salt and pepper
  • 1 Bell Pepper (I used an orange one)
  • 1 shallot, diced
  • 2 large cloves garlic, minced
  • 1 lemon, juiced, plus 2 teaspoons zest
  • 2 tablespoons red wine vinegar
  • 1 tablespoon Dijon mustard (I used Grey Poupon)
  • 1 teaspoon dried oregano
  • 1/2 teaspoon red pepper flakes
  • 1/2 cup extra virgin olive oil
  • 12 kalamata olives, finely chopped
  • 1 1/2 pounds sirloin steak, sliced thinly 
  • 1 teaspoon rosemary
  • 1 small red onion, chopped
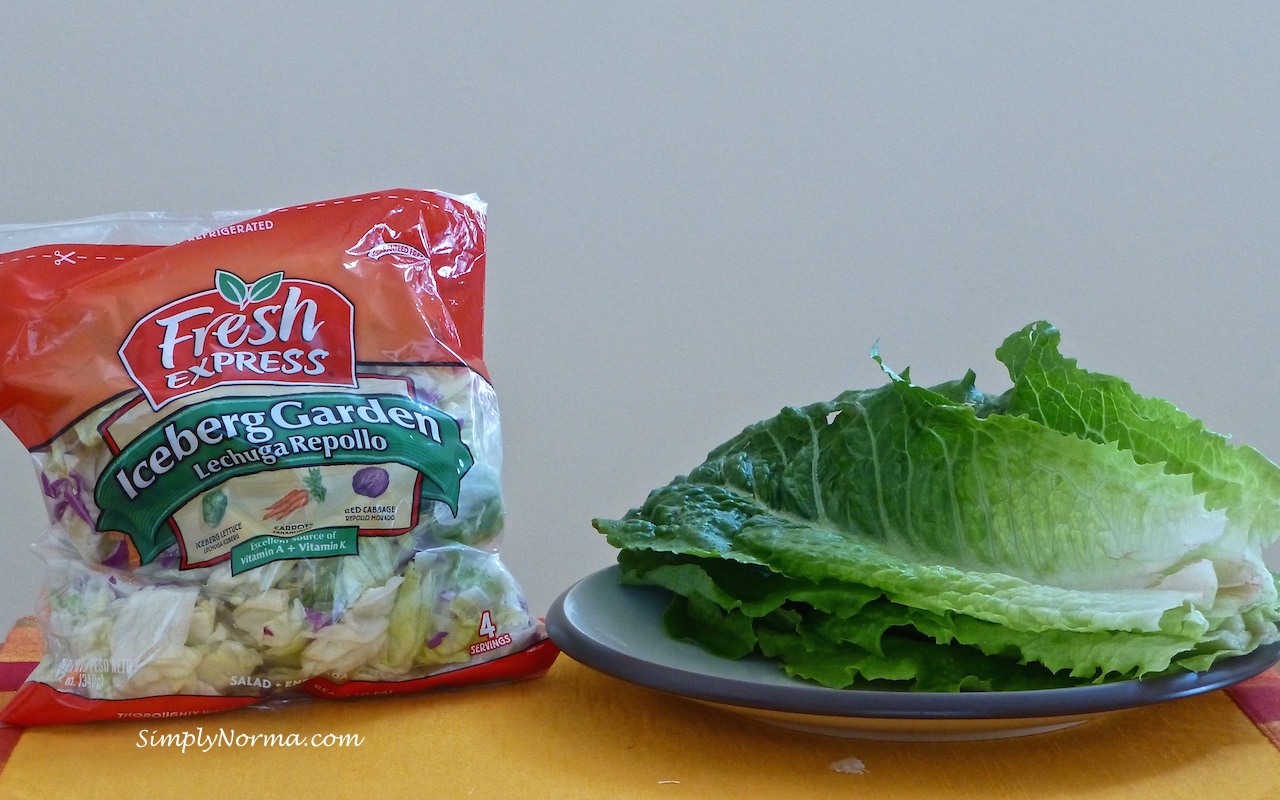
  • 5 cups ~ combination of iceberg lettuce and romaine (or choose your own)
  • 2 medium sized tomatoes – quartered
  • 1 cup feta cheese crumbles
  • Sliced pepperocini, for garnish

Directions

  1. In a saucepan with cold water, add the cut sweet potato (make sure there is enough water to cover the potatoes), bring to a boil, add salt and cook until firm (approximately 4 minutes) then drain.
  2. In a bowl, combine the shallot, garlic, lemon juice, lemon zest, vinegar, mustard, oregano and red pepper flakes.
  3. Whisk in about 1/3 cup olive oil to combine.
  4. Stir in the olives. This is now your dressing.
  5. Pre-heat a skillet over medium-high heat.
  6. Drizzle the meat with olive oil and rub it on the meat.
  7. Season the meat with rosemary, salt and pepper.
  8. Add the meat to the skillet and cook until the meat is cooked through. (Turn it at least once to cook on both sides.)
  9. When the meat is cooked, remove from the skillet and set it aside on a plate to rest for a few minutes then slice it at an angle.
  10. Wipe the skillet clean, turn the heat to medium high and add a little bit of olive oil.
  11. Add the potato cubes to the skillet, season with salt and pepper then cook until the cubes are browned (3 minutes or so).
  12. Flip the potatoes and add the onion and bell pepper then cook for 5 minutes.
  13. Set this aside.
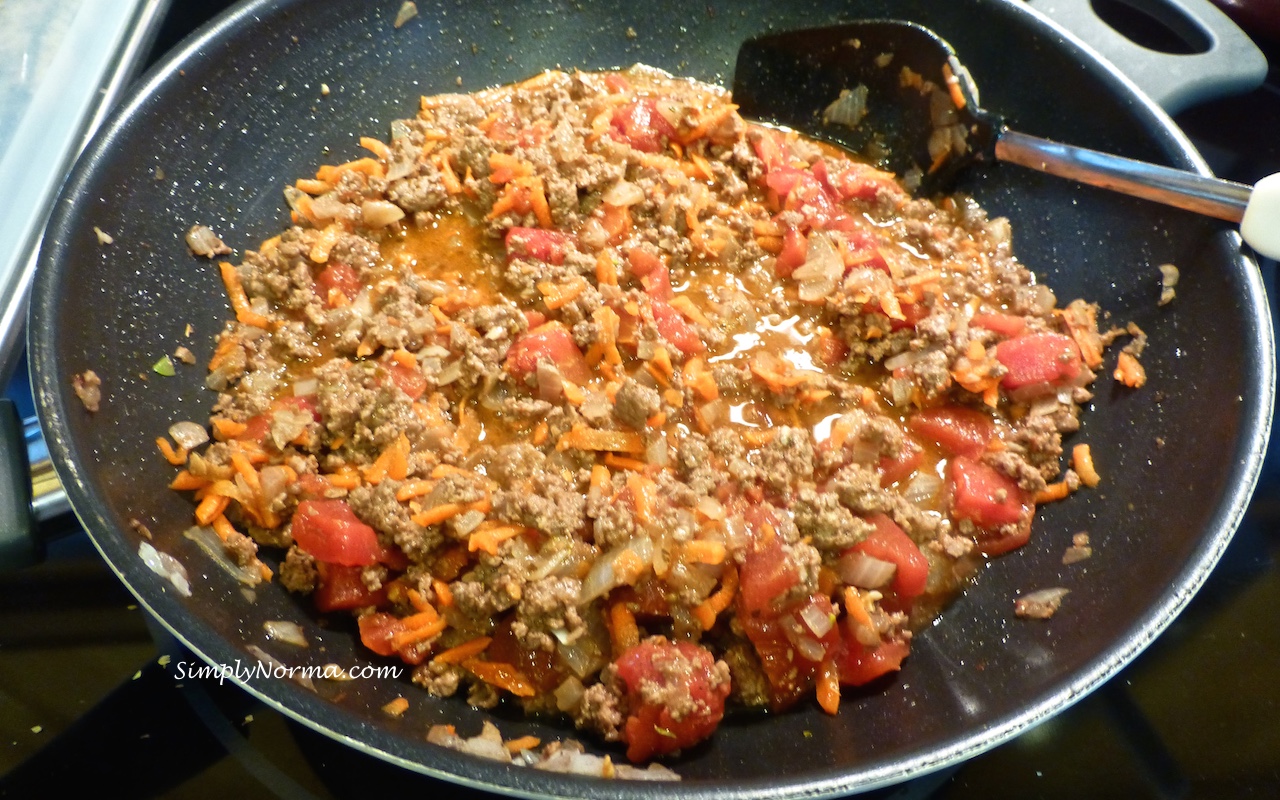
  14. In a large salad bowl, combine the romaine, tomatoes, feta and pepperocini.
  15. Add the contents of the skillet to the salad bowl and combine.
  16. Meanwhile, add the dressing to the skillet and heat for a minute. Slowly, pour part of the dressing over the salad and toss to coat. (Use only as much as you’d like.)
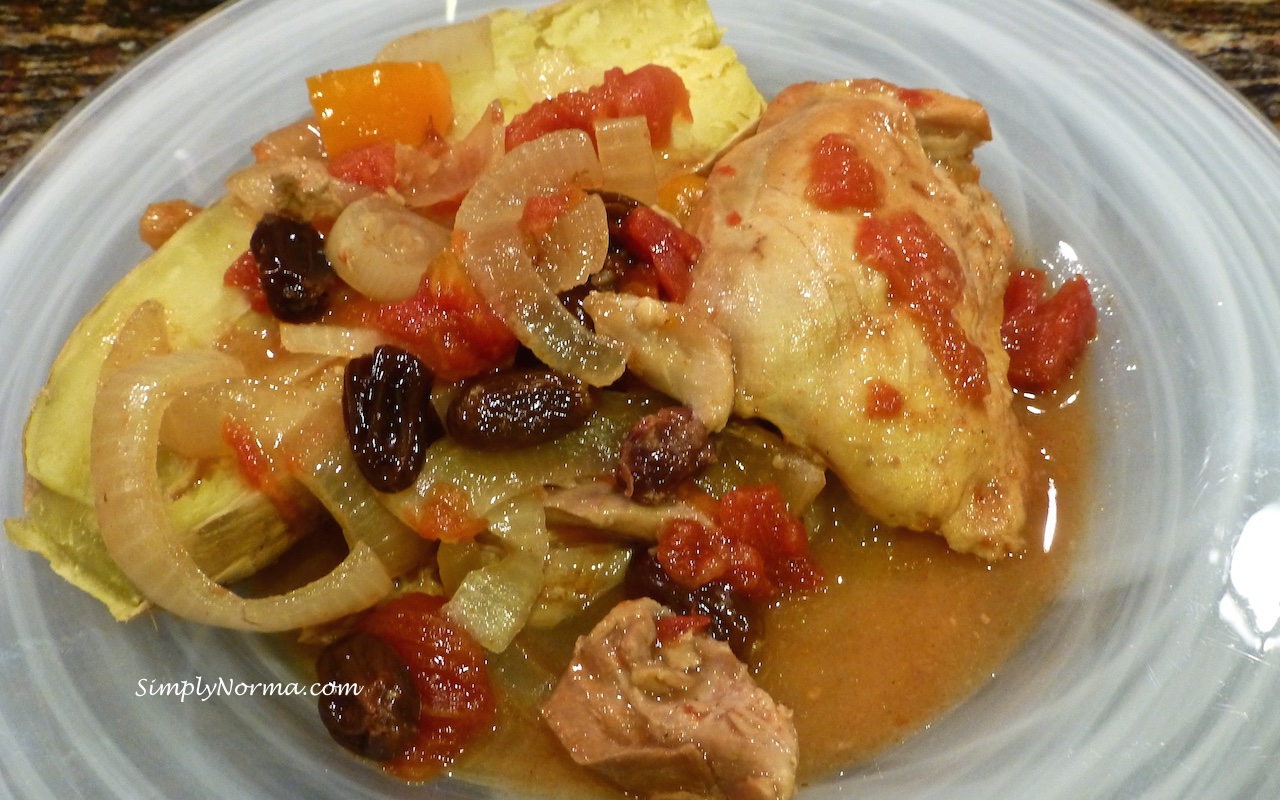
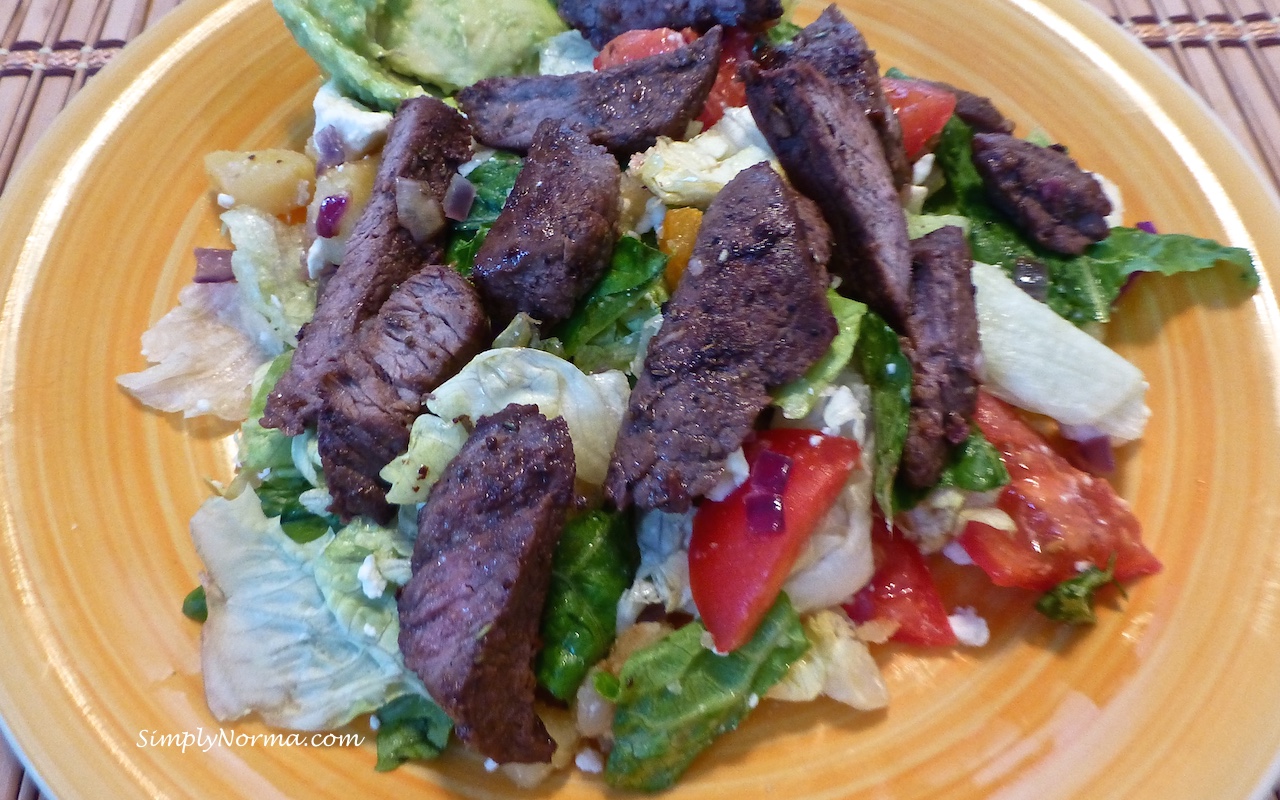
  17. To serve, arrange the salad on plates and top with steak.

Pretty easy, no? I believe this was the first time I used a cooked sweet potato in a “cold” salad.

Greek Salad with Sliced Steak

For additional paleo recipes, click here.

This Paleo Greek Salad with Steak recipe was adapted from one by Rachael Ray.

Paleo Sloppy Joe

Sloppy Joe! Now, who doesn’t like paleo Sloppy Joe? Having it with no bread is no big deal either. It’s quite simple to make and tastes scrumptious!

Take a peek at the main ingredients ~

Ingredients for Paleo Sloppy Joe

After prepping, you’ll be putting everything into a skillet and allowing it to cook through then serving it on a bed of lettuce with, perhaps, guacamole on top. Yum! (I didn’t show the guacamole in the above picture as it was a last minute decision ~ a good one too!)

Cook thoroughly
Cook thoroughly

Let’s take a look at the recipe, shall we?

Ingredients

  • 2 tablespoons olive oil
  • 1/2 cup finely chopped white onion
  • 1 tablespoon minced garlic
  • 1/4 teaspoon salt
  • Dash of red pepper flakes
  • 10 ounces ground sirloin
  • 1/2 cup grated carrot
  • 2 teaspoons chili powder
  • 1 teaspoon cumin
  • 1 tablespoon pure maple syrup
  • 1/2 teaspoon dried oregano
  • 1 cup canned diced tomatoes

Directions

  1. Heat olive oil in a large skillet over medium-high heat.
  2. Add the onion, garlic, salt, red pepper flakes and beef to the skillet.
  3. Cook approximately 5 minutes or until the meat is browned and the vegetables are tender, stirring occasionally.
  4. Add the carrot, chili powder, maple syrup, oregano and cumin then cook 2 minutes, stirring occasionally.
  5. Next, add the diced tomatoes and bring this to a boil.
  6. Reduce heat to medium-low and cook 10 minutes or until it thickens and the carrots are tender. 

That’s it! Your meal is ready. Serve on a bed of lettuce with guacamole.

Paleo Sloppy Joe
Paleo Sloppy Joe

For more paleo recipes, click here.

The Waze App

When we moved to Minnesota, my husband and I didn’t realize how much traveling we would be doing visiting relatives in North Dakota and Illinois.  Whew! We’re surviving but those 4-7 hour mostly weekend trips definitely take a toll.

Not too long ago, my husband told me about an app that he uses called Waze.  It sounded interesting, so I started using it also (when I’m the passenger and he’s the driver).

The app is useful for letting you know when there are traffic hazards, accidents, traffic jams and, dare I say it?, police officers. You know, those speed traps that are out there?

Other “Wazers” post when they come across something that should set off an alert for other drivers. It’s really quite helpful as many times I’ve been alerted that there was a car stopped on the side of the road so I’ve had ample time to pull over.

I consider myself to be a safe driver and don’t go more than 5 (perhaps 6) miles over the speed limit. And, I have passed many a police car going at that speed and have never been stopped. But, occasionally, very occasionally, my speed will be quite pokey considering everyone else who is driving around me. In those times, I’ll move along with traffic. But, if Waze alerts me that there is a police officer ahead, I’ll bring myself down to my “normal” speed.

Quite frankly, it’s hit and miss as to which one of us who are “flowing” with traffic will get pulled over. Will it be the one in front, the middle or the one in the back? Better safe than sorry, no?

This is a snapshot of what I see on my cell phone. The blue arrow was my location on the highway.

The Waze App
The Waze App

Normally the alerts are well in advance of when you get there, say 1-2 miles, but it really depends on when the Wazer in front of you added the alert.

In addition, the app can point you to where the cheapest gas is in the area. Pretty cool, eh?

There have been articles written regarding the police complaining that Waze stalks them but the app doesn’t post pictures or names of officers ~ it only shows where users have posted that the police have been.  Sometimes I get to that spot and there is nothing there and I report that on Waze.

I find it a very useful app. Thoughts from those of you who have used it?

Honey Chicken Salad

This Honey Chicken Salad was deeeeelicious! It was a pleasure to try and only needed a little tweaking to make it paleo.

Have you ever run into a recipe that you know you’ll use over and over again? This is that kind of recipe. Perhaps it’s the addition of honey in the ingredients. All I know is my husband and I both like it and that’s good enough for me.

So ~ here’s what you’ll be needing to start your journey to this wonderful salad ~

First, you’ll need two skinless and boneless chicken breasts ~ season them with a little salt and pepper.

Chicken Breasts
Chicken Breasts

After cleaning the chicken breasts, slice them into even amounts. You’ll be baking the chicken breasts at 350° for approximately 20-30 minutes (every oven is different).

Slice Chicken then Bake

While you have the oven on, toast the pecans for approximately 10 minutes or so.

Toast pecans in oven
Toast Pecans in oven

Now that you’ve got that ready, here are the ingredients you’ll be needing for this recipe ~

Ingredients for Honey Chicken Salad (mayo not shown)

Yes, you will need some paleo Mayonnaise in this recipe.  Try this recipe here that I use over and over again.

Homemade Paleo Mayonnaise

Okay then ~ ready to see the entire recipe?

Ingredients

  • 4 cups chicken, cut into bite size pieces
  • 2 celery ribs, chopped
  • 1/2 cup dried cranberries
  • 1/2 cup pecans, toasted and chopped
  • 1 1/2 cups mayonnaise (more or less, add a little at a time to get the consistency and taste you want)
  • 1/4 cup honey
  • 1/4 teaspoon salt
  • 1/4 teaspoon pepper

Directions

  1. In a medium sized bowl, add the cooked chicken, celery, cranberries and pecans.
  2. In a separate bowl, combine the mayonnaise, honey, salt and pepper.
  3. Add the chicken mixture to the mayonnaise mixture and stir everything together to combine it.
  4. Taste and make sure it’s the right consistency for you along with having the right amount of salt and pepper.

That’s it! I used less honey, celery and cranberries than the original recipe called for ~ call me a rebel!

Paleo Honey Chicken Salad

Total deliciousness!

Note:  I adapted the Honey Chicken Salad from My Recipes to make it paleo (mainly by using paleo mayonnaise).

Enjoy!

For additional paleo recipes, click here.

A Sirius Secret

Want to know a little secret about how not to pay full price for Sirius Radio? It’s true. Never never never pay full price for Sirius Radio ~ at least, it’s worked for me each time.

Here’s the scoop …

When we purchased our 2012 Ford Escape, it came with 6 months of free Sirius Radio (radio channels that you normally wouldn’t get).

When we first received a renewal notice, it had a special rate on it and we renewed. No problem. But the next time we went to renew, the renewal amount was higher. The interesting thing about the renewal though is that it costs MORE to renew at the yearly rate than it does at the 5 month rate. Really. It’s true. I find this bizarre but, hey, it is what it is.

Each time I have called to renew, I speak with a Customer Service Representative who tells me that there are NO special rates available and that I will have to pay the current rate of $12.99 per month. The current 5 month rate is $24.99 which is only $4.99 per month.

When I tell the CSR that I would like to cancel they usually tell me to call back the day before my contract expires. I normally call 4-7 days prior to expiration. I tell the CSR, “No, I want you to cancel it on the last day of the contract. Why should I have to call back?”

They then tell me “I can’t do that but will transfer you to someone who can.” That person is called a Deactivation Specialist. They are in charge of “saving the sale.”

When I tell the Deactivation Specialist that I want to cancel effective the last day of the contract, I’m asked “Are you willing to keep the contract under your current rate?” When I say yes, they say “I can do that for you.”  Uh, what? It’s true!  It has happened every time for me.

So, the Deactivation Specialist quotes me the “new,” uh, same, rate, confirms I’m okay with it, gives me my new 5 month expiration date “at which time your contract will renew automatically at the higher rate unless you call” they explain.

Once confirmed, I say to the Deactivation Specialist, “can you tell me why the first representative couldn’t give me this rate?” The response? “They are only Customer Service Representatives and can’t offer you the special rate.”

What a horrible way to do business. Perhaps there are enough people who forget to note their calendar to call to cancel and “negotiate” their rate, but it’s really pathetic and, at least in my opinion, isn’t saving the company money if we have to call back every 5 months and talk to two representatives.

Are there really that many people out there who pay the higher rates for Sirius Radio?

Chicken with Tomatoes

You’ll need a crockpot for this paleo Chicken with Tomatoes recipe.

It’s quite an easy recipe to make and in winter, I especially like to use the crockpot.

Crockpot cooking also frees up time for me to do other activities in the afternoon. It’s a win-win all around. Quilting ~ here I come!

For this recipe, I had skin-on bone-in chicken thighs in the freezer, but, after thawing, I removed the skin from the chicken.  Did you know that it’s cheaper to buy chicken with the skin on? Helps the budget out to spend just a little time removing the skin for a recipe that calls for no skin.

No charge for the tip ~ (laughing).

Four Skinless Chicken Thighs

I used an orange pepper ~just to make it more pretty. This one looks like it was almost on its last leg (laughing) but it worked out fine.

Orange Pepper
Orange Pepper

Well, here’s the recipe without any more fanfare …

Ingredients

  • 1 medium onion, cut into thin slices
  • 4 skinless chicken thighs, cleaned and dried
  • 1 orange pepper, sliced
  • 2 tablespoons tapioca flour
  • 1/4 cup raisins
  • 2 cloves garlic, minced
  • One (1) 14 ounce can diced tomatoes, undrained
  • 1 teaspoon curry powder
  • 1/2 teaspoon celery salt
  • 1/2 teaspoon ground cumin

Directions

  1. In a crockpot, add the chicken, onion, pepper, raisins and garlic.
  2. In a bowl, add the tomatoes, tapioca flour, curry powder, cumin and celery salt, mix it together then pour this over the crockpot ingredients.
  3. Cook on low heat for 5 hours or on high for 2.5 hours.

We served our chicken with a baked sweet potato.

Chicken with Tomatoes

Enjoy!

For additional paleo recipes, click here.

It’s The Knee

Recently, I decided to use a Christmas gift that was given to me, uh, 2 Christmases ago. Yeah, I know, I know. I just wasn’t ready for it.

The gift is a Timex “watch” that measures your heart rate and allows you to stay in the correct heart rate “zone” so you can exercise in the range you want to be in.

I hadn’t been able to figure out how to work it so my ever handy logical husband figured it out and explained it to me. Ever feel really dense when something is a lot easier than you thought?  Yeah, yeah …

So, it was finally THE day.  I put on the heart monitor and started the timer for 15 minutes. Since it was a little icy outside I decided I would “train” (I’m really using the word loosely here) indoors.

I came up with an idea ~ I would go up and down one stair step until I reached my target heart rate and then walk around the house marching until I reached the lower part of the range, then back to the step until my heart rate went back up. Easy enough, no?

After 15 minutes I felt great! This was going to be easy, I said to myself.

The next morning I woke up and my right knee was bothering me. How odd. My left knee felt fine.

As the day progressed my right knee was having increased pain. Later in the evening I decided to take a nice hot bath. That would “soothe” the knee for sure. (Have you ever been so sure about something and then been so wrong? ~ sigh)

That night I went to bed and tossed and turned because I couldn’t get my knee in a position where it wasn’t in pain. So, I headed downstairs to the comfortable sofa in the family room where I tossed and turned til 4 a.m. (Any sympathy for me yet?)

The next morning I woke up and decided I would not go to church but would instead ice my knee every hour on the hour, keep it elevated and see what happened.

By the end of the day, I had a bump on the knee that was fluid-filled on the right side about an inch from the knee bone (I’m sure there’s a medical term for that bone but let’s just call it a knee bone for right now, okay?).

I slept a little better Saturday but was still in a lot of pain on Sunday.

The thought of going to the doctor on Monday crossed my mind. No, I told myself. I am NOT going to the doctor as it will go away by itself.

I spent a couple more days limping and decided to go see my chiropractor instead. He’s cheaper than the doctor and has a machine called a PEMF 4000 that they use on athletes to get them back on the playing field.

Sure enough, after two treatments on this machine my knee was pretty much back to normal.  Here is what it looks like ~

PEMF 4000
PEMF 4000

The “procedure” is simple and painless ~ you simply sit in a chair, they take wires from the inside of the machine and just lay them on the knee and start the machine.

PEMF 4000
PEMF 4000

The machine makes a clicking sound but there is absolutely no pain associated with it ~ none, nada. Did I mention that there is NO pain when they use this machine? It’s amazing. You simply feel a pulsing that comes from an electromagnetic field. (Click here to read more.) No, I don’t own one of these machines nor do I have stock in it. It simply worked ~ for me.

So, I thought I’d share that with you. Just in case you have pain that hasn’t gone away yet. Perhaps there’s a chiropractor in your area that can help you out also.

Sure beats having to use a cane (my 90 year old neighbor loaned me one of his) ~

Cane
Cane

Even if they work very well …

My First Large Quilt

This post is long overdue as I started writing it in mid-January. What a slow start I’m having this year. Well, here it goes …

After making a lap quilt from a kit that I had in the house from a few years ago, I finally decided to take the plunge and try a larger quilt.

About 10.5 years ago  (I know, I know, it was a long time ago …), my sister had asked me to make her a quilt for her king size bed. At that time, I didn’t have my own sewing machine so it had to wait until ~ now.

I knew deep inside my gut though that tackling such a large quilt would be too overwhelming for me so I decided to make it a tad smaller. When I finally finished it, it came out to 96×64. Not quite king size, but …

The good news is I found out that my sister bought a platform bed and this size would fit quite well. It would also fit on a king size bed that has a tall footboard. So, I was quite happy with it.

I had happened to come across some really pretty blue material that I thought would match the color on the walls she recently painted.  Here’s a look at the fabric I used.

Quilt
Quilt Fabric

The larger fabric pieces came as a set and I purchased it on Etsy; the green “divider” fabric is from a sheet that a neighbor friend gave me when his wife passed away; the white fabric was purchased at JoAnn’s Fabric and the evergreen backing was purchased at a local fabric store.

To say I had problems making this quilt would be an understatement.

First, I should have practiced a LOT more before embarking on a quilt this size. My sewing was not quite straight in some parts. See?

Uneven Sewing
Uneven Sewing

Can’t see much uneven-ness? Well, let me point out that this was supposed to be sewn “in the ditch” (along the seam line) and I missed by a long shot. I decided to leave it that way as I thought it looked pretty although it was a “line” that didn’t match the rest of the quilt.

Then I made what I call a “newbie” mistake. A HUGE newbie mistake. I should have made doubly and triply sure that the top of the quilt was sewn very securely but I didn’t do that so once I put the quilt together I decided to check and sure enough, I had a few places where I had to go back and sew this area by hand which is not easy to do.  Sigh …

Make sure all seams are sewn together on top

Mind you, these imperfections can’t be seen from afar but still … it was laziness on my part and a lesson well learned.

At the onset, I found myself saying “I really need more sewing practice” but instead of stopping to practice I continued to make the quilt.  Learn from that mistake, will ya?

One of the hardest parts for me was putting the top, batting and backing together. I went to the store and bought myself some plastic clamps to hold everything together so I could pin it on a kitchen table.

Alas, this didn’t work well and the backing was crooked after I had pinned it, so I had to unpin the whole quilt and start over again.

Then, I decided to use a temporary fabric adhesive called 505. It worked very very well although I had to lay everything out on the garage floor which is not hard in the summer but I was doing this in the Minnesota winter. I wound up using an old king size sheet under everything.

Temporary Fabric Adhesive

One fear that I’ve had as a new quilter is that the quilt will fall apart. I had visions of little pieces of thread coming out all over the place.  (Such a phobia …)

Well, let me tell you, since I used small stitches, had “crooked” sewing then had to remove all the stitching, I can testify that this quilt will absolutely not come apart.

Surprisingly, the binding (edges) of the quilt came out quite well. (Let me take a moment to pat myself on the back here … hey! someone’s gotta do it.)

Uneven Sewing on Quilt
Quilt Binding

After I finished this quilt I tossed it in the washer in cold water, crossed my fingers and prayed that it didn’t shrink. Surprisingly, it washed beautifully and so I tossed it in the dryer. Another thumbs up!

And here it is ~ drum roll please!

Finished Quilt
Finished Quilt

I literally cried when I packed it to ship it to my sister for Christmas. I told her that it took a lot of blood, sweat and tears and I meant that literally as I didn’t use a sewing thimble and kept pricking myself when I was manually sewing it.

Surprisingly, I sweat when I sew. Weird, no? I’m not a sweater but the intensity of making this quilt must have had something to do with it.

I’m now in “practice” mode again. I’m practicing making different quilting designs and also purchased a kit to make table runners. That project is going quicker than what I thought and I’m almost finished with it. Soon, very soon, I’ll post it for you.

Coriander Salmon with Caper Broccolini

It’s been well over a month since I’ve posted any new recipes. The “new” year just hasn’t been kind to me even if I am able to keep my optimism up, well, at least somewhat.

I seem to have developed “panic attacks.” Have you ever had them? They are unnerving.

But, I digress and will talk more about that another time. Right now, let’s get a new recipe for you to try. You’ve been waiting so patiently.

My husband made this paleo Coriander Salmon with Caper Broccolini one day when I was feeling lazy although I had made it before yet never posted it. It’s quite good!

Ingredients

  • 1 shallot, thinly sliced
  • Salt and Pepper
  • 2 bunches broccoli, sliced thinly (no point in paying extra for the broccolini when you can just slice regular broccoli up)
  • 2 tablespoons capers
  • 2 tablespoons olive oil
  • 2 6-ounce salmon fillet
  • 1 tablespoon ground coriander
  • lemon wedges (optional)

Directions

  1. Combine the shallot, 1/2  teaspoon salt, and 1/2 cup water in a small bowl.
  2. Allow the shallot to soften for a few minutes, then drain it.
  3. Slice the broccoli into thin strips and steam it in water until it’s tender.
  4. Once the broccoli is cooked, toss the broccoli with the capers, shallot, 1 tablespoon of olive oil, and a dash of pepper in a bowl.
  5. Season the salmon with the coriander, a dash of salt, and a dash of pepper (add more if you want it a little kick to it).
  6. Heat the remaining tablespoon of oil in a large nonstick skillet over medium-high heat then add the salmon and cook until it looks opaque throughout, 2 to 3 minutes per side.
  7. Serve with the lemon slices if you wish.

That’s it! The salmon came out absolutely perfect.  Hope you enjoy it.

Coriander Salmon with Caper Broccolini

For additional paleo recipes, click here.

Note:  This recipe was adapted from the one found at Real Simple.