Lemon Chicken


Winter in Minnesota
Winter in Minnesota

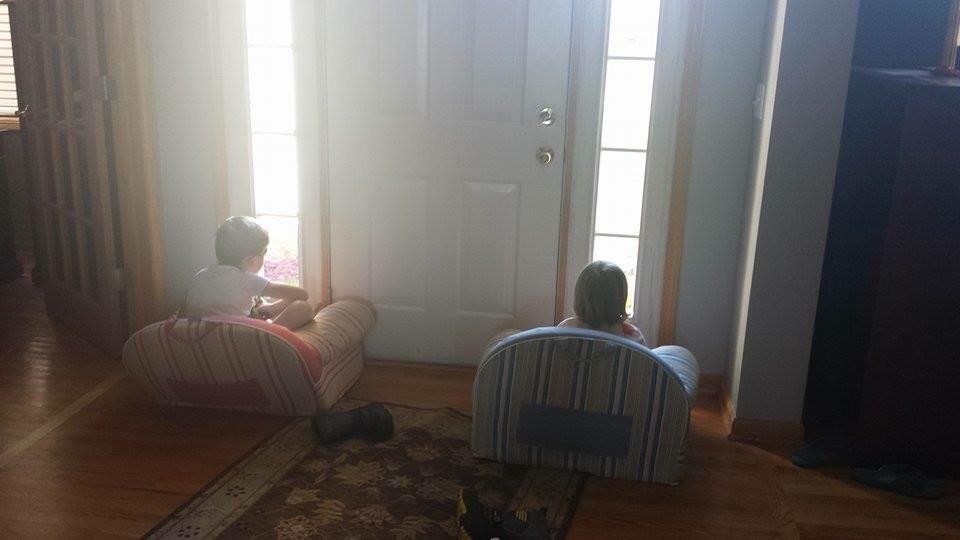
It’s like ~ uh, cold outside.  Fortunately the sun is shining so it doesn’t feel like a wasted day of coldness.  My eyes always seem to be looking for something “pretty” outside and I happened to see this snow laden chair that we left outside on the bedroom deck.  It sure looks peaceful.

It was a goodly day for a new recipe too.  My only regret?  The recipe pictures did not come out as good as I would have liked.  Blah.  For some reason, my hands were shaky so perhaps I should use my tripod from now on.

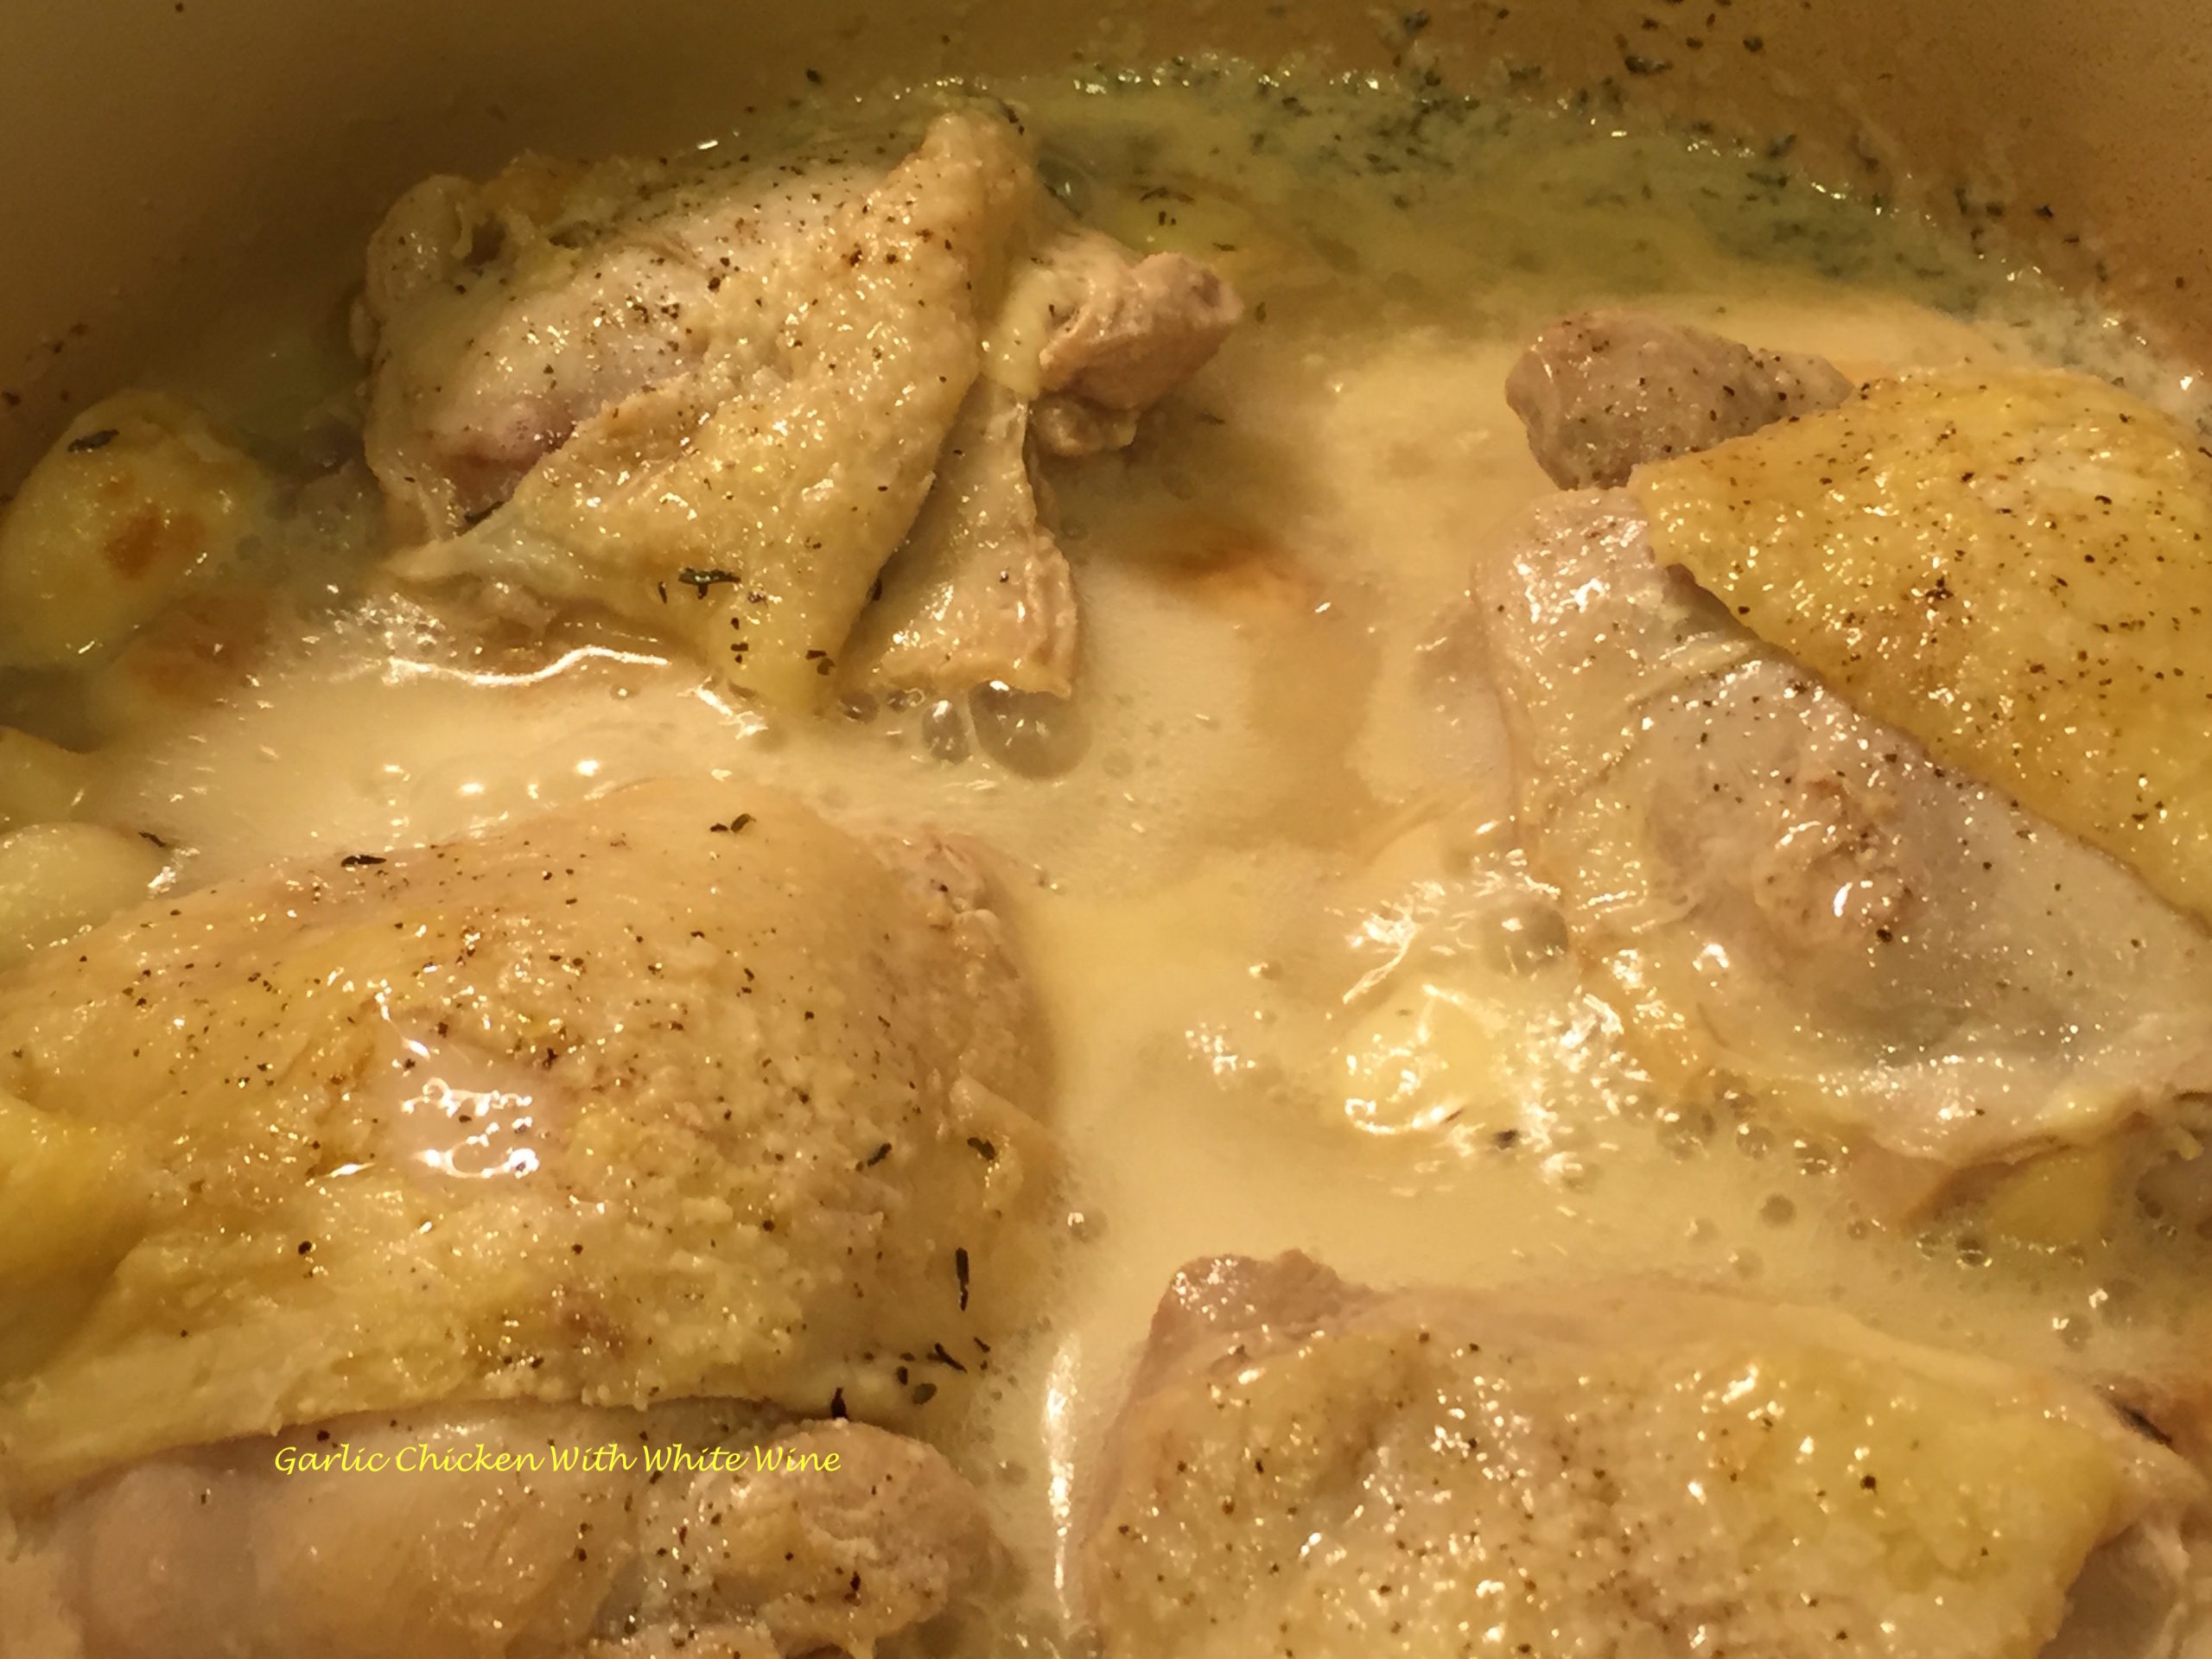
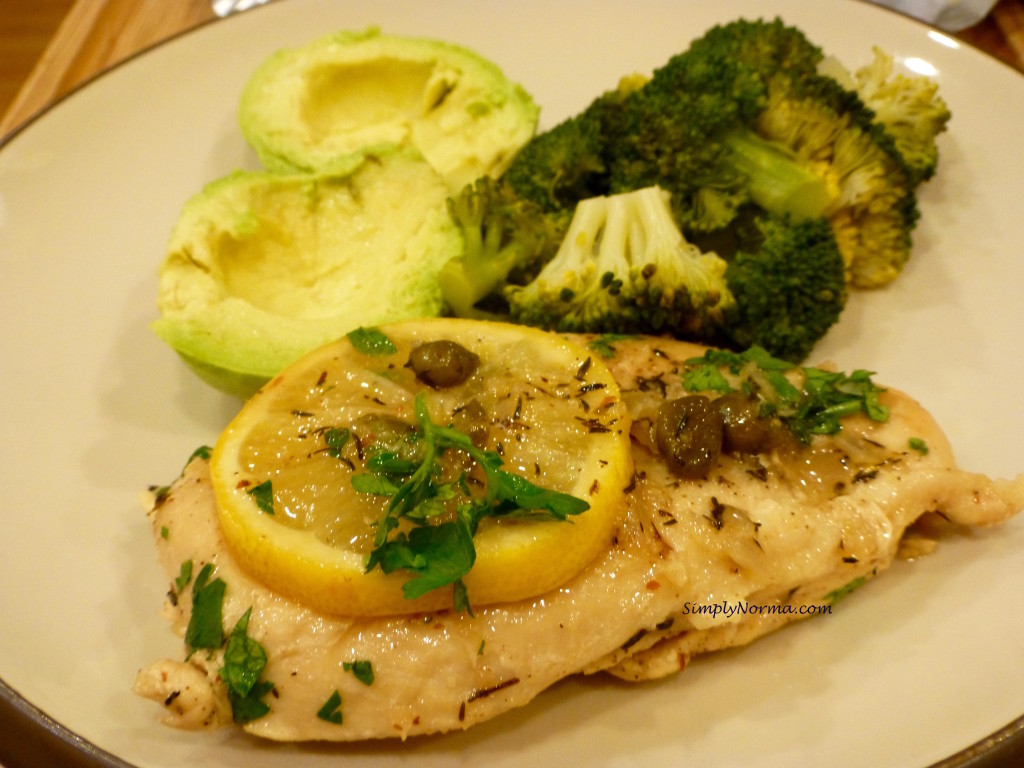
This recipe turned out great and didn’t taste too lemony in spite of the fact that I used a whole lemon and sliced it up.

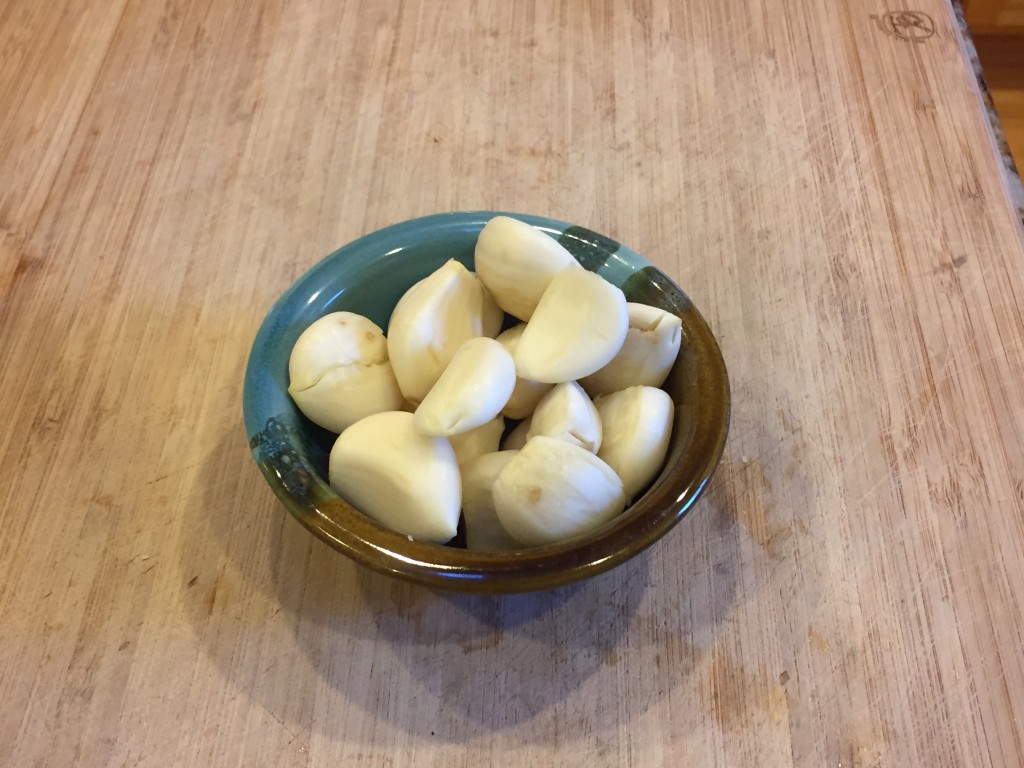
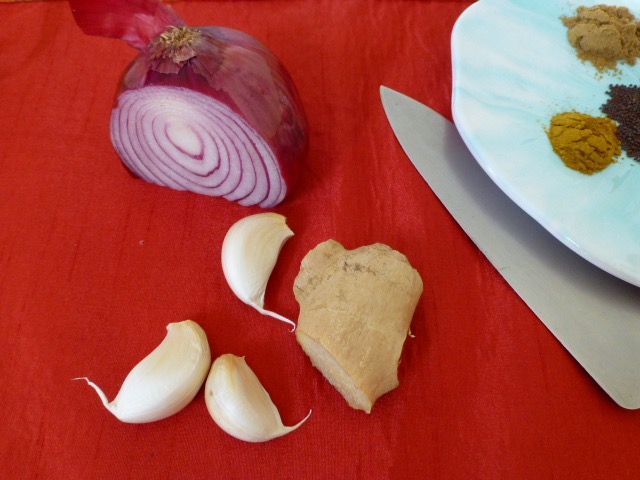
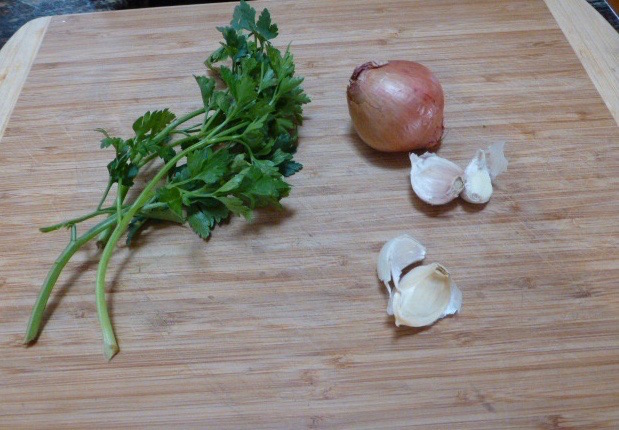
I used four garlic cloves and sliced them in half.

Parsley, Shallot & Garlic

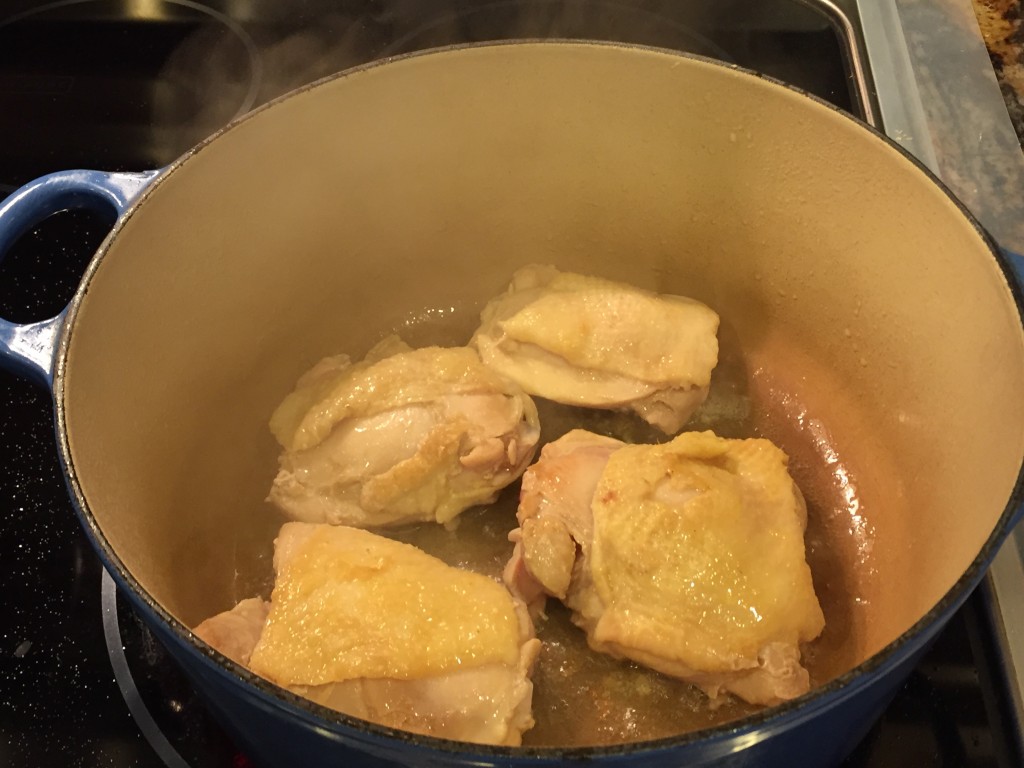
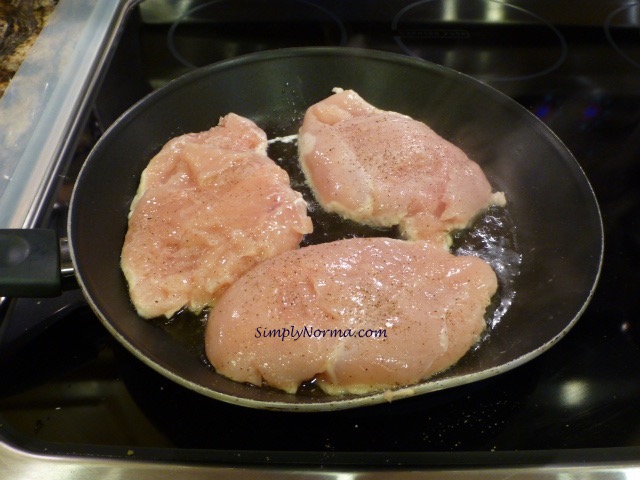
Three chicken breasts got pounded almost flat with a mallet before I added them to the skillet.

Cook Chicken on Both Sides

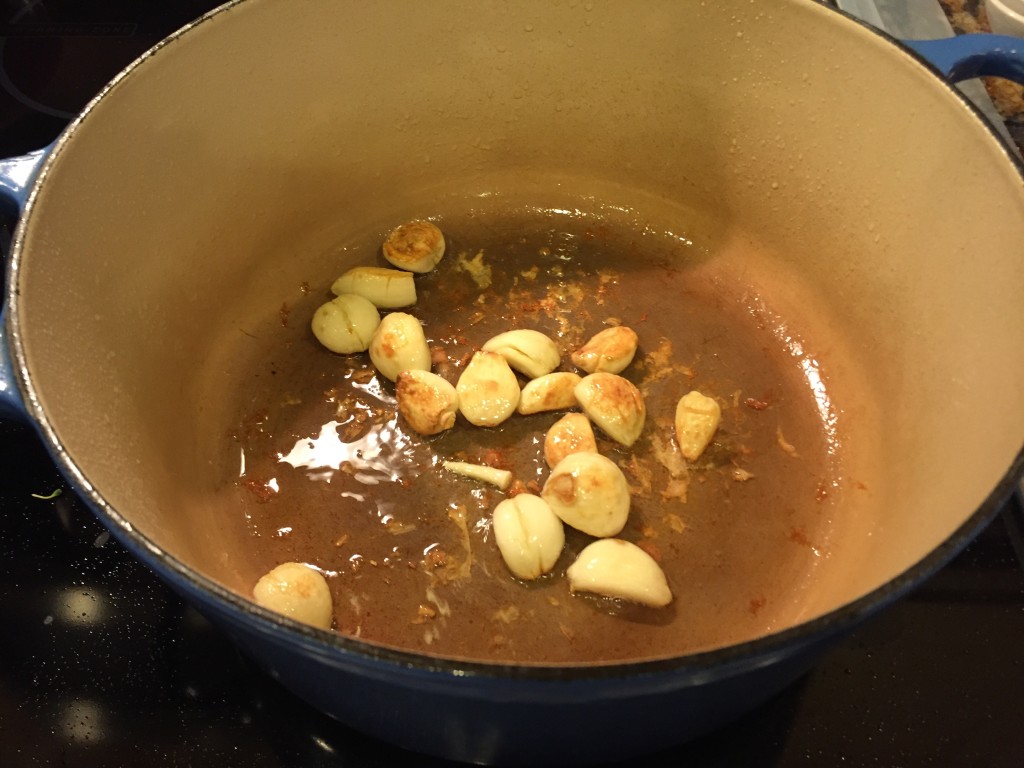
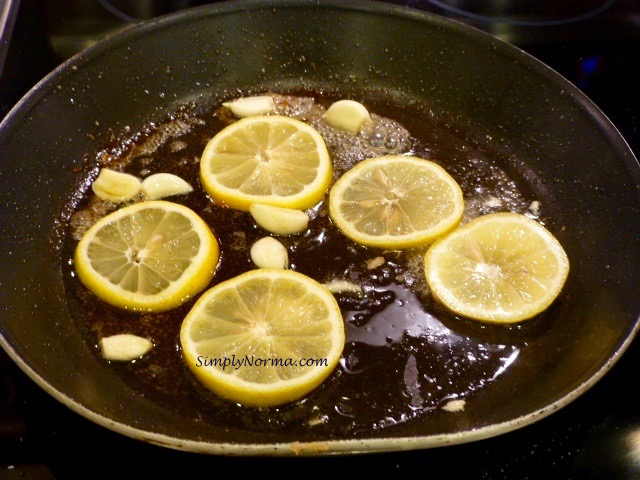
The lemon slices and garlic were browned in the skillet that the chicken was cooked in.

Brown the Lemon Slices

So here’s the full recipe. It’s really easy and will be put on my “favorite” list.

Ingredients

  • 1 medium lemon, sliced thinly
  • 1 1/2 teaspoons maple syrup
  • 4 garlic cloves, peeled and halved
  • 3 skinless, boneless chicken breasts, pounded to 3/4-inch thickness
  • 1/2 teaspoon kosher salt
  • 1/2 teaspoon ground black pepper
  • 2 tablespoons olive oil
  • 3 tablespoons unsalted butter, divided
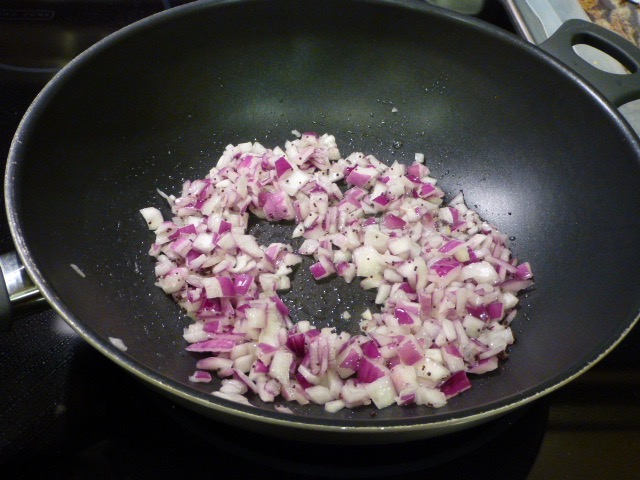
  • 1 whole shallot, diced
  • 1 teaspoon oregano
  • 1/2 teaspoon thyme
  • 1/2 cup dry white wine (or you can substitute this with water)
  • 1 cup unsalted chicken stock
  • 1 teaspoon almond flour
  • 1 tablespoon capers, rinsed and drained
  • Handful of chopped flat-leaf parsley

Directions

  1. In a medium bowl, combine the lemon slices, maple syrup, and halved garlic then set this aside.
  2. Sprinkle the chicken breasts with salt and pepper.
  3. Heat a large skillet over medium-high heat then add the olive oil.
  4. Add the chicken to the skillet then cook them on both sides until done.
  5. Remove the chicken from the skillet and set it aside.
  6. Add the lemon mixture to the skillet then cook until the lemon slices are lightly browned, turning occasionally.
  7. Return the lemon mixture to a bowl.
  8. Wipe the skillet with paper towels then heat the skillet over medium heat again.
  9.  Add 1 1/2 teaspoons butter to the skillet and allow it to melt.
  10. Add the shallot, oregano, and thyme then cook 1 minute.
  11. Add the wine to the skillet, scrape the skillet bottom to loosen any browned parts then bring this to a boil until most of the liquid evaporates.
  12. Add the stock and flour to the skillet, stirring with a whisk, then bring this to a boil.
  13. Reduce the heat and simmer until the liquid is reduced to about 2/3 cup.
  14. Remove the skillet from the heat and stir in the remaining 1 1/2 tablespoons butter and the capers.  Allow the butter to melt.
  15. Return the chicken breasts to the skillet and turn the chicken to coat it with the sauce.
  16. Top the chicken with the lemon mixture and sprinkle with the parsley.

Whala!!!  It sounds like a lot of steps but really it isn’t.

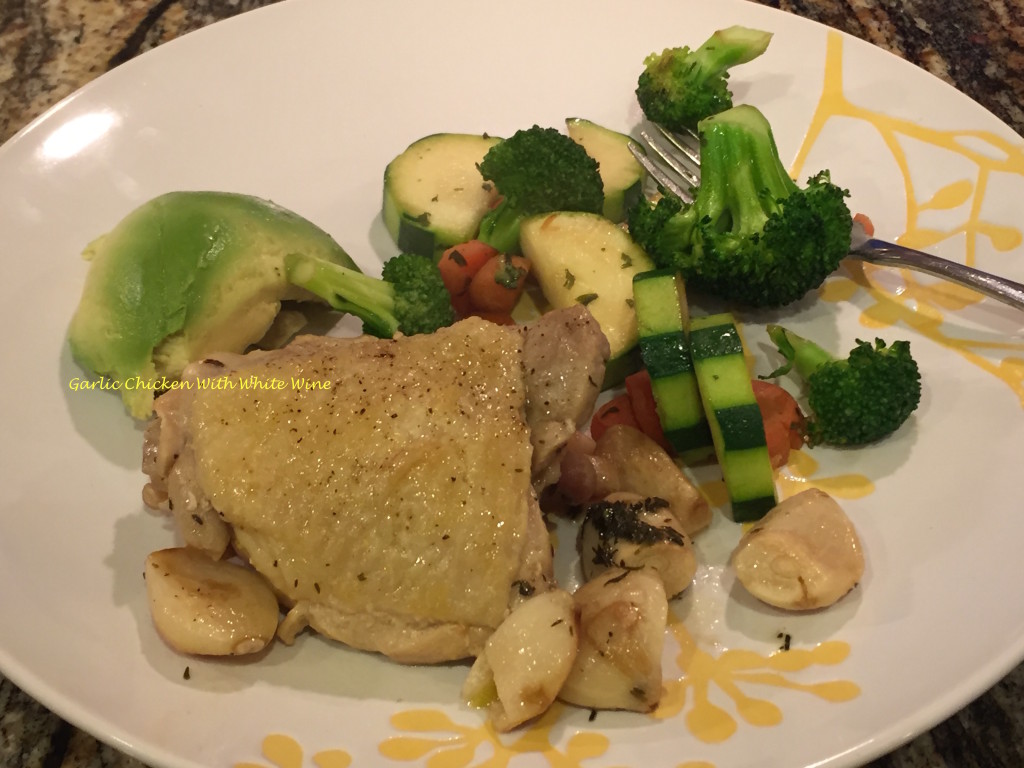
I served this paleo Lemon Chicken with steamed broccoli and sliced avocado.


Lemon Chicken
Lemon Chicken

For more paleo recipes, click here.

(Note:  This recipe was paleo-ized from this Charred Lemon Chicken Piccata.)


Garlic Chicken With White Wine

It’s been a month or so since I’ve blogged what with the holidays and all I used my favorite recipes to make life less stressful.

But, here we are today a couple of weeks into the New Year and I’m finding new recipes that I’m ready to try.

This paleo Garlic Chicken with White Wine recipe is easy and, if you prefer, you can use water and a little bit of lemon juice to replace the white wine.

This recipe will use 2 heads of peeled garlic.  Yes!  I love garlic and can assure you that you will not have garlic breath after you eat this meal since the garlic is cooked well.

2 Heads of Peeled Garlic

The chicken will be browned on both sides in olive oil to as crispy as you’d like it to be.

Brown Chicken Both Sides

Once the chicken is browned, you’ll be taking it out of the Dutch Oven pot and setting it aside then adding those garlic cloves that you diligently peeled and browning them.  They will taste scrumptious!

Brown the garlic
Brown the garlic

Next you’ll add the chicken back into the pot with the garlic along with the rest of the ingredients and allowing it to simmer for approximately 25 minutes.

Easy, no?  Here’s the recipe ~

Ingredients

  • 4 bone-in, skin-on chicken thighs
  • Salt and freshly ground black pepper
  • 2 whole heads of garlic, peeled
  • 2 tablespoons olive oil
  • 1 cup dry white wine
  • 1.5 teaspoons dried thyme

Directions

  1. Prepare the chicken by trimming the extra fat from it and lightly salting it.
  2. Peel the garlic and trim off the ends.
  3. In a Dutch oven, heat the olive oil on medium heat.
  4. When the olive oil is hot, add the chicken (skin side down) until it’s browned then turn over and brown on the other side.
  5. Remove the chicken from the Dutch oven and set it aside.
  6. Add the garlic to the hot oil in the Dutch oven and saute until browned.
  7. Add the wine, thyme and the chicken (skin side up) and bring to a simmer.
  8. Cover the Dutch oven with its lid and simmer on low for approximately 25 minutes or until the chicken is cooked through.
  9. Season with additional salt (if needed) and pepper to taste.

Now ~ sit down and enjoy this delicious meal.  I served my chicken with a slice of avocado and stir fry veggies.

Garlic Chicken With White Wine

The original recipe came from Simply Recipes.

Paleo Turkey Curry

After Thanksgiving, turkey goes on sale and is very very cheap (cost-wise).

So it was that we purchased a large turkey breast that we baked and then, as often happens with turkey, we had a lot of leftovers.

I was fortunate to find this paleo Turkey Curry at the Well Fed website that tastes just wonderful and will be on my favorites list.

I was very very reluctant to add the unsweetened applesauce to the mixture though. I mean, who adds applesauce to a curry, right?

Well, I was wrong.  The applesauce, along with the raisins, gave it a little bit of sweetness but not enough to be noticed. So, if/when you try this recipe, ADD THE APPLESAUCE. Don’t be afraid to try something new ~ that should be the motto of life, well, sometimes.

I served this with baked squash and a little bit of aged parmesan cheese.  (Yeah, yeah, I know, not the best picture …)

Taj Mahal Turkey Curry

This is the first time I’ve tried a recipe from Melissa at Well Fed but I think I’ll head over there and see what else I can find.  I’d invite you to do the same.

For more paleo recipes, click here.


Feeling Loved

A couple times a year we try to spend a whole weekend with the grandkids.

Normally we drop in for a half day on the way to see my mother and traveling on a Friday evening and returning Sunday afternoon takes a toll on this middle-aged body as we drive anywhere from 5-7 hours each time.

This last time we drove to see these four precious children, I alerted our daughter of the approximate time we would be there.  Normally I do that when we’re about an hour away.

This time, we checked into our hotel first to give her time to pick them up from school and get ourselves settled in early.

So ~ it brought tears to my eyes when she took a picture of the anticipation they had waiting for us.

Grandkids waiting for Grandparents

It’s been awhile since we’ve had our own children jump up and down waiting for us to get home.

Knowing that our grandkids actually want to see us and enjoy our visits … well, that’s a very special kind of love.

Indian Ground Beef Coconut Curry

It’s been awhile since I’ve tried and posted a new recipe but this past week I decided to try two curry recipes.

This paleo Indian Ground Beef Coconut Curry was found over at My Heart Beets (cute name, no?)

I enjoy the taste of spices that are used in Indian foods.  My taste buds explode with the taste of these flavors.

Spices
Spices

It sometimes looks as if you’re only using a small amount of the spices but you really don’t need too much.

Spices
Spices

I used three very large cloves of garlic as I’m not afraid of the taste of lots of garlic. My one fear was using a red onion as they can be very very potent.

Garlic & Red Onion
Garlic & Red Onion & Ginger

My fears were relieved when the recipe said to brown the red onion as that would help to mute the bold flavor.  You can use a regular onion for this recipe if you prefer and it should come out fine.

Brown the Red Onion
Brown the Red Onion

The original recipe calls for a serrano pepper and two sprigs of curry leaves which I did not use. If you want a really spicy curry you should probably add those.  They also use homemade meat masala and I just used garam masala from a bottle.

Once everything was blended together the smell was, well, peaceful. It just left a sense of calmness in my hurried soul.  Food that comforts tends to have that effect on me.

Indian Ground Beef Coconut Curry

After adding the coconut milk, the recipe comes out like a thick beefy soup.

Indian Ground Beef Coconut Curry

I hope you enjoy this recipe as much as I did.  We had plenty of leftovers and a couple of days later the recipe tasted quite as good.

This can be served on a bed of rice or lettuce or just in a bowl by itself.

Click here to see the recipe.

Master Bathroom Remodel, Day 10

Alright so, although this post says Day 10, keep in mind that there were two weekends and 3-4 days when the contractor wasn’t working at the house.  Also, the closet doors came in 3/8 inches “off” and had some other minor problems so he called the company and had them re-made.  Another 2 weeks before those were installed.

Overall, the remodel was stress-less.  Our contractor, Jackson Construction, was professional, offered lots of suggestions and kept all his commitments.  Today, he called Kohler for us as the tub has quite aggressive bubbles and the “low, medium and high” for the bubbles don’t work.  Kohler will be having someone contact me to have that taken care of.

Our contractor’s motto?  “Anything to make the customer happy.”

So ~ here are the before and after pictures I promised you.

"Before" Bathroom Remodel
“Before” Bathroom Remodel
"Before" Bathroom Remodel
“Before” Bathroom Remodel
Master Bathroom Remodel
“Before” Master Bathroom Remodel
"Before" Master Bathroom Remodel
“Before” Master Bathroom Remodel

Okay ~ ready to see the transformation?  This first picture was taken in the evening (I was playing with the flash on the camera.)

"After" Master Bathroom Remodel
“After” Master Bathroom Remodel

Here’s a picture of the tub area taken during the day.

"After" Master Bathroom Remodel
“After” Master Bathroom Remodel

Seamless shower doors … very nice!

"After" Master Bathroom Remodel
“After” Master Bathroom Remodel

Maple vanity (custom made by our contractor) and matching maple closet doors.  The mirrors are from the West Elm store.

"After" Master Bathroom Remodel
“After” Master Bathroom Remodel

A different view of the onyx counter top.

"After" Master Bathroom Remodel
“After” Master Bathroom Remodel

Tub surround mosaic detail …

"After" Master Bathroom Remodel
“After” Master Bathroom Remodel

This turned out almost perfect.  Looking back I would have added a double towel bar instead of an 18″one.  We did have a robe hook added to the shower glass so it makes it okay.

I absolutely love the frame-less shower door and the contractor added an additional 5 inches to the shower area so it’s quite roomy.

The heated floor, especially in Minnesota, is wonderful to have.

Next year I have two more projects for our contractor ~ an upgrade (albeit much smaller) to the guest bathroom and a new front door.

I must say, it was well worth the money and working with Jackson Construction.

Master Bathroom Remodel Day 9

Today was an exciting day!!!  Our contractor had taken a couple of days “off” from working at our house so he could build our maple vanity and today was the day he would install it along with the onyx counter top and faucets.  Woohoo!!!

Custom Maple Vanity
Custom Maple Vanity

Are you wondering why there is a tarp over the walls, tile and vanity?

Well, the last time the contractor was here he sanded and re-textured the knockdown ceiling so that it could all match since we removed the soffit. Unfortunately, it was the ABSOLUTE UGLIEST texture I had ever seen.  I thought that once the texture dried perhaps (one could only wish) it would look nicer, but that was not to be.

Re-texturing a knockdown ceiling

So, because our contractor is “almost” a perfectionist, when he saw it he came downstairs and said “Norma, I’m not happy with the ceiling texture and we’re going to re-do it.”  I breathed a sigh of relief when he told me that.

Fortunately when he re-did the ceiling it came out perfect.

By now we’re at the end of week three including days off for medical, drying time, vanity building, etc.  There are paint touch-ups, mirrors and sconce decisions to be made but mostly the bathroom is finished.

My next post will show the completed project with before and after pictures.  The bathroom looks totally different ~ light an airy now.!

Dumpster
Dumpster

Master Bathroom Remodel Day 8

By the end of day 8 things are looking as if the bathroom will be completed tomorrow but that is not the case as there are quite a few “little” things that need to be done.

Today our contractor brought along, not only his one worker but his wife also.  She is a professional cleaner and helped with cleaning as the grout was being added to the tiles.

Master Bathroom Remodel

We still hadn’t made up our minds on what we wanted to do regarding the sconce “problem.”

Master Bathroom Remodel

We were very pleased with the way the mosaic tile looked around the tub.

Tub Tile Surround
Tub Mosaic Tile Surround

We used the same tile for the tub wall that we used on the shower wall.

Tub Wall Tile
Tub Wall Tile

Our contractor suggested tiling the heat register.  What a great idea!  It matches perfectly.

Tiled Heat Register
Tiled Heat Register

With day 8 completed, we had a few more decisions to make.

Master Bathroom Remodel Day 6 & 7

So by now, we’ve had a weekend go by along with one day when our contractor couldn’t work due to health reasons.

I really like my contractor.  He comes up with creative ideas to help save us money without the project looking “dumbed down.”  He also takes much pride in his work.

Day 6 was a continuation of preparing the walls so they could be painted.  We decided to use the same color that we have on the bedroom walls and purchased the paint at Sherwin Williams.

Sherwin Williams paint is EXPENSIVE. But, the paint rolls on so smoothly and covers a lot better than other paint I’ve purchased so it normally needs only one coat ~ even over a dark color.

Painting the Master Bathroom
Niche Installation
Niche Installation

Besides painting today, tiling began.

Niche Tile
Niche Tile
Master Bathroom Painting

And, two of the sconces were installed which is when I noticed the problem we were going to have.

Sconces
Sconces

There was simply not enough room for two mirrors to go between the middle scone and the other two sconces.  It would have been quite a tight fit for sure.

This all came about because our contractor wanted to give me an additional 5 inches of space on right of the lavatory which made sense to me.  However, we didn’t realize the problems it would create as the mirrors can’t be centered over the lavatories now.  So, we decided to give ourselves time to think about this problem.

On day 7 all of the tile, with the exception of the tub surround, was installed.

Installed Bathroom Floor Tile

We were given strict instructions NOT to enter the bathroom to allow the tiles to set.  Seems the contractor meant business!

Installed Bathroom Floor Tile

Things are going quite smoothly.

The Master Bathroom Remodel – Day 5

When I peeked into the bathroom this morning, the liquid cement that was poured last night has finally dried.

Prepration of Nuheat Heating Cable System
Preparation of Nuheat Heating Cable System
Prepration of Nuheat Heating Cable System
Preparation of Nuheat Heating Cable System
Prepration of Nuheat Heating Cable System
Preparation of Nuheat Heating Cable System

When the contractor arrived he took me upstairs to the bathroom and said “Now you have to make a decision on where you want your shower niche to go.” My two choices were in the middle of the shower wall or offset to the right which would put it between two studs.

Shower Niche
Shower Niche
Shower Niche
Shower Niche

Which do you think I chose?

If you said offset to the right then you are right!!!

Today was also prep day for the walls with new sheet rock being installed and the bathroom walls being skim coated for painting.  The previous owner of our house put some kind of a texture on the wall which looked and felt quite ugly.

Notice that the shower plumbing is already installed also.

Prepping a master bathroom wall

We made a very good decision to remove the soffit over the now-removed corner jetted tub.  This looks so much better ~ as if this is the way it should have always been.

Prepping a master bathroom wall

The closet door was removed as we’re having a new maple bi-fold door to match the vanity.

Prepping a master bathroom wall

We’re prepared to install three sconces although, spoiler alert, we eventually took two of them out and only stayed with the middle one as otherwise the mirrors would not fit squarely over the lavatories.

Prepping a master bathroom wall

Now all this has to dry.  Seems like we spend a lot of time waiting for things to dry.

And the weekend arrived … it was a very pretty autumn in Minnesota.

Minnesota Autumn
Minnesota Autumn
Minnesota Autumn
Minnesota Autumn