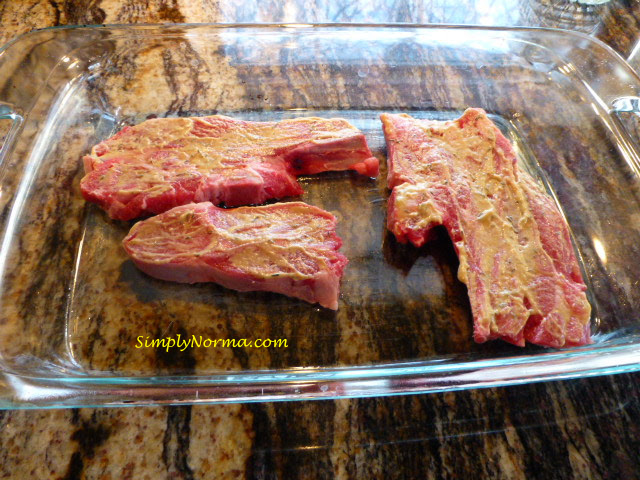
One of my favorite meats ~ lamb ~ is the main ingredient for this recipe besides the cauliflower.
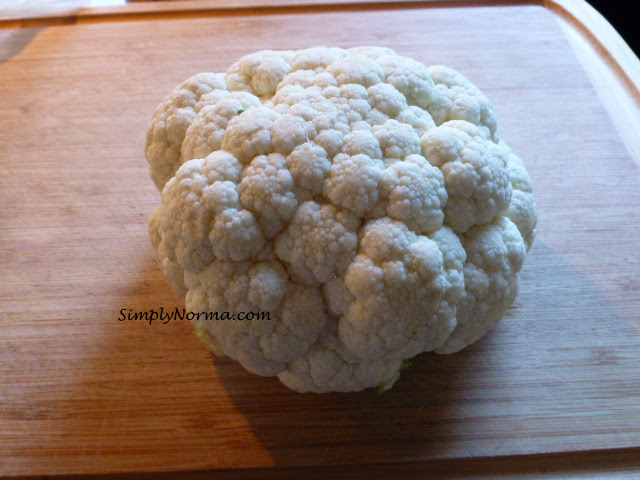
Cauliflower
Most people aren’t fans of cauliflower but I say the vegetable has just gotten some bad press. Â It’s really a good vegetable when combined with the right foods.
Lamb and cauliflower ~ like birds of a feather who flock together ~ go really well together.
Because this dish is baked, the cauliflower comes out nice and soft.
The other surprise in this recipe is the mustard. Have you ever had mustard with lamb? I never had but this mixture is not too strong and tastes quite good.
Lamb with Mustard
I will grant you the dish looks a little odd paired together but, hey, there’s a lot of other pairings out there that look odd but taste great.
Lamb with Cauliflower
So, go ahead and give this paleo Baked Lamb Chops with Cauliflower a shot. Â I really don’t believe you’ll regret it.
A few years back, I decided to go on a carrot “binge” and ate gobs and gobs of carrots. Then an interesting thing happened …
My skin started turning orange~ish. Â It’s true. Â I didn’t believe all the stories out there about this happening to people until it happened to me.
Okay … that’s my side story and I’m going to stick to it. Â (laughing)
We always have carrots in our refrigerator as it’s one of the vegetables my husband takes with him for lunch.
So I thought I’d sneak a few to use with this chicken recipe ~ no fear of turning orange here (haha).
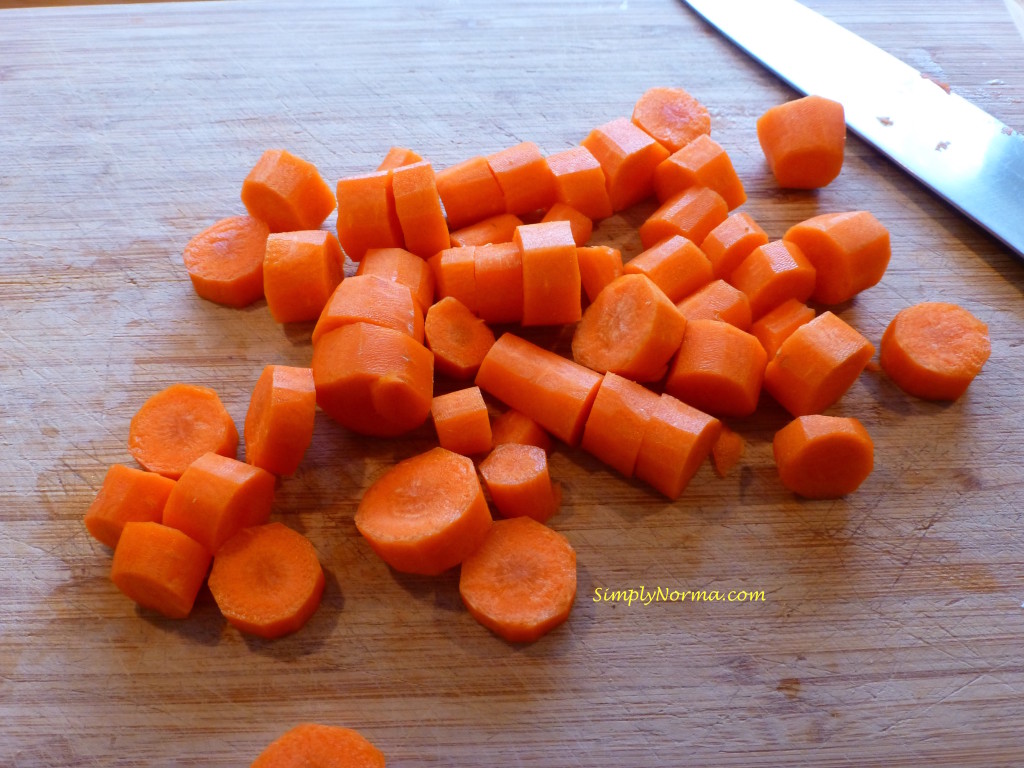
The recipe is quite simple and the major players are … carrots ~
Sliced Carrots
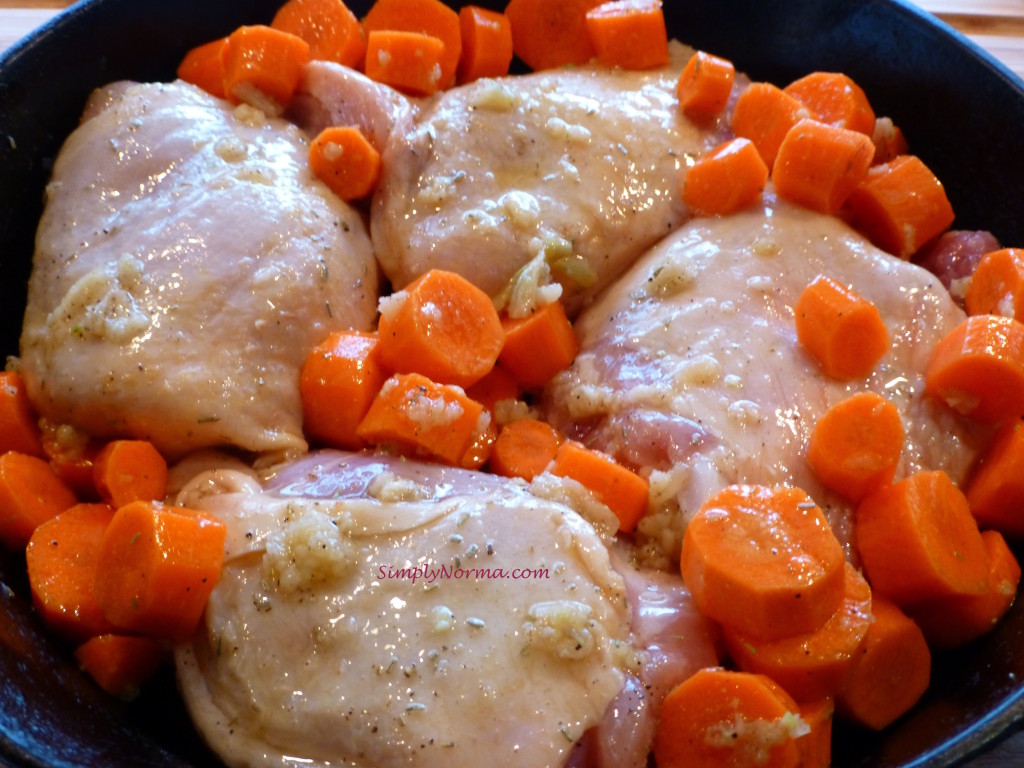
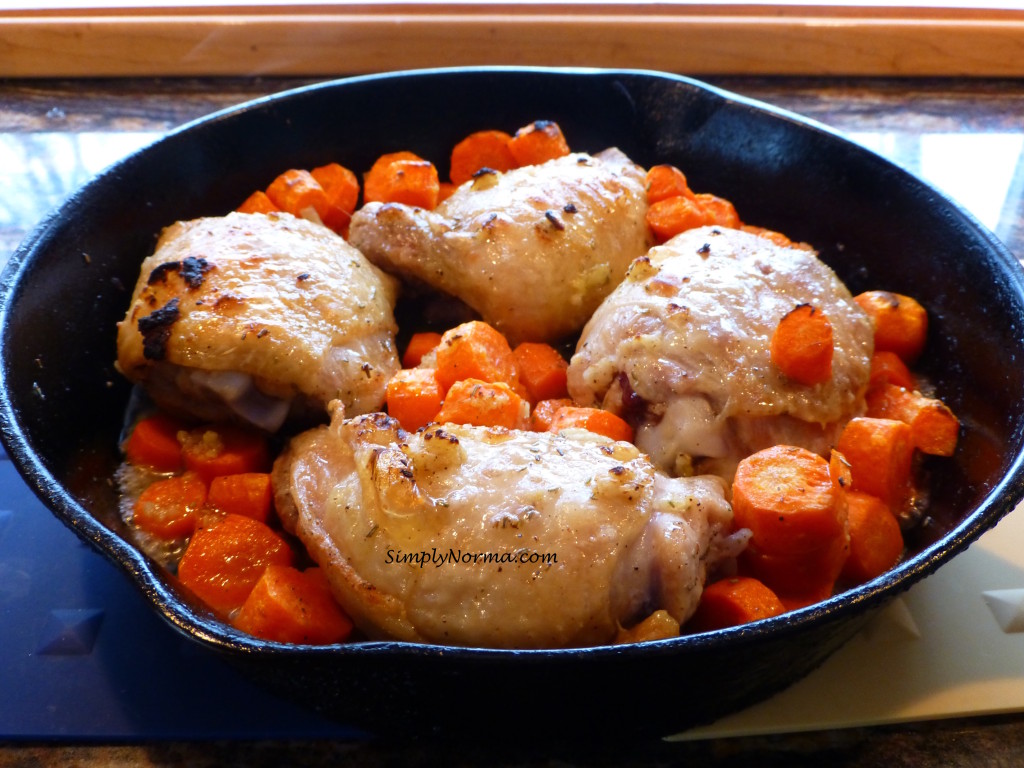
Skin on ~ bone in chicken  that is combined with the carrots and a rosemary mixture …
Skin On ~ Bone In Chicken
This will be put in a cast iron skillet and baked for 30 minutes then broiled for another 5-10 minutes (be careful you don’t burn it).
It will come out looking beautifully like this ~
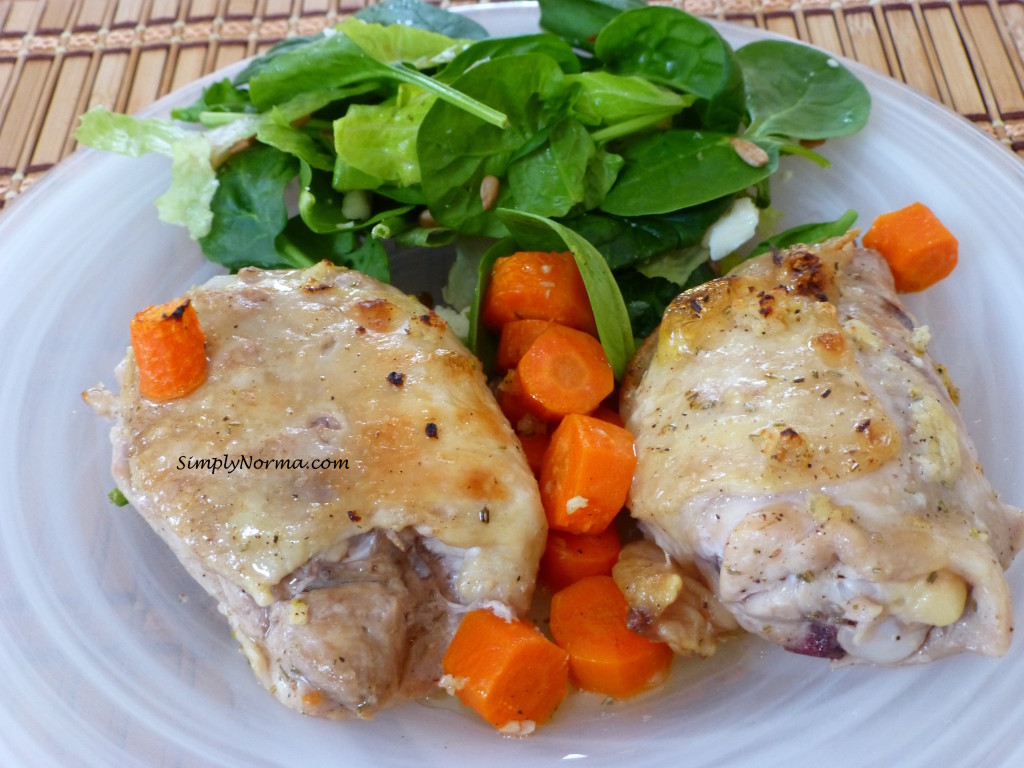
Paleo Braised Chicken with Rosemary & Carrots
Pretty good looking, no? I served this paleo Braised Chicken with Rosemary and Carrots with a side salad. Â It’s really a complete meal all by itself though.
Paleo Braised Chicken with Rosemary & Carrots
Okay so ~ here’s the recipe for you to look at and print if you so choose.
Well now, here’s another paleo chicken recipe. I have to confess that I like chicken. If I had to choose only one meat to eat though, I’d choose lamb although chicken would come a close second.
When I’m looking for recipes to to try and possibly adapt for the paleo diet, I go to all of my resources including books that I haven’t looked at in years. Sometimes the perfect recipe is right there.
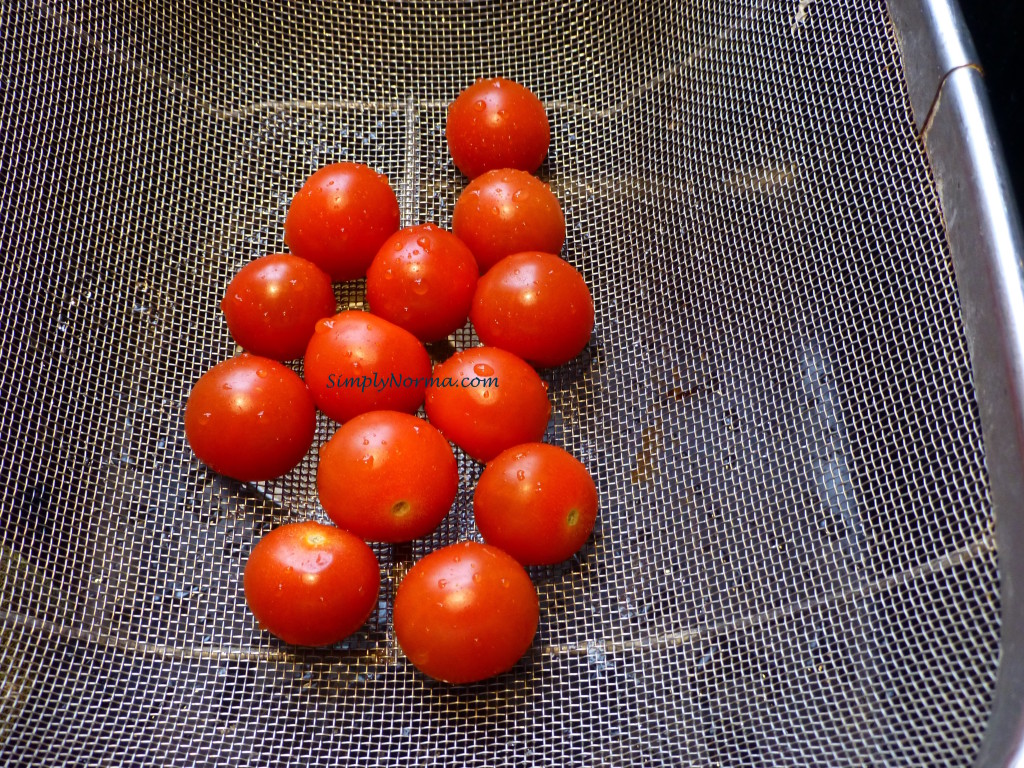
This recipe came into play because it seems that every time I go to the market I see containers with the cherry tomatoes and I always wind up getting one. Then I get home and wonder what to do with all of them. This Baked Chicken with Cherry Tomatoes and Garlic is perfect for just this occasion.
Cherry Tomatoes
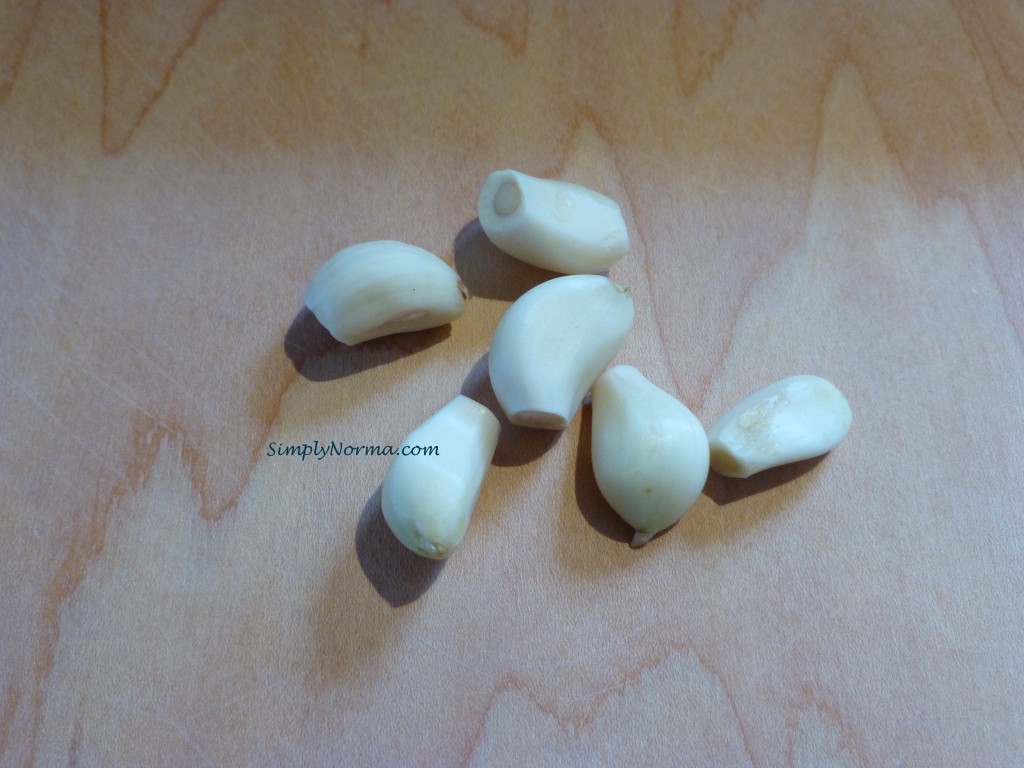
And I had to add garlic to this recipe … of course!
Garlic
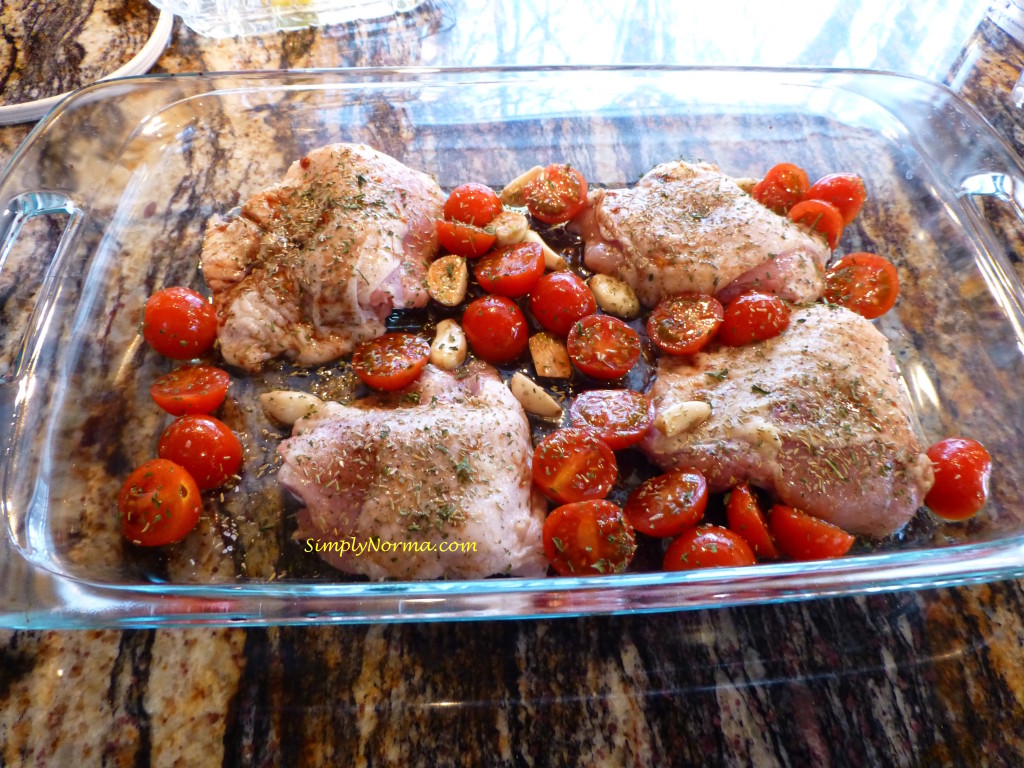
All of the mixed ingredients will be added to a greased glass casserole dish.
Mix Ingredients for the Baked Chicken with Cherry Tomatoes and Garlic
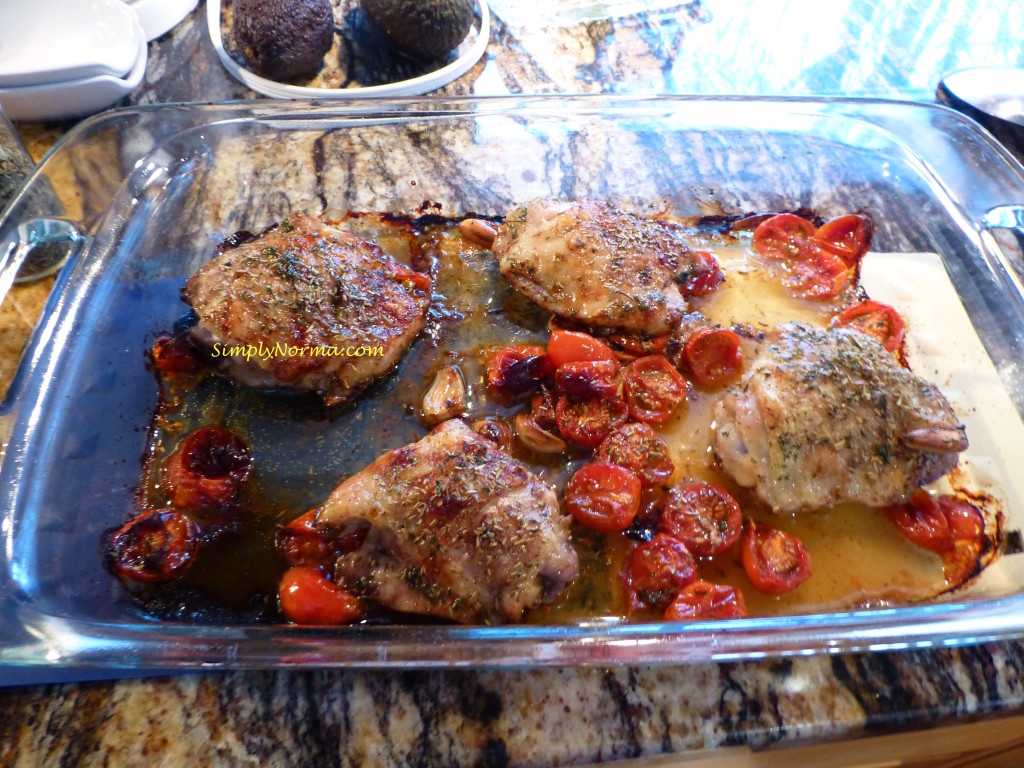
The garlic will roast quite well and the cherry tomatoes will shrivel a bit.
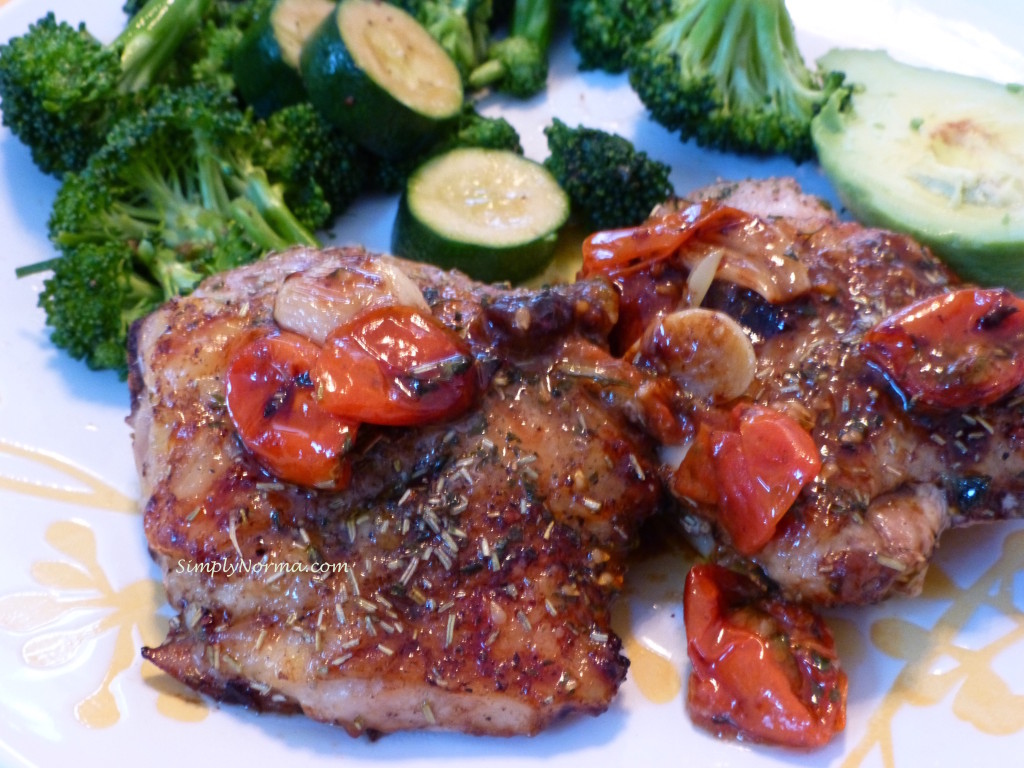
Baked Chicken with Cherry Tomatoes and Garlic
And the result will be awesome!
I served this entree with a broccoli/zucchini stir fry and a half an avocado.
I’m trying really hard to focus on the Republican Debate this evening. Â I really am …
But all the back and forth bickering is a little too much for me. Â They talk over each other and then we can’t really hear what they’re saying.
The belittling they do of each other is so sad. Don’t they realize that the words they use on each other will later be used on the one candidate of their party that stands against  the Democratic nominee later this year?
I watch as Governor Kasich and Retired Surgeon Ben Carson stand at each end of the stage and watch the other three bicker, bicker and bicker some more. And I wonder why they aren’t further up in the polls. Ethically and morally I would rather have one of them come to the forefront ~ at least they hang on to their integrity and don’t get into the bullying matches.
I’m not a Republican. Â I’m not a Democrat. I try to choose who I believe the best candidate will be irregardless of their party. Â It’s going to be really hard this year.
Life would be much simpler if the only decision we had to make was how to rescue a kitten from a tree …
About a year ago, after teaching myself to sew on Craftsy and Youtube, I made a king size quilt for my older sister. Shortly after that, I made the mistake of telling people that I needed more practice so now I have a list of 5 more people who would like quilts made. Unfortunately, they all want full or queen size quilts. Yikes! What did I get myself into?
So ~ I told everyone I would do them on a first come first serve basis and right now I have 5 people on a list. A volunteer quilt maker. (Shaking my head …)
And so it was that my 2nd to the oldest sister came to visit me in Minnesota last June and we picked out the fabric for her full/queen quilt. Everyone has been told that I work on my sewing projects “as I have time” so I didn’t start hers until August after the summer projects were over.
The design? Well, I seem to lean towards contemporary/modern style quilts although since they have to be densely quilted, it’s quite a challenge on my small sewing machine.
Yet, I showed a design to my sister that I found in a book called Quilts Made Modern by Weeks Ringle & Bill Kerr. I had taken one of her classes on the Craftsy platform which is where I learned about the design of contemporary quilts. My sister liked the design called Big Dots and I agreed to make it.
I really really really should have looked at the directions for this quilt design before my sister fell in love with it. I have to keep telling myself “I am a beginner, I am a beginner …” Alas, the design requires 75 circles that need to be cut then appliqued onto the main fabric. At this point in my sewing “career” (I say that tongue in cheek), I could neither pronounce the word nor applique.
But … I guess that’s what learning is all about. At least no one can accuse me of not exercising my brain cells …
So, between Joann’s Fabric store and online shopping, I was able to get the fabric fairly cheap. Yay for me!
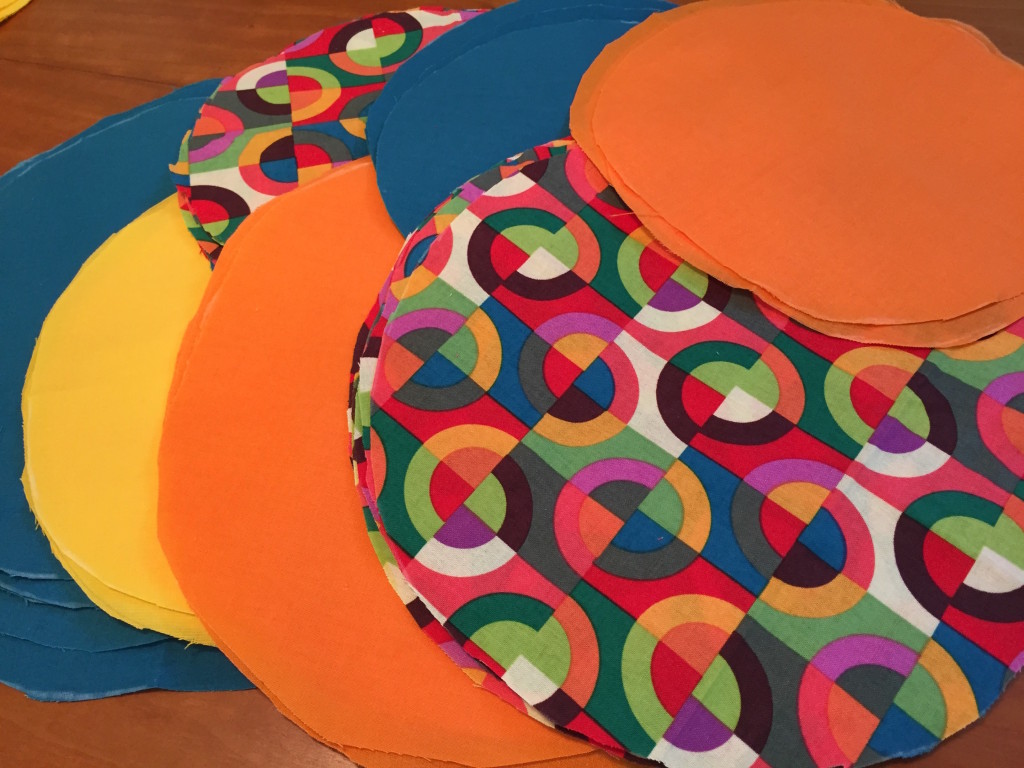
Here is the fabric my sister picked out …
Quilt Fabric
I liked the bold colors. The circles were cut using a template that was in the book. They aren’t perfect but since they were going to be sewn under, who cared?
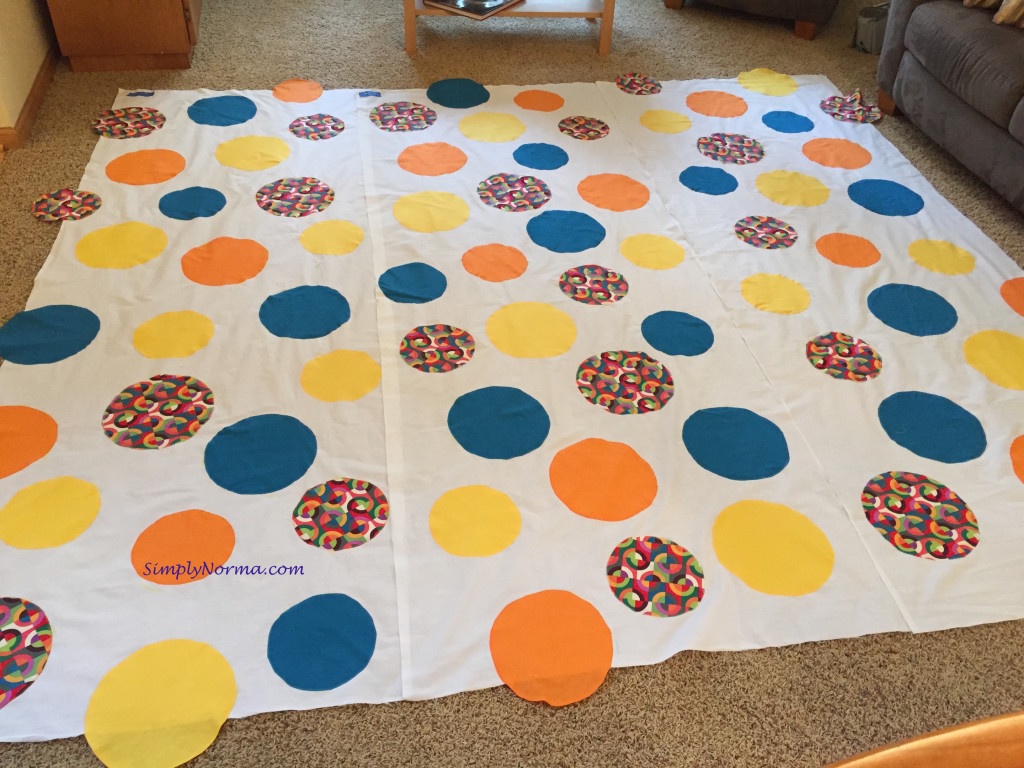
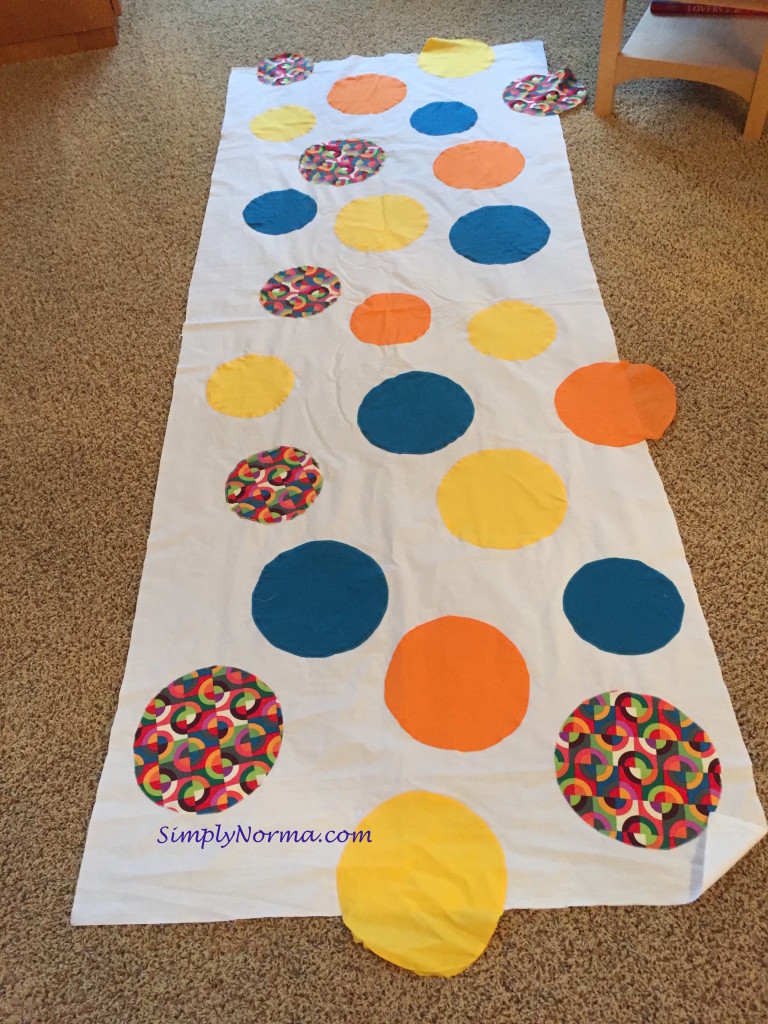
After I finished cutting the circles, I had to turn them under on the edges, iron them, then measure the main off white fabric that they would be appliqued on and lay the circles down on it making sure they were randomly placed. Next I pinned each circle in place.
Notice that the “field” fabric (that’s the off white one) is in 3 sections. This would also be the first time I make a quilt in 3 parts and bring it all together. (Shaking my head … I’m nuts!) But I felt a little confident because I took a class, again on Craftsy, using this method.
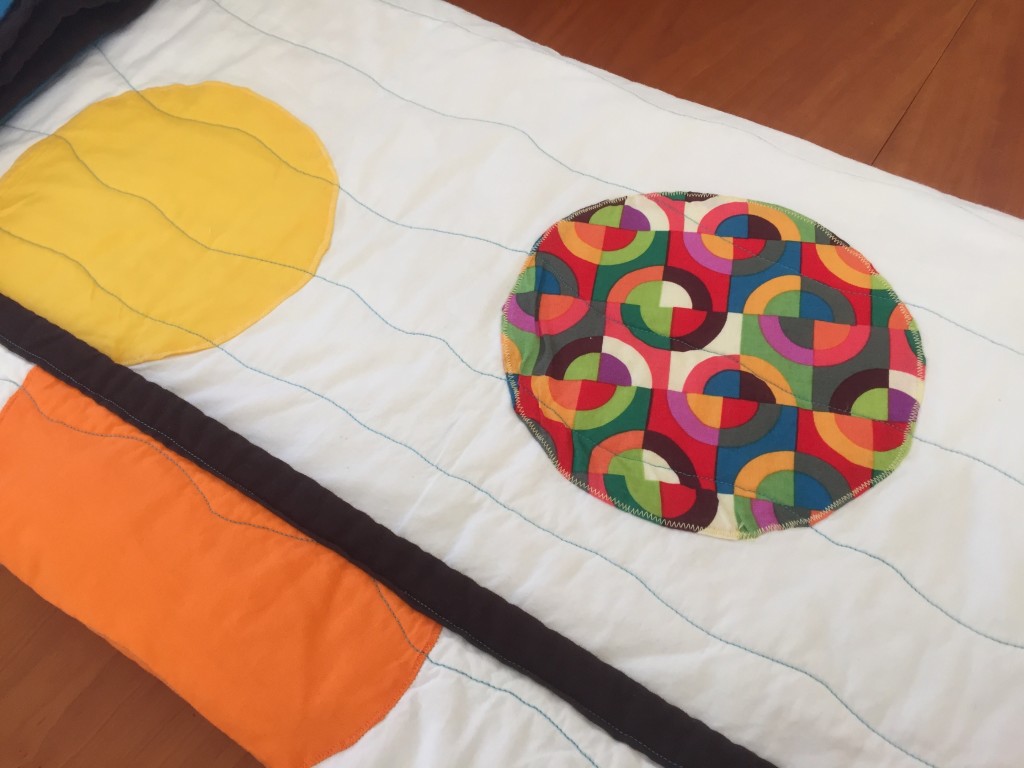
Making A Quilt With Circles
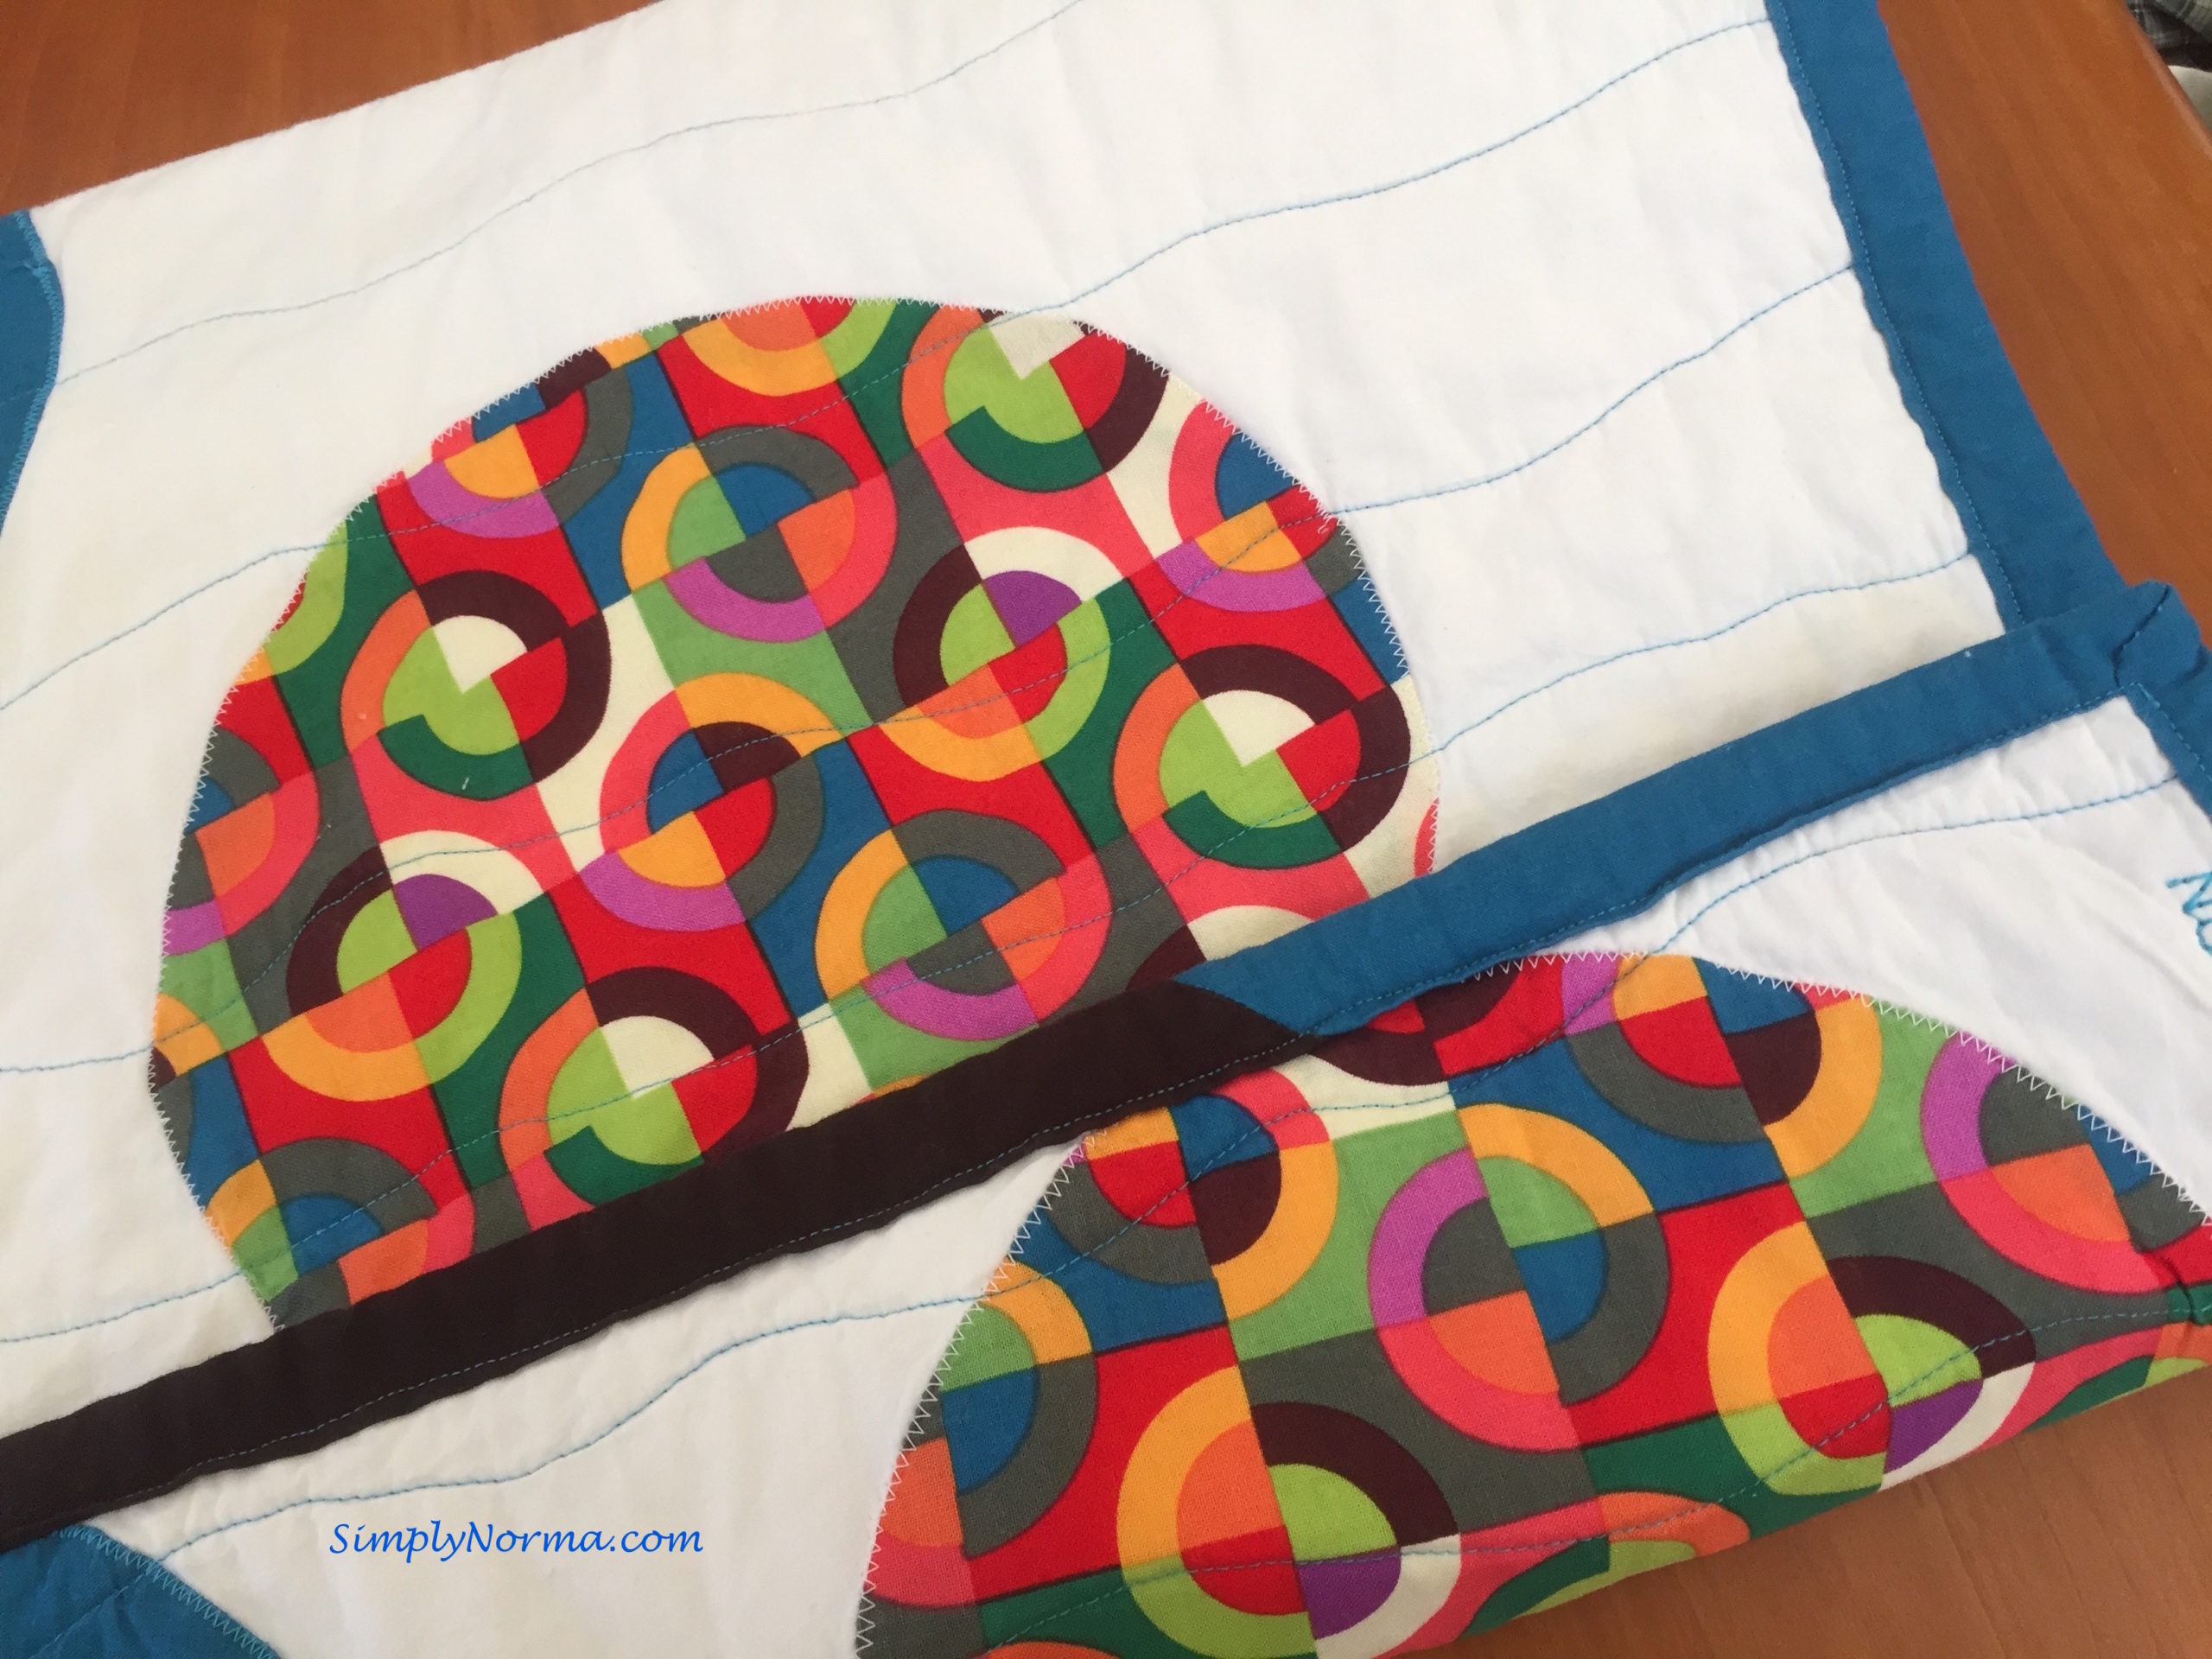
Here’s one section that’s appliqued (see below). Oh ~ you must be wondering why some of my circles are not on the field fabric but hanging off the sides. The outer sides of the end sections will have binding on it so the excess will be cut off and it will look like the circle is continuing outside the quilt. (No, that wasn’t my idea ~ it was in the book.)
After the three sections were appliqued, I then added the batting and backing to each section. In the “Quilting Big Projects On A Small Machine” class, I learned that the middle section is the only one that can be quilted edge to edge. The sections that will be attaching to the middle part have to have 3 inches on the ends so they can be sewn together.
Making A Quilt With Circles
Things were going along fairly well. I decided to spray baste the top, batting and backing instead of pinning it together. This worked surprisingly well as the three pieces of fabric stayed together. But, because of my inexperience, I pinned the quilt in a few places after it was spray basted ~ “just in case.”
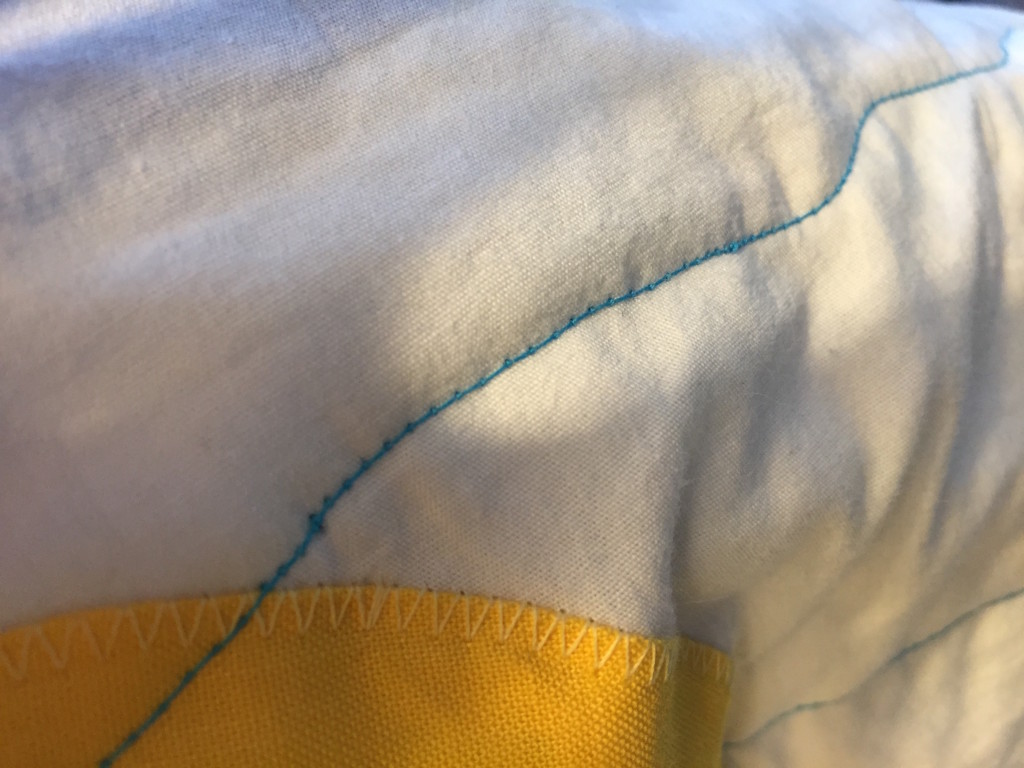
As I sewed the middle piece I was feeling a little proud of myself. And then, IT happened. The sewing machine was making weird stitches. No! No! No! I couldn’t figure out what was happening.
Sewing Stitch ProblemsSewing Stitch Problems
I called my cousin whose a sewing guru and she told me it was the tension. Well, I had already tried fiddling with that and nothing worked. I called another friend who has been sewing awhile, and she suggested adjusting the tension on the machine also but I knew that wasn’t it. I read the sewing machine manual. Tension, it said. Everything pointed to the tension and unfortunately the adjustments I was making weren’t working.
Then, I had an idea. I must’ve gotten this idea because of all the brain learning I had been doing working on this quilt. Oh ~ I guess I should share the idea, eh? (Laughing.)
I took out the bobbin and with a slightly damp q-tip, I cleaned out the bobbin area. Sure enough, all kinds of fabric fuzzies were coming out. Once I finished cleaning the machine and putting all the pieces back, everything was back to normal. Whew!
And so I finished quilting the middle section, hand sewed one of the outside pieces to the middle (another first!!!!! ~ are you hooping and hollering for me???) and then hand sewed the third piece to the middle section.
“Almost” everything went fine so I took my pride and joy, put it in the washing machine in cold water and prayed that it would not come apart. (That’s always been one of my fears which is totally unwarranted …)
Once the quilt came out of the machine, I tossed it in the dryer on the delicate cycle for 32 minutes. Then I took it out of the dryer and hung it on the shower rod to dry the rest of the way.
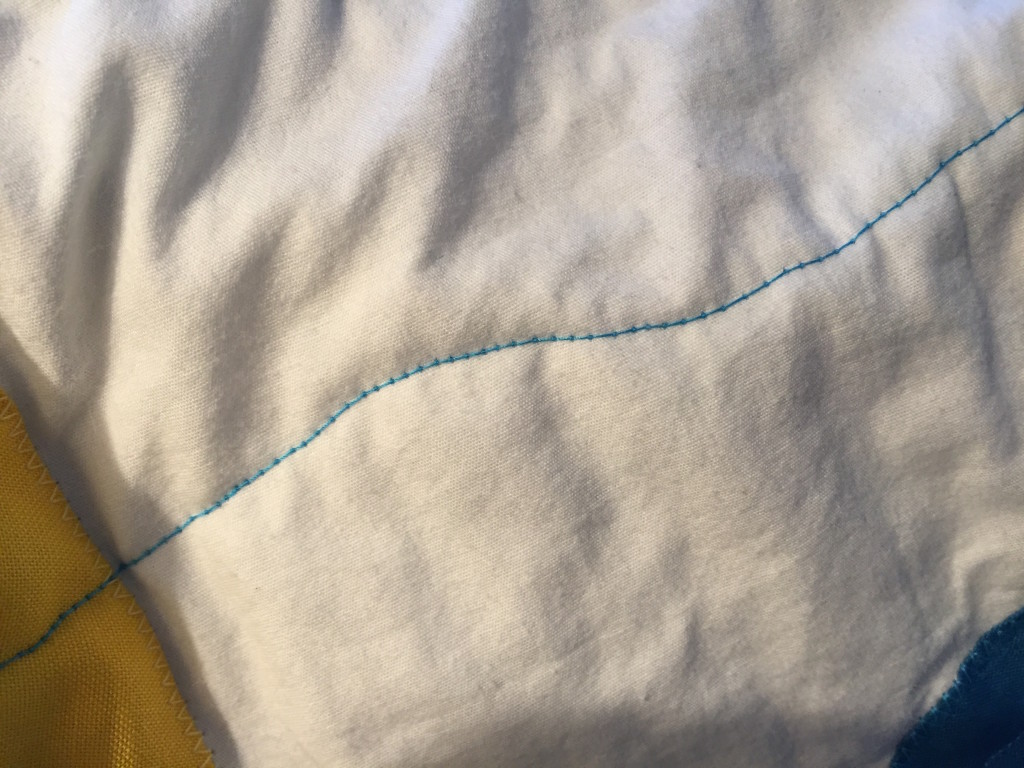
But, I said “almost” everything went fine. The quilt stayed together quite well but I noticed a little puffiness between the middle and third sections that I had hand sewn. Can you see it below?
Hand Quilt Problem
I figured what had happened, since it only happened on one side, was that I did not cut enough of the back off before I sewed the two pieces together. Oh well, I decided to leave it “as is” as it will hardly be noticed spread out on a bed.
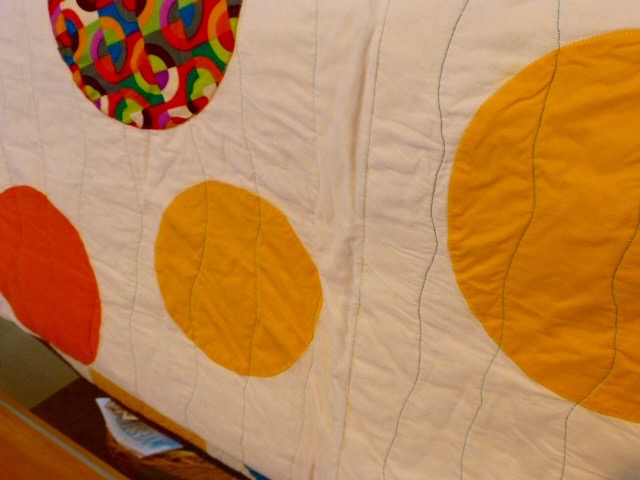
So ~ big drum roll for me, ready to see the final result?
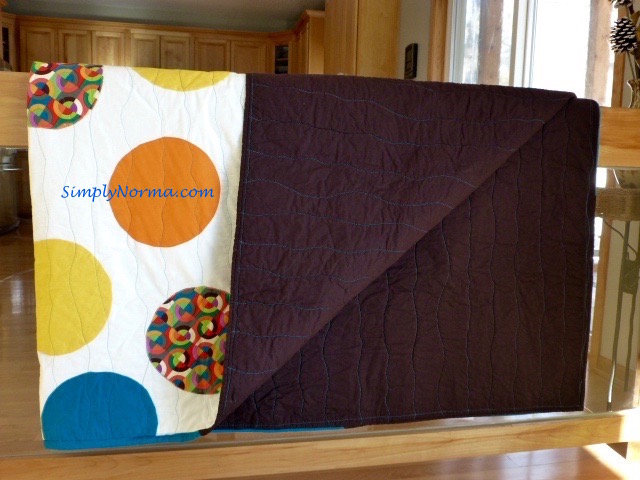
Big Dot Circle Quilt
I used blue and brown fabric for the binding.
Big Dot Circle QuiltBig Dot Circle Full/Queen Quilt
I admire my mother ~ immensely. From when I was 5 years old, she raised six children all on her own. I don’t know how she managed it but I’m amazed whenever I think about it.
I had two boys to raise, a full time job, responsibilities at church and the normal every day tasks. With all of that, I regret not spending more time with my boys so I can only imagine what my mother felt like.
Mama never worked outside the home (at least not until the youngest had graduated from high school). She always said this was her way of putting her children first. So, with a monthly welfare check, help from Catholic Charities and even more help from her sisters who lived nearby, we always had clothes to wear and food to eat ~ even if the food was oatmeal for breakfast and dinner ~ something which is still a treat for me to this day.
But Mama was not idle. One of the things she did to help our family was go door to door selling Puerto Rican pasteles that she made from scratch. She would spend hours grating the plantains to make the “masa” (dough). By making pasteles, she was able to supplement her welfare check and get us a few extra niceties like cookies.
When most people see pasteles for the first time, they mistake them for tamales. They are quite different though ~ made from green plantains and filled with your choice of meat, sliced olives, onions, spices and whatever else you want to put in them.
Nowadays, people make the masa for the pasteles in a food processor so it’s easier and less time consuming.
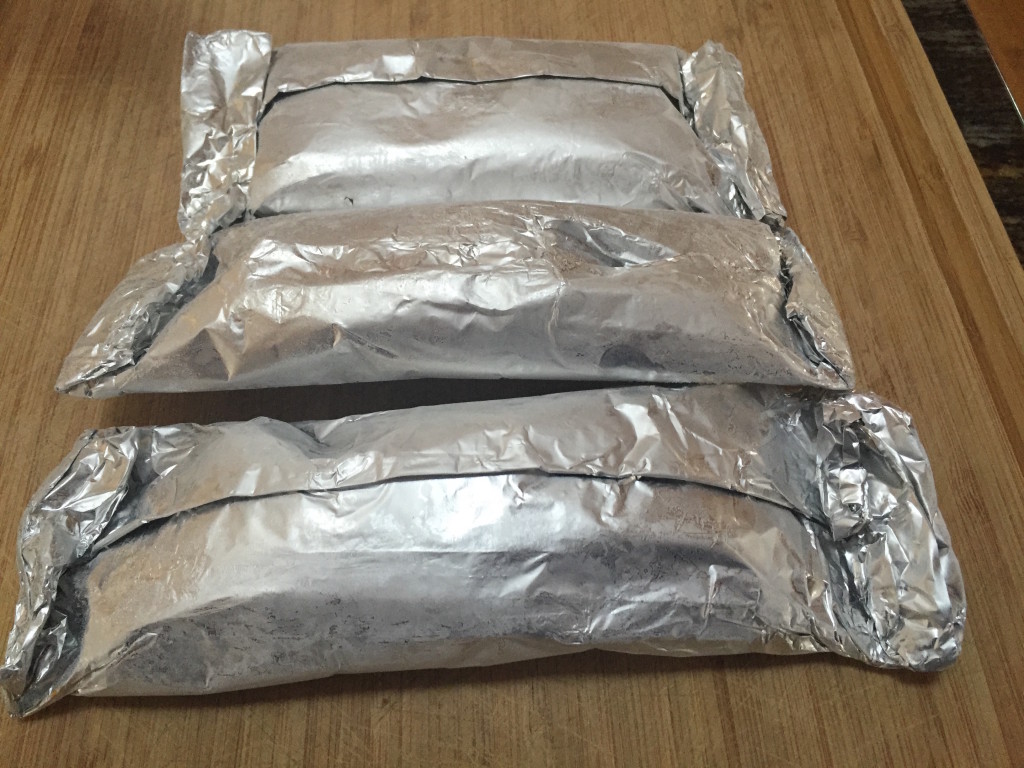
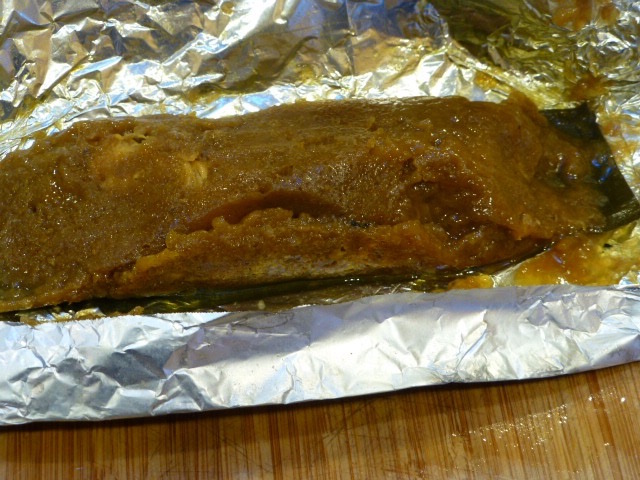
Once they are made, the pasteles are wrapped in banana leaves then wrapped in aluminum foil. They are then cooked right away or frozen until you’re ready to eat them.
Puerto Rican Pasteles
Recently, I found out that a woman in my mother’s neighborhood makes them so I ordered two dozen. I’m not sure if they are paleo ~ only because I don’t know what kind of oil she uses. But the plantains and all the other ingredients are paleo.
Puerto Rican PastelesPuerto Rican Pasteles
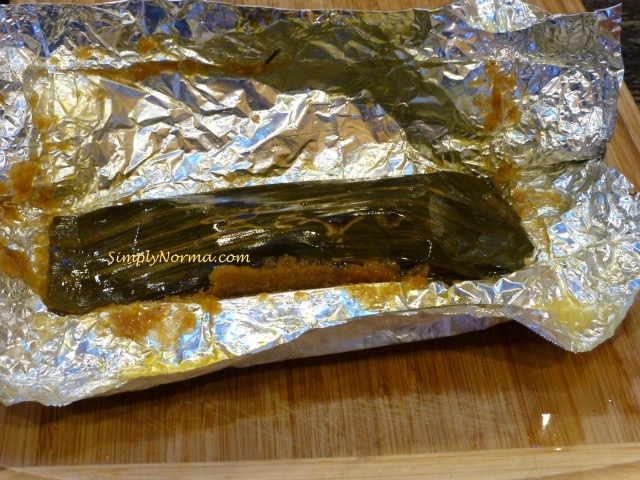
Here’s a closer look ~ they don’t look appetizing but they are scrumptious.
Puerto Rican Pastel
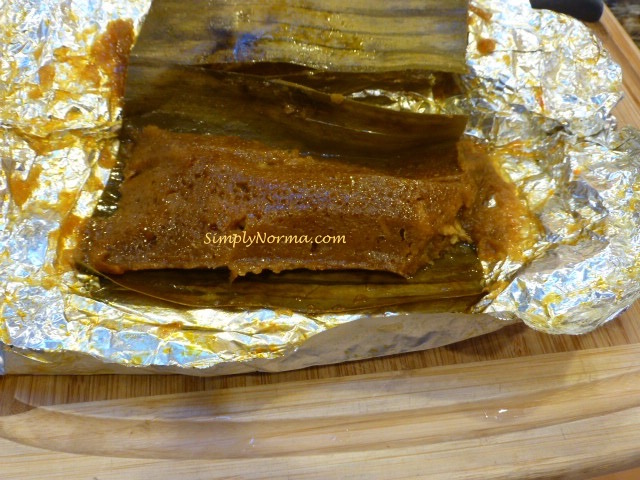
The ones I ordered had shredded chicken and green olives along with different spices the cook used.
Puerto Rican Pasteles
My mother is not the most sophisticated woman on earth. She doesn’t speak fluent English, couldn’t set a table with the silverware in its proper place, nor can she balance her checkbook.
But those things were, and still are, irrelevant to a little girl who just needed to feel safe and loved.
So I’ve been looking around for some new paleo recipes to try and came across one that I could adapt and paleo-ize. Woohoo for all of us, yes?
The recipe didn’t cook “pretty” but it tasted very good and that’s all that really matters ~ well, at least in my eyes.
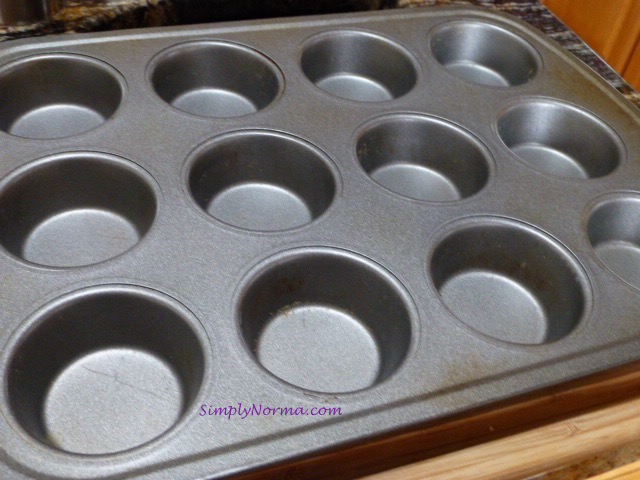
You will need a muffin tin. Yes you will ~ can’t really make mini meat loaves without it. (I know, I didn’t have to show you a picture of a muffin tin but not all countries know what they look like and some of my readers are from other countries.)
Muffin Tin
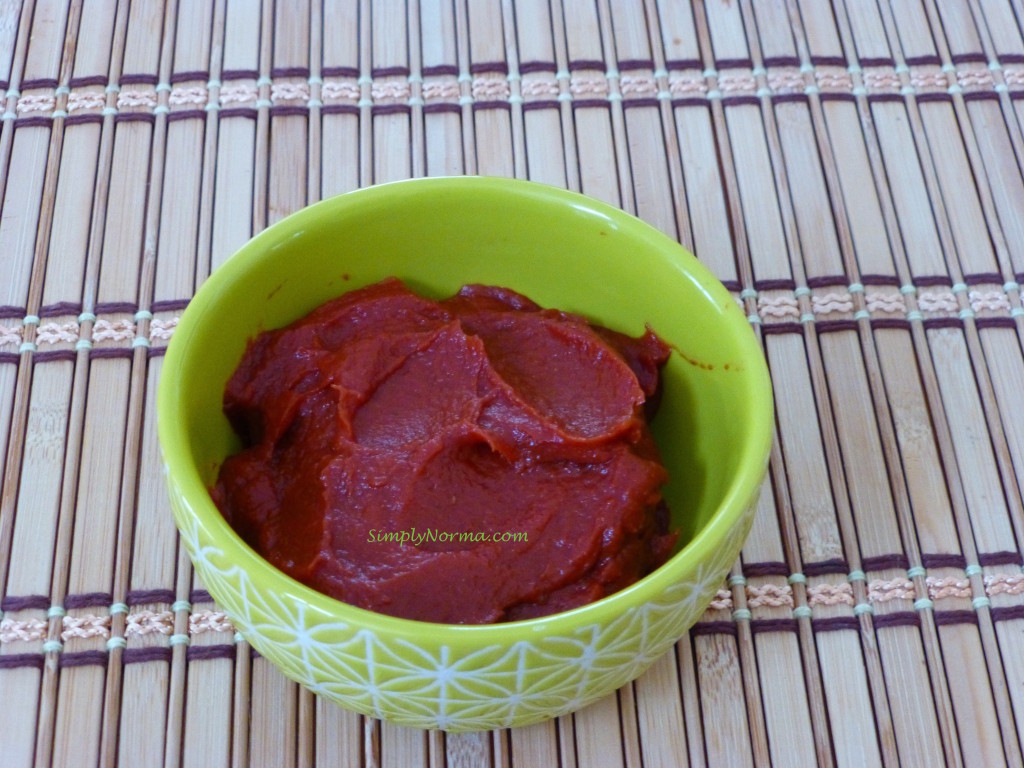
Before I blended the meat mixture together, I made a paleo ketchup. I found a pretty good recipe at Paleo Leaps. The ketchup will be mixed with Dijon Mustard and Worcestershire sauce. The ketchup recipe itself makes quite a bit and you won’t use all of it so you’ll have to adjust the taste. That’s a good thing though ~ taste, taste and taste, one of the better reasons to cook.
Paleo Ketchup
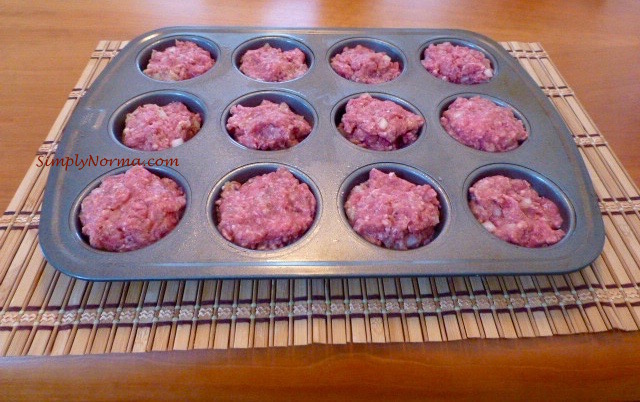
Your meat mixture will be combined and each one of the 12 muffin spaces will be filled.
Uncooked Mini Meat Loaves
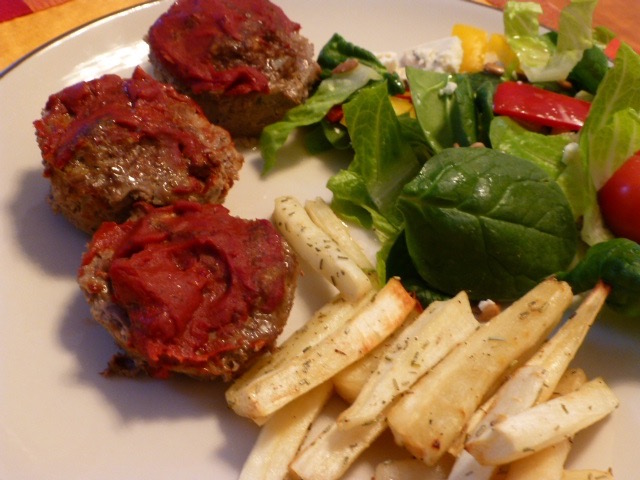
Then you’ll be baking it for, oh, 20-25 minutes, removing it from the oven, topping it with the ketchup and baking it for a few more minutes. I find that our convection oven tends to cook things quicker than a regular “bake” setting.
I served my Mini Meat Loaves with Baked Parsnip Fries and a salad. Yum!
Even with winter lingering, a salad feels good to the bones.
This paleo Cabbage and Apple Salad is delicious. The “dressing” reminds me of one I make for almost all my salads except it doesn’t have the apple cider vinegar.
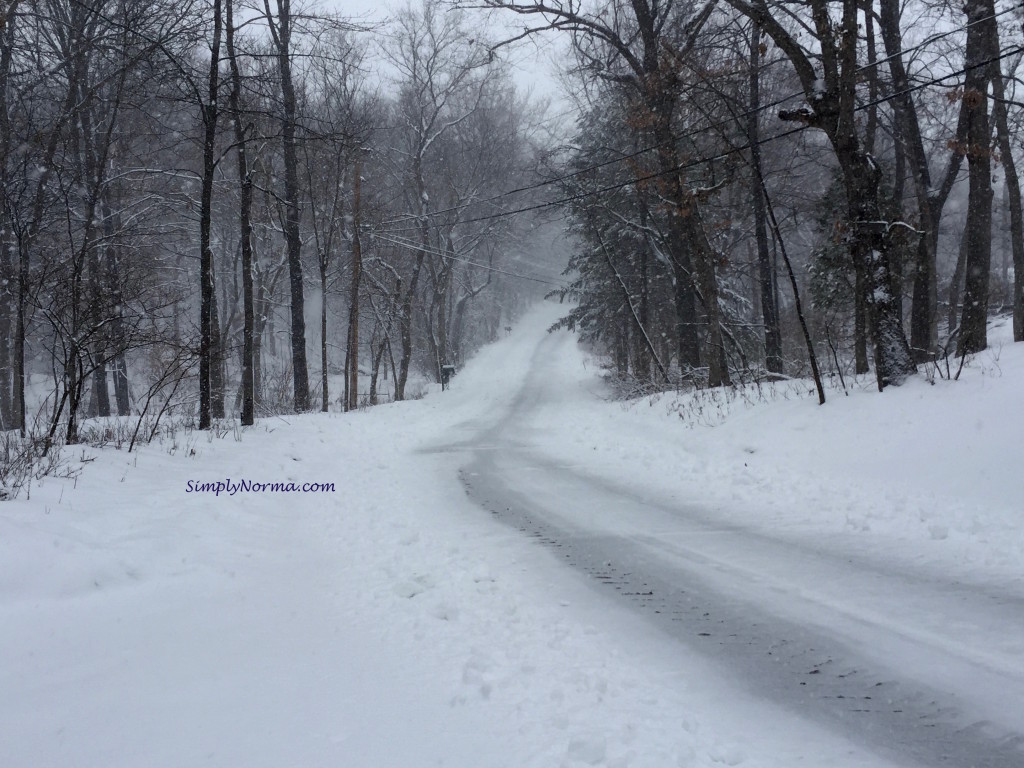
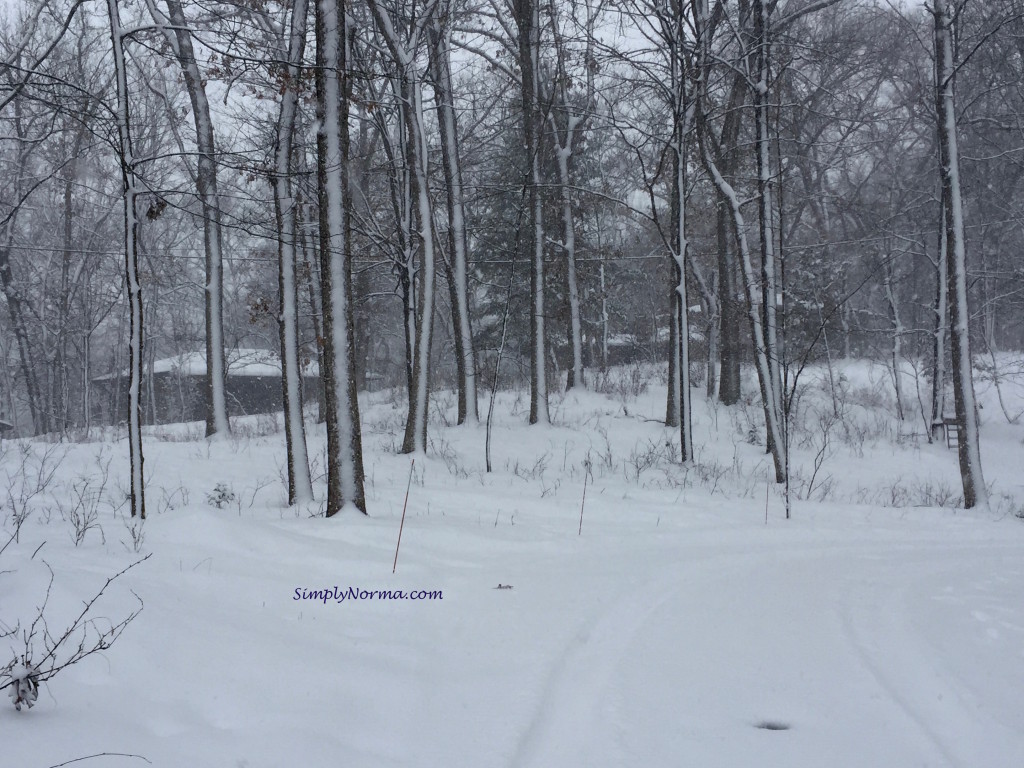
When it snows, peace can be felt in the air as everything and everyone stops.
Minnesota Snowy Road
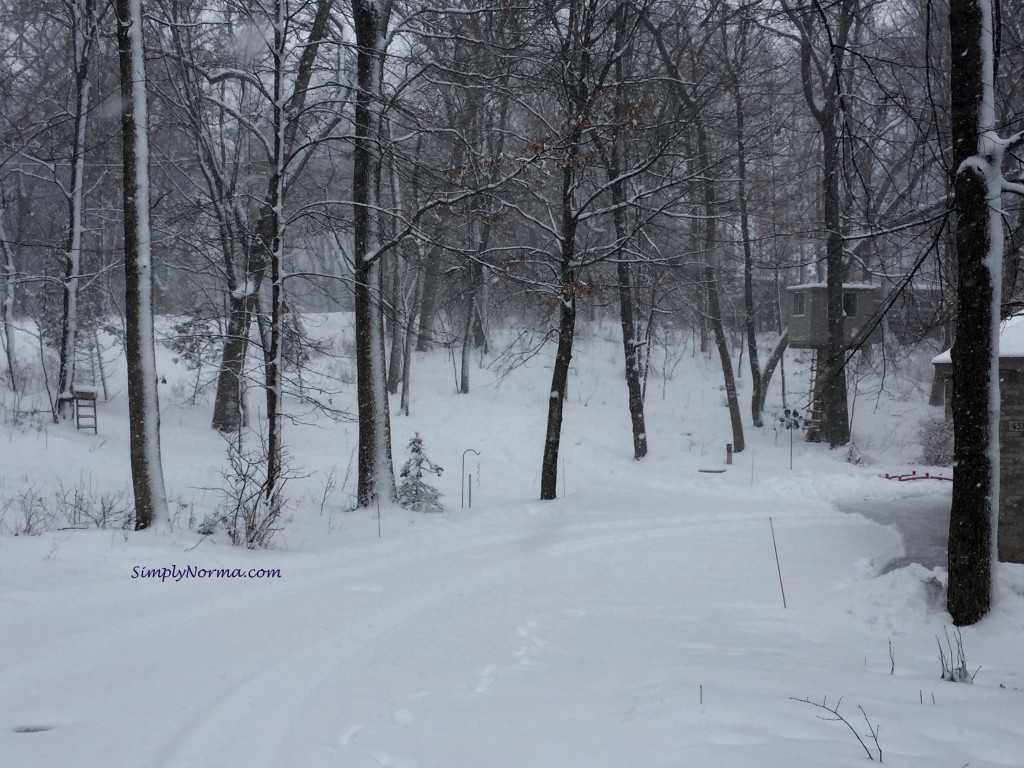
Gathering firewood from the woodpiles stacked in the summer, fireplaces are started that provide warmth to homes.
Hot chocolate, coffee and soups are made in preparation for a long pause from the worldly bustle of work, technology and the mundane daily tasks.
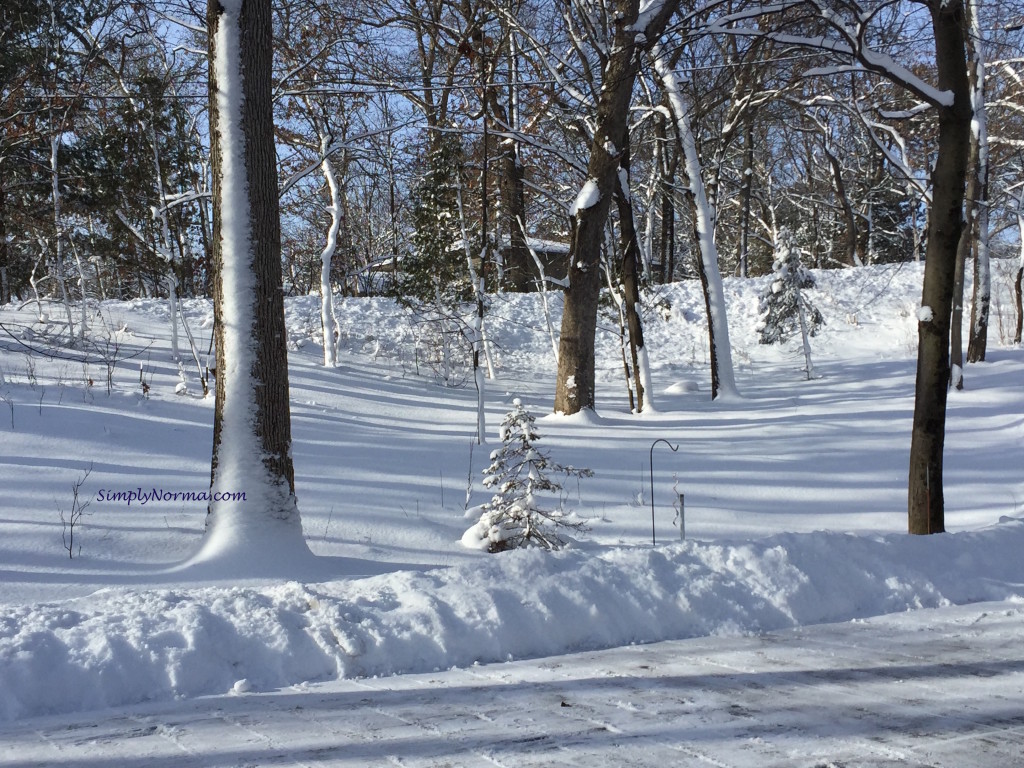
Minnesota Winter Trees
This doesn’t happen often enough ~ there are few times when the heart gets this much needed respite.
Minnesota Winter Trees
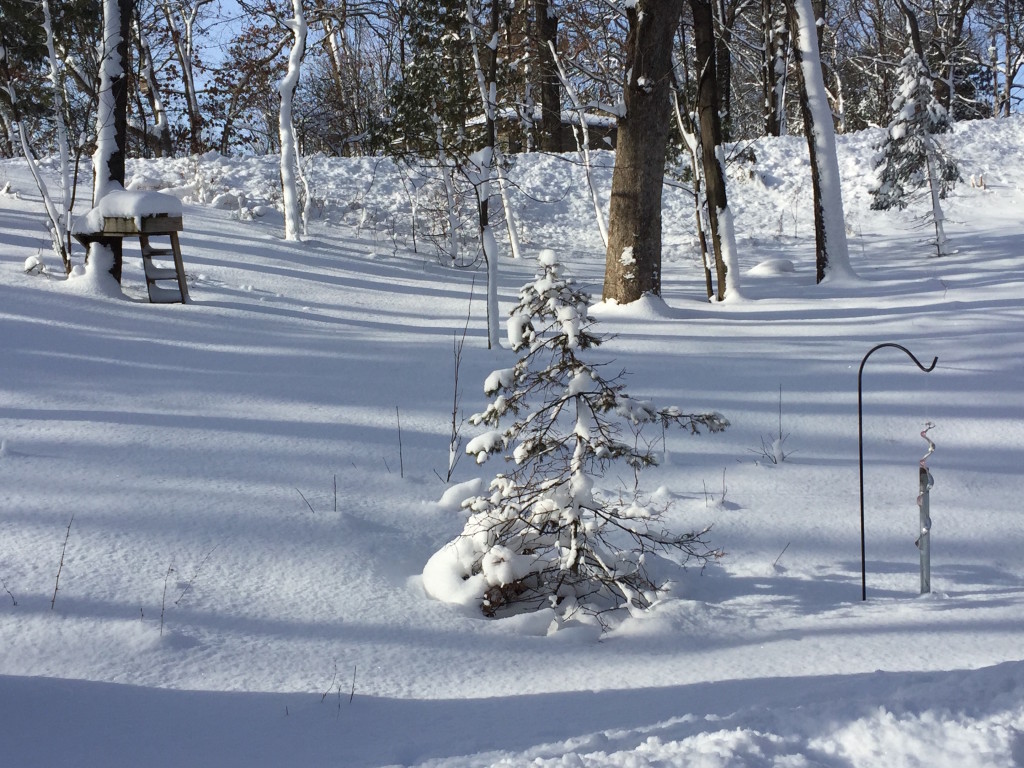
After the snow clouds depart, the sun arrives. Peeking outside, my heart leaps as the breath of fresh air suddenly fills my lungs.
Minnesota Winter
And what happens next defies logic, for in my thermal underwear, with the temperature a not-so-balmy 10°, I dash through 50 feet of snowy driveway to the mailbox and pick up the mail.
A thought crosses my mind “What if I were to have a heart attack and no one could see me because my white thermal underwear blend with the snow?”
As I gingerly walk back to the house, I laugh out loud at my spontaneity and silliness.