As a Puerto Rican, we ate lots of plantains growing up.
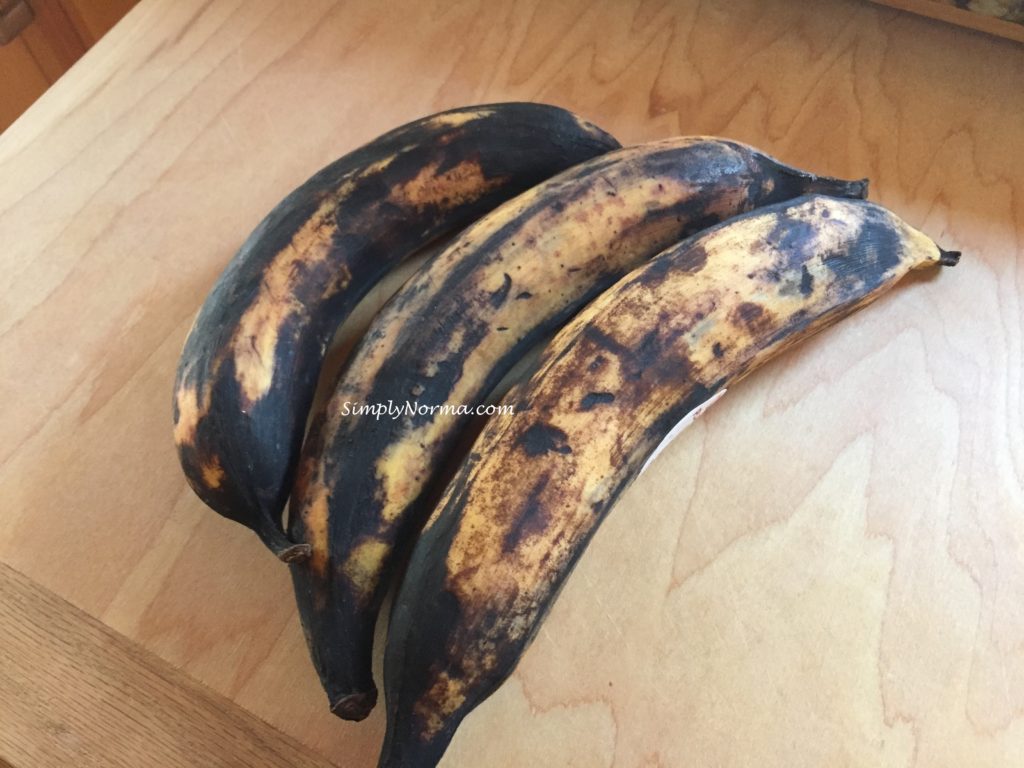
My favorite were the maduros which were yellow and very ripe even to the point of having a black skin. These were the sweet ones as opposed to the green plantains which were not sweet at all and were usually served with a garlic dip. Â But the maduros ~ well, we just fried them up and ate the slices. Simple and delicious!
It’s interesting that almost every time I go to the grocery store and see the very ripe plantains they bring the price down because they assume (incorrectly) that the plantain is too ripe. Â So it’s a bonus to pick up these delicious maduros.
Ripe Plantains aka Maduros
Now, being one to have a sweet tooth, I searched for a recipe to incorporate these plantains into a meal. Â And, right on my bookshelf I found a book called Puerto Rican Cookery that had been given to me as a gift many years ago. It had a recipe for plantain balls but I decided to adapt it to suit my taste.
Besides the plantains, the rest of the ingredients are quite simple: Â ground beef, cheese and seasonings.
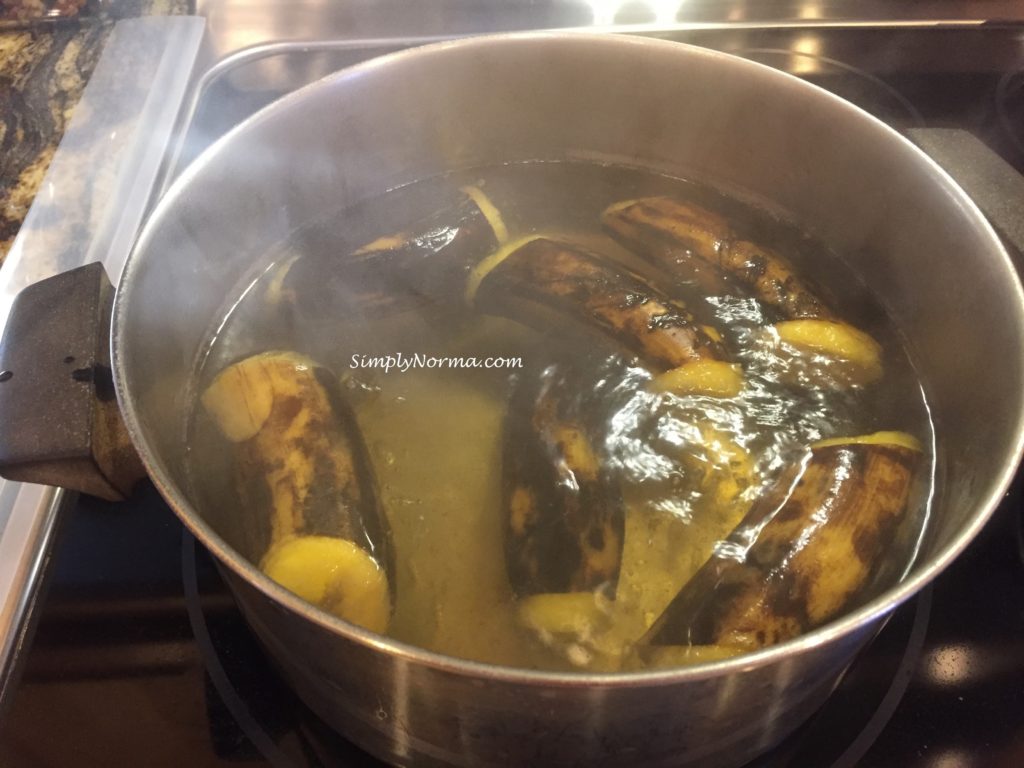
The plantains are boiled in water until they look like they are going to pop out. Â Then they’re taken out to cool. Â Once cooled, I peeled them and added them to a bowl with butter and arrowroot starch. Â Then I mashed them up.
Boiled Plantains
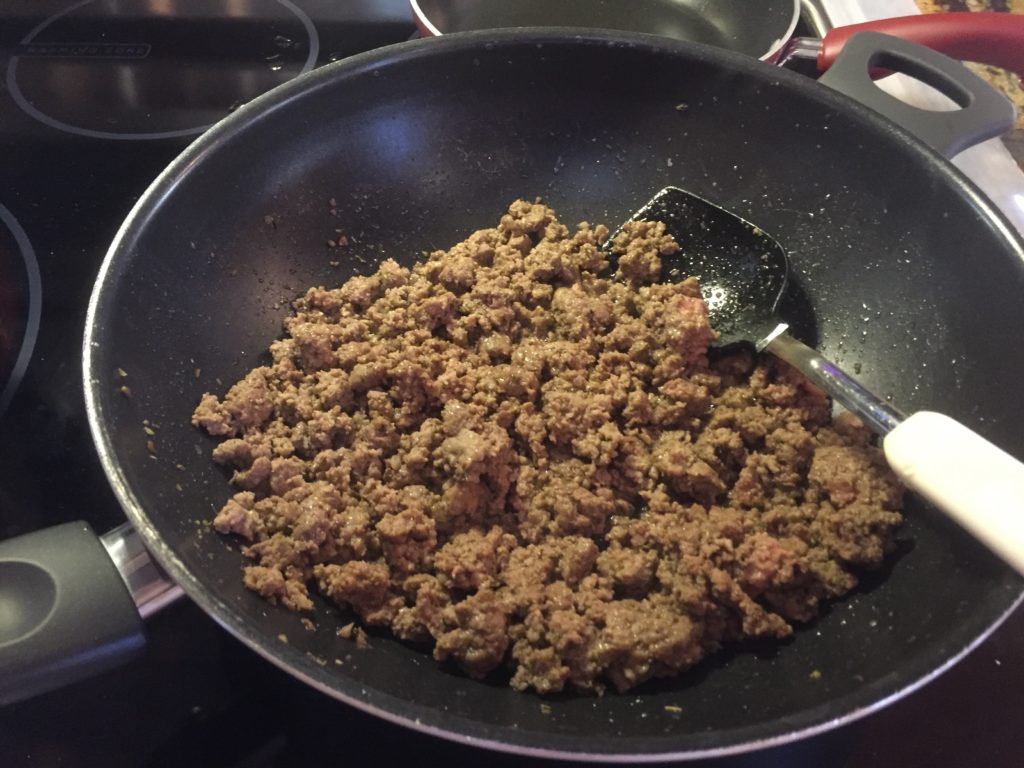
The ground beef is put in a skillet with the seasonings and cooked through. Â This will be used to fill the plantain balls along with the shredded cheese.
Cooked Ground Beef
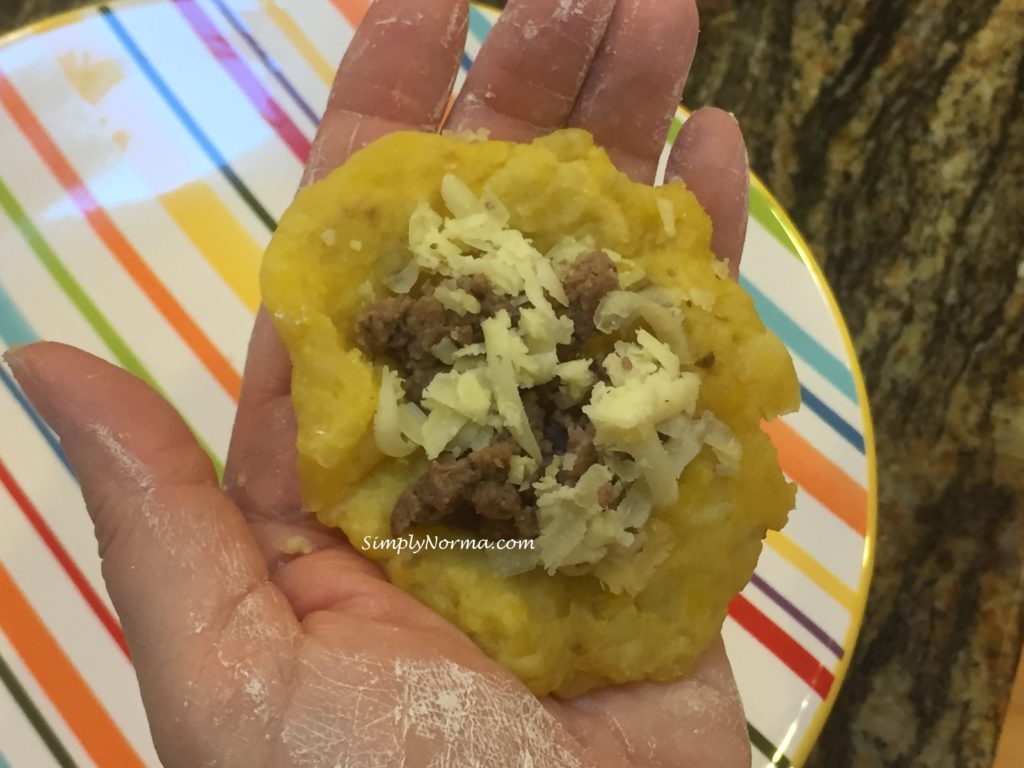
I added a little arrowroot powder to my hands before I picked up some of the plantain mixture to fill it. Â It needs to be flattened so it can be filled with the ingredients.
Beef & Cheese Filled Plantain Balls
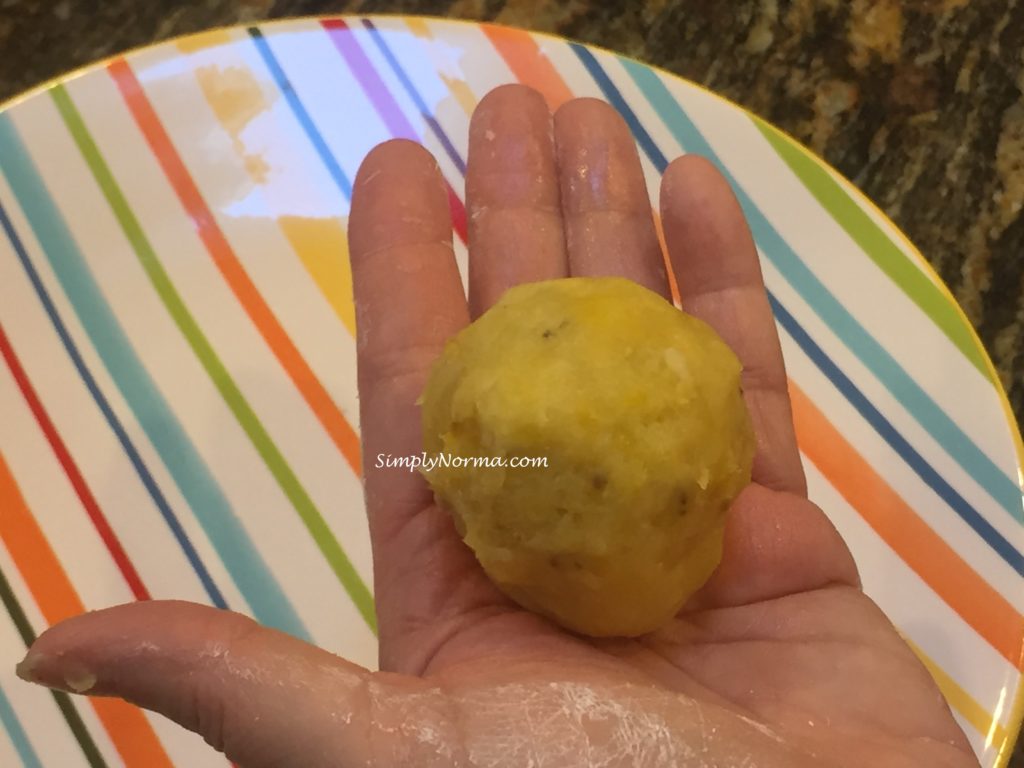
The plantain balls will come out looking like this …
Beef & Cheese Filled Plantain Balls
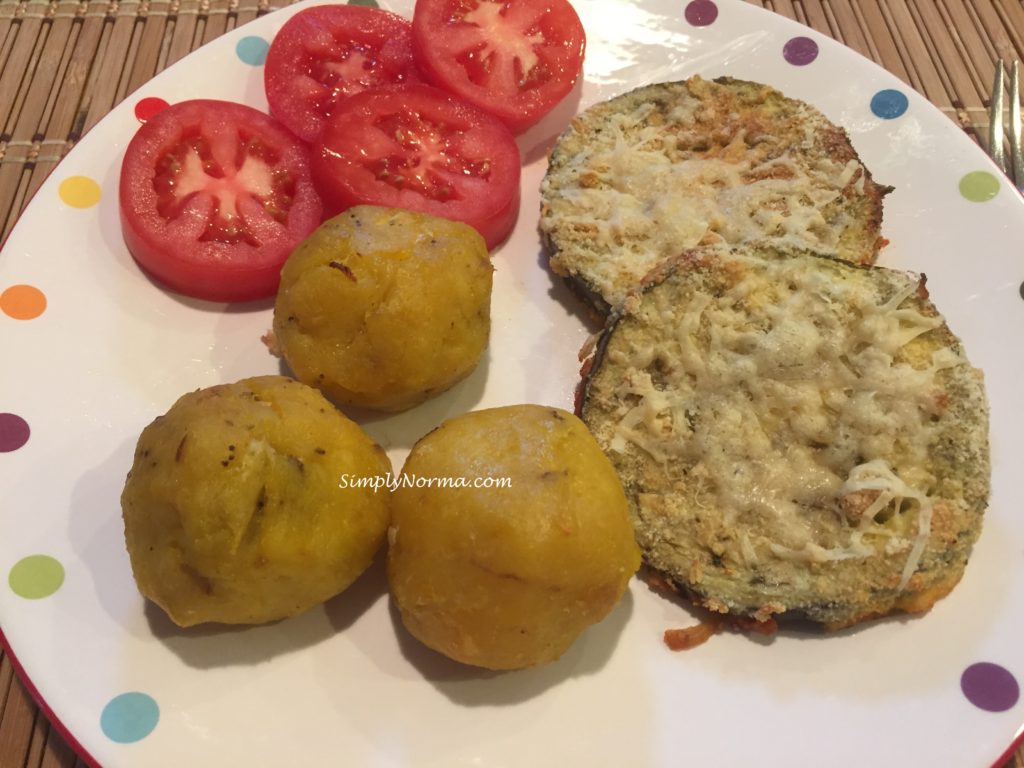
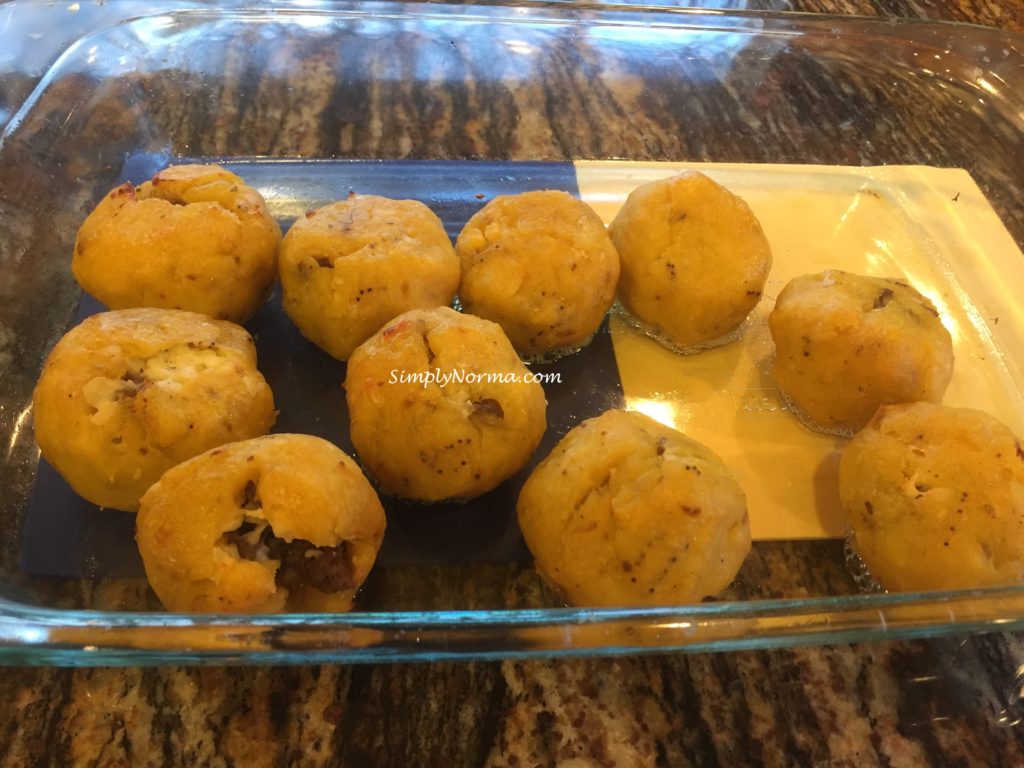
And once baked they’ll look like this …
Beef & Cheese Filled Plantain Balls
These Beef & Cheese Filled Plantain Balls are paleo … deliciously paleo. Â And, if you choose, you can also fry them instead of baking them but I prefer them baked.
A couple of years ago we went to a local fair and a representative from the Minnesota newspaper The Star Tribune was there and offered us a year’s worth of Sunday papers for only $1.00.
Wow, we thought. Â That’s cheap. Â They are practically giving it away. Â We’ve been told by others that the reason they “give” the paper away is that they have to get a high subscription rate in order to charge advertisers certain rates. Â Irregardless, we went ahead and signed up for the paper.
A year later we received a renewal notice for $26.00 for a year’s worth of Sunday papers of the Star Tribune. Â I signed up again although we really didn’t read the paper as much as we thought we would.
Towards the end of the subscription, I called to have the paper temporarily stopped as we would be out of town. Â When we arrived back home, the paper had been delivered ~ twice. Â I called and lodged a complaint and was told by a supervisor to specifically ask to speak to a supervisor and they would make sure the paper was stopped. Â The next time we went out of town I called and did as I was told ~ spoke to a supervisor and was assured our paper would be temporarily stopped.
But it wasn’t. Â At this point, I called and asked them to cancel our subscription and was assured it would be cancelled. Â My online account showed the cancellation and there was no money due yet the Sunday papers kept coming.
After 2.5 months of getting a “free” paper, we again were going to be out of town so I called and told them that they needed to stop the paper as we no longer had a subscription. Â I was assured, again, that it would stop. Â But it wasn’t.
When we returned from being out of town, Â the paper had been delivered again. Â Feeling frustration creep into my voice, I called again and was assured they would stop delivery. Â The following Sunday ~ guess what? ~ the paper was delivered again.
So I called again. Â This was now getting to be ridiculous. Â I spoke to a supervisor and was assured … wait, I’m pretty sure I heard that same assurance before so after I hung up with the supervisor I sent an online complaint to the Better Business Bureau here in Minnesota.
When I pulled up the online information on The Star Tribune I was shocked at what I saw. They had 100% negative reviews but an A+ rating. Â How can that be?
BBB Rating of The Star Tribune
It seems ridiculous to me that a company that has 100% negative reviews can have an A+ rating.
Recently a friend of mine sent me an article re the BBB and how they appear to have what the article called a “pay for play” scheme. Although the article is from 2010, I have the feeling that it’s still quite applicable.
“To prove the point, a group of Los Angeles business owners paid $425 to the Better Business Bureau and were able to obtain an A minus grade for a non-existent company called Hamas, named after the Middle Eastern terror group.”
I had always believed that I could trust the ratings on the Better Business Bureau site but this is disturbing to me. Â My trust in them has fallen to zero.
And the resolution to my problem? Â Within 4 days of filing my complaint, I received a response from someone at The Star Tribune letting me know the newspapers would stop being delivered.
Almost 3 months later, I’m glad to say we’ve received no newspaper. Â I’ll never subscribe to this company again.
Spinach, Cheese and Olive Stuffed Chicken Breasts (Paleo)
This paleo Spinach, Cheese and Olive Stuffed Chicken Breast recipe came out absolutely great!
Normally my chicken breasts come out a tad too dry but not this time. I surprised even myself!
I decided on chicken breasts for tonight’s meal because I haven’t had them in quite awhile and I felt inspiration well inside of me. If that inspiration ever wells up inside of you, go for it!
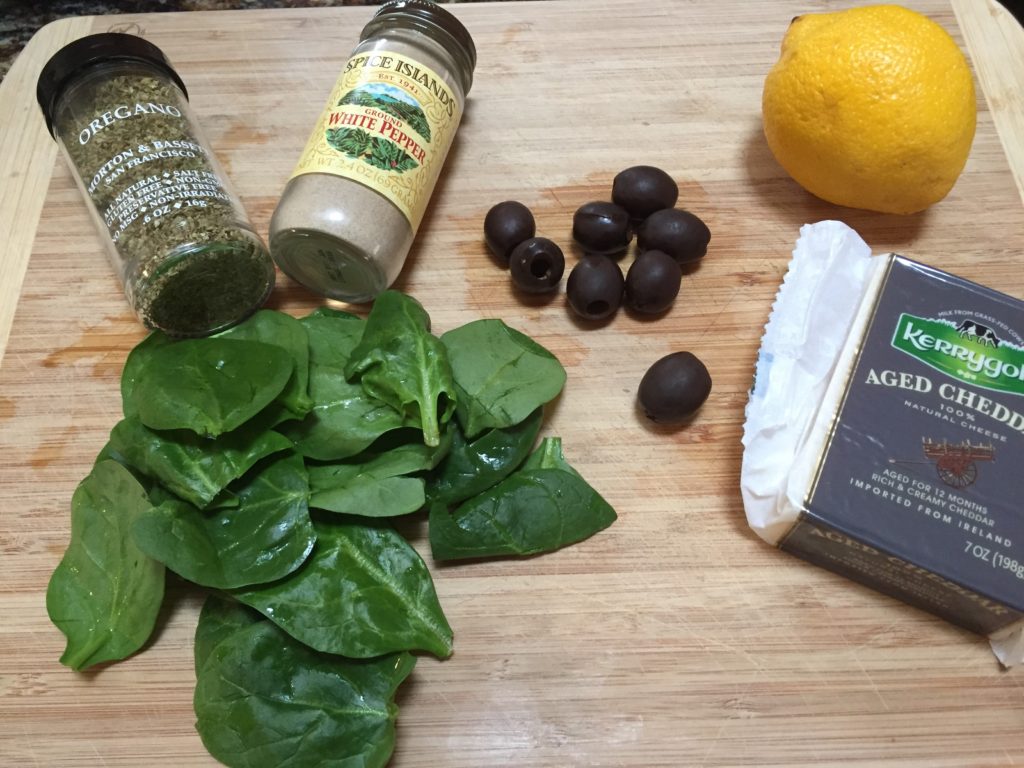
As usual, the recipe is simple and uses ingredients that most people already have in their cupboard.
Ingredients
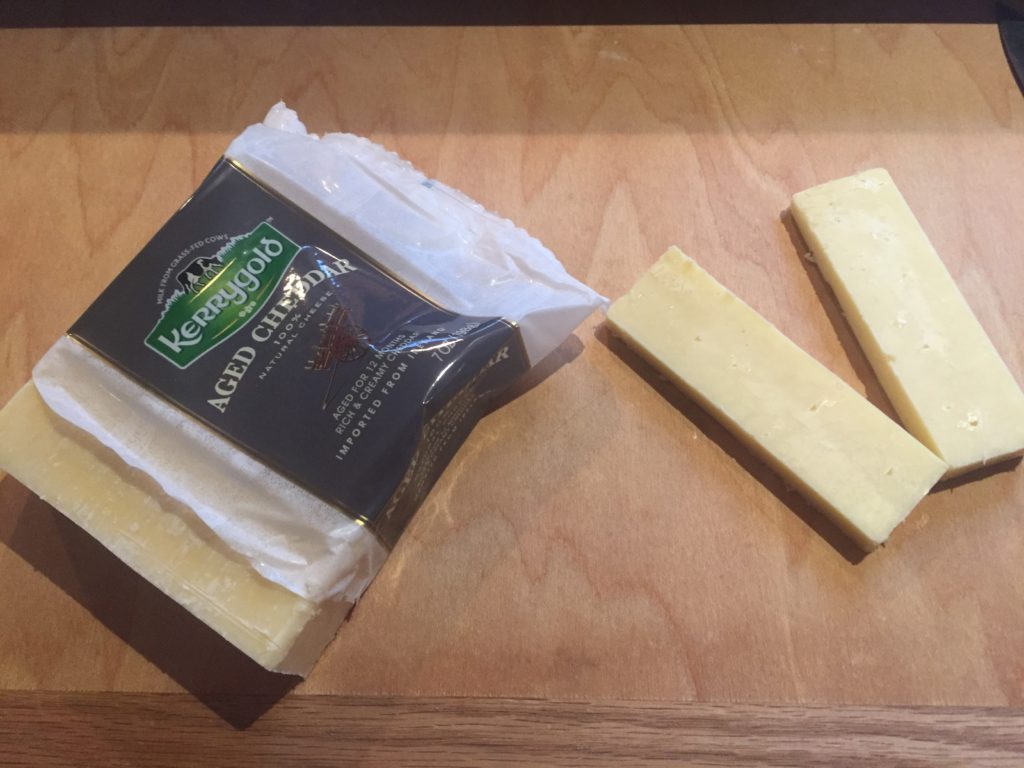
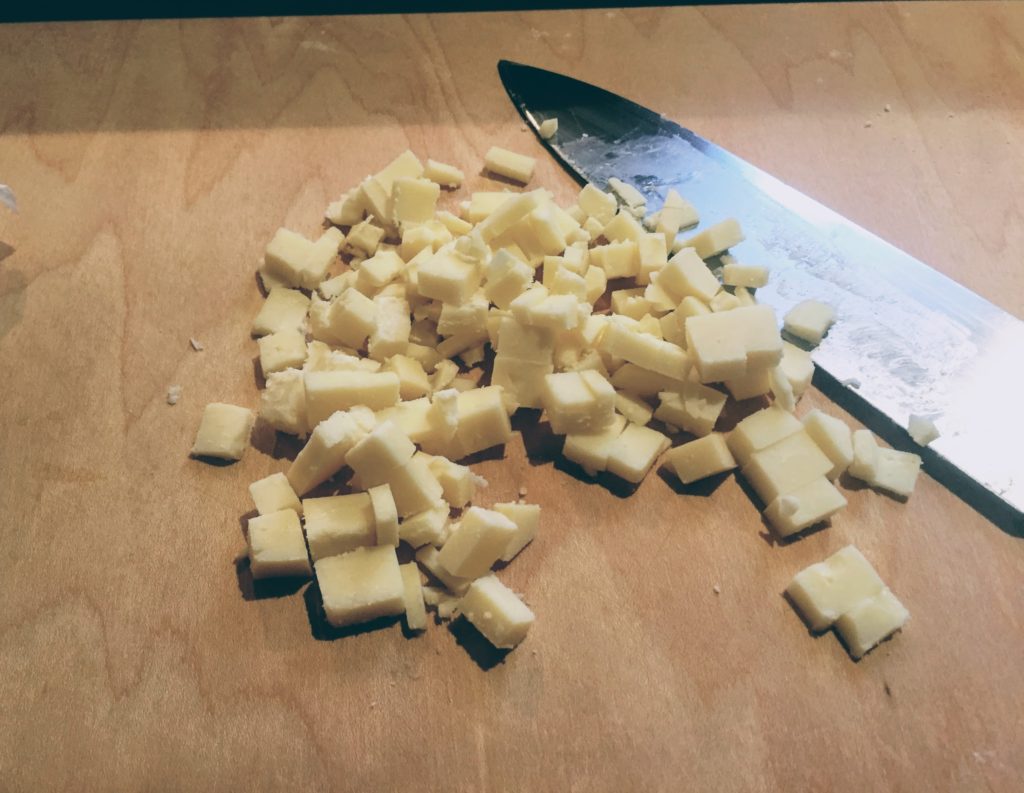
I only used two “slices” of the aged cheddar white cheese and then I chopped it up. You could use more cheese, but I liked the “hint” of cheese and this white cheddar does not have an overpowering flavor.
Kerrygold Aged Cheddar CheeseChopped Kerrygold White Cheddar Cheese
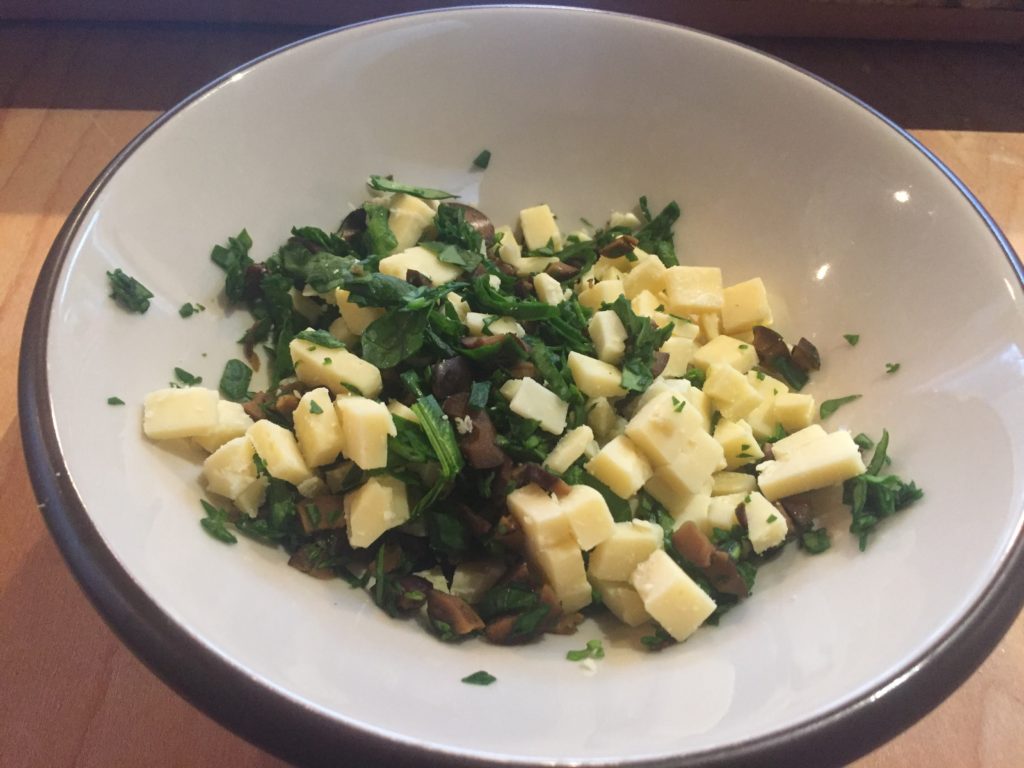
The spinach, olives and cheese will be combined in a bowl after they are all chopped.
Combine Filling Ingredients
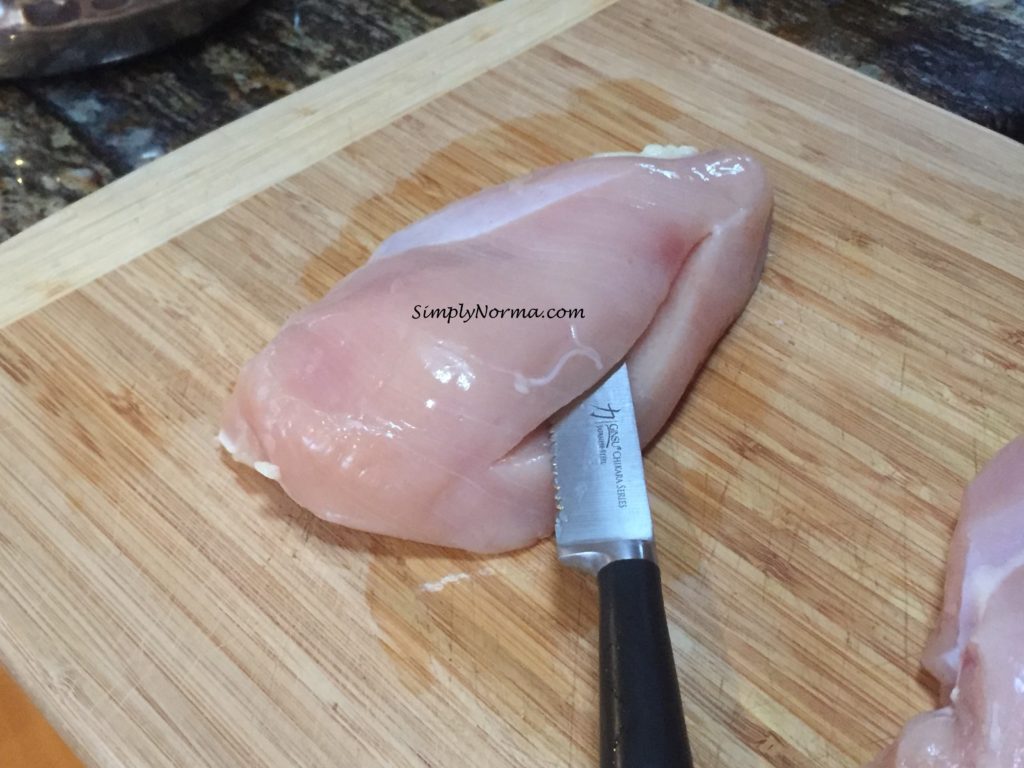
After I cleaned and dried the chicken breasts, I sliced it down the middle but not all the way through ~
Slicing A Chicken Breast for FillingSlice the Chicken Breasts
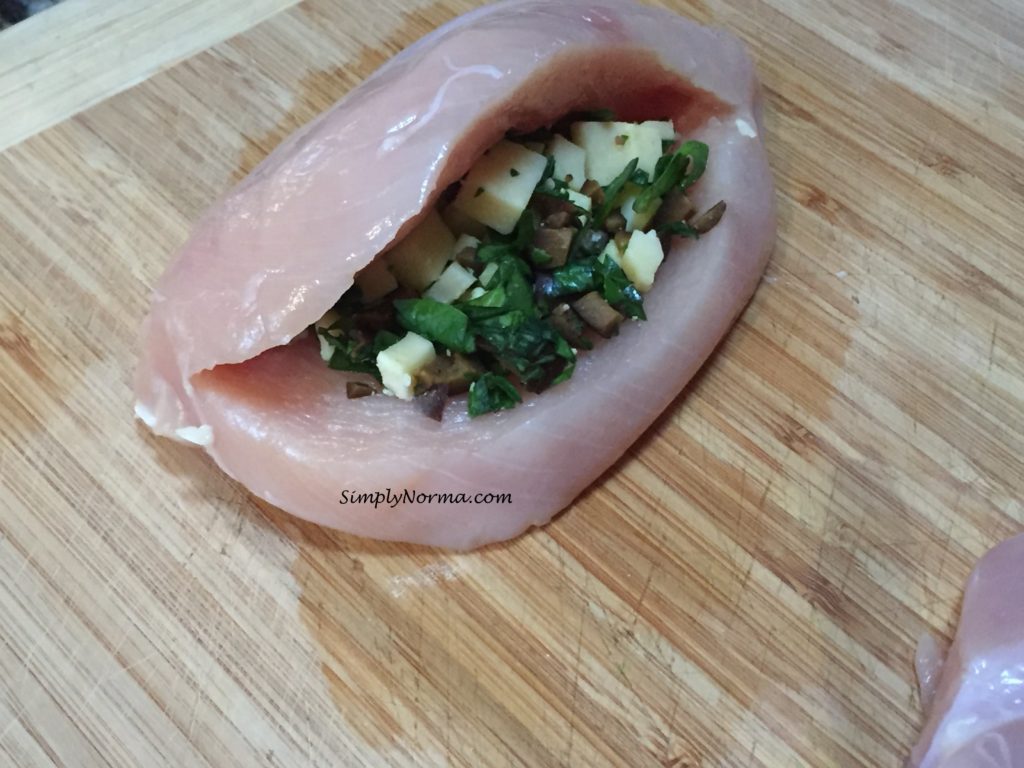
Next I stuffed them with the spinach mixture ~ (you’ll be tempted to overfill them, but remember that the pocket will be closed up).
Add mixture to chicken breasts
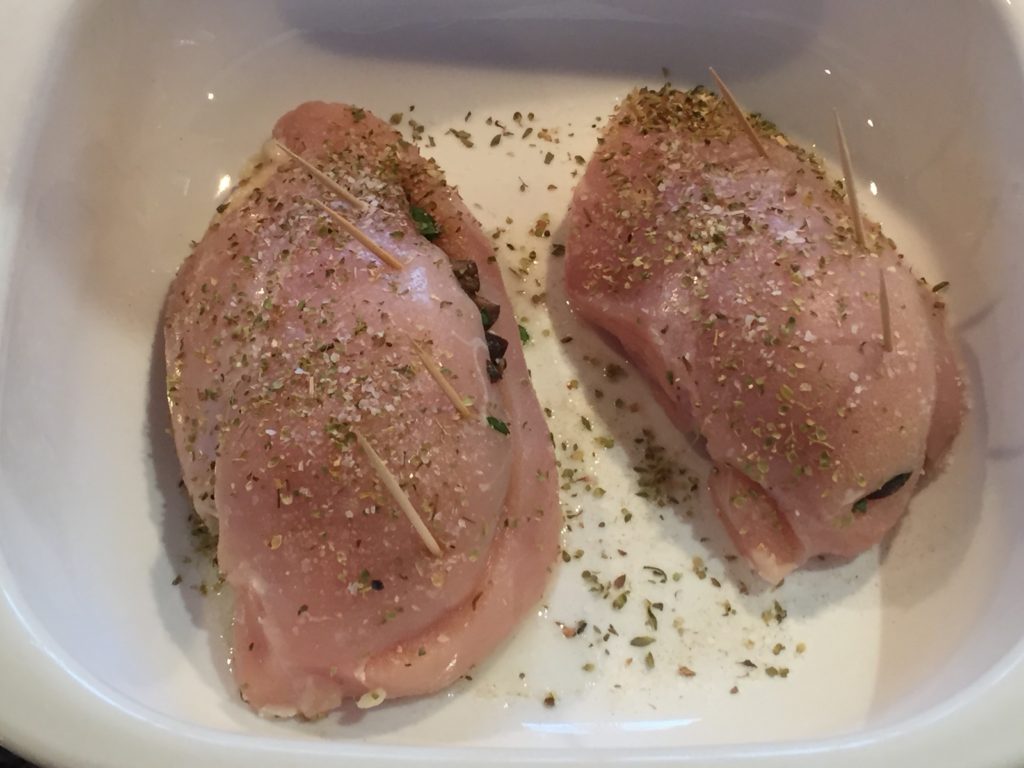
I added a tablespoon of olive oil to the bottom of a casserole dish then the chicken breasts. Â Next I seasoned the chicken with salt, white pepper and oregano then closed the chicken pockets with toothpicks.
Season the chicken breasts
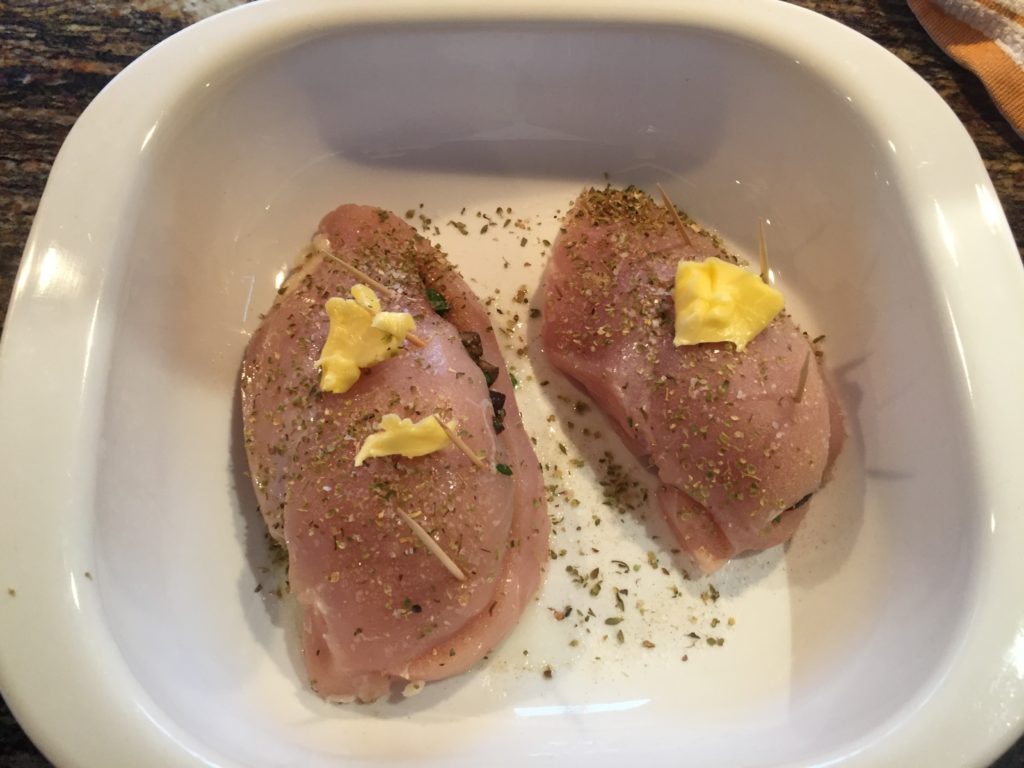
I baked the chicken (covered) for approximately 35 minutes before removing it from the oven. I then added the juice of half of a lemon and a half tablespoon of butter on the top of each of the breasts then back in the oven it went, uncovered, for approximately 5 more minutes.
Add Lemon Juice and Butter
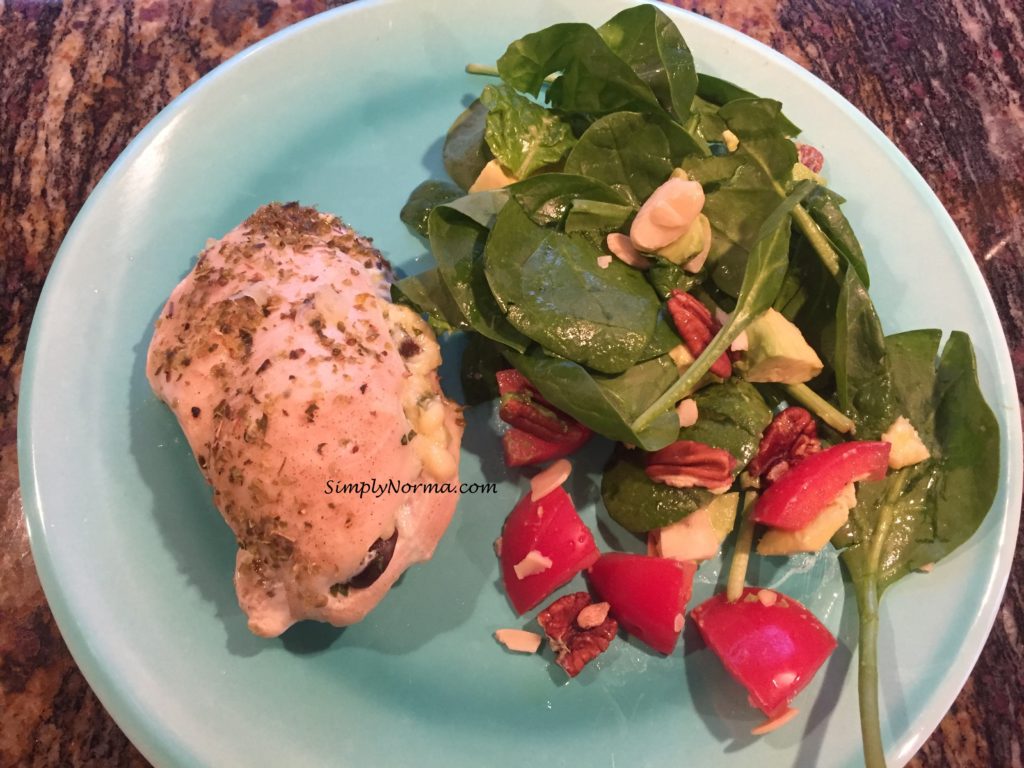
Then ~ perfection. Moist and tasty. I’m sure you’re ready to see the recipe, eh?
Spinach, Cheese and Olive Stuffed Chicken Breasts (Paleo)
Once, while driving home with one of my sons, he asked me why I was driving so slowly. The speed limit is 25 in my neighborhood but I was going 20 mph which, I believe, was too slow for him.
When I saw this sign on a car I thought it fit me perfectly.
Driving Too Close
Are we slower or more careful drivers the older we get?
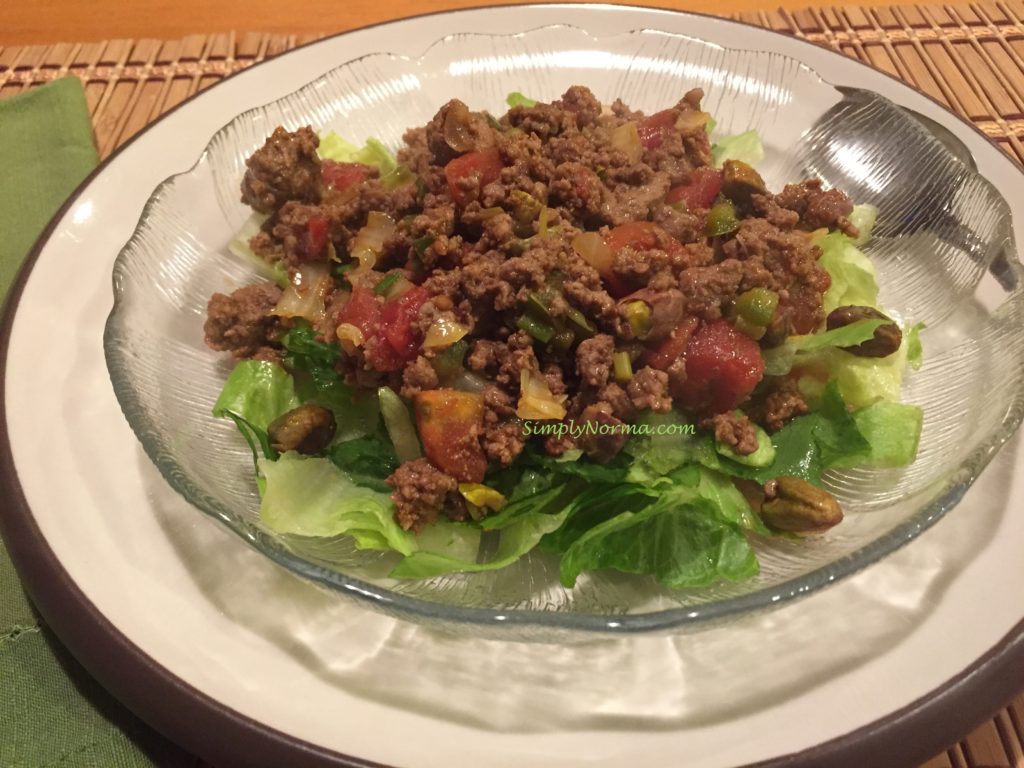
Motivation for a new and simple paleo chili recipe gave me the inspiration for this recipe.
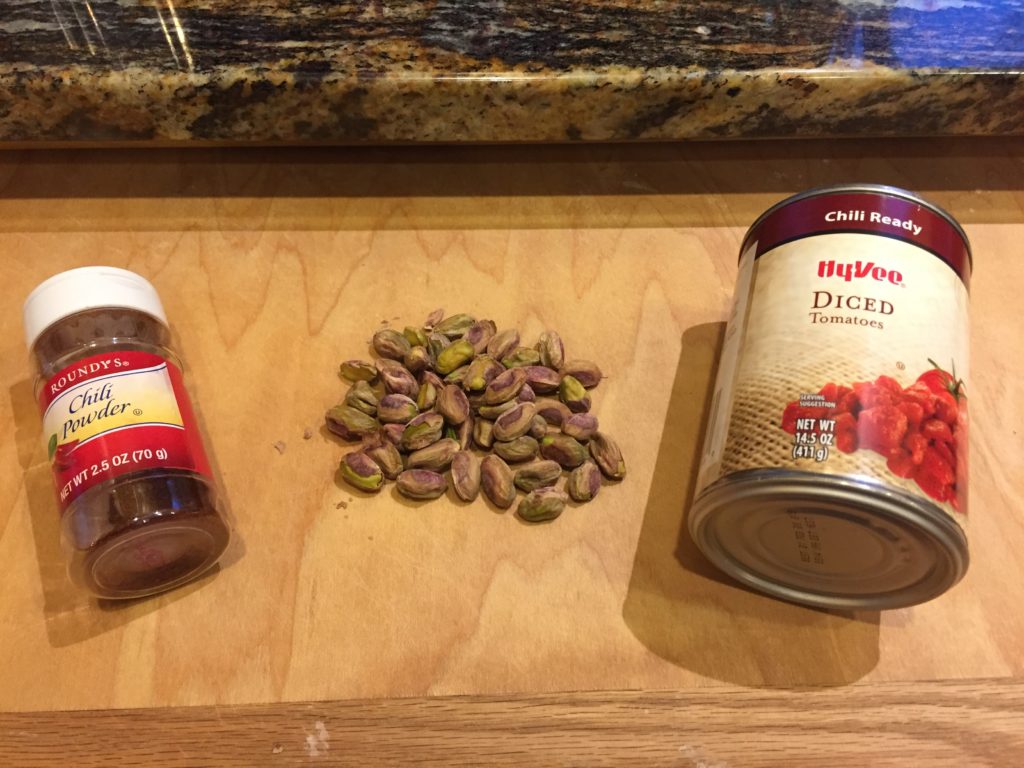
The main spice in this recipe is chili powder. Sounds simple enough, no?
Chili Powder, Pistachio Nuts and Canned Diced Tomatoes
The handful of pistachio nuts were a last minute idea and I was glad I added them. Â They gave a nice crunch to every bite.
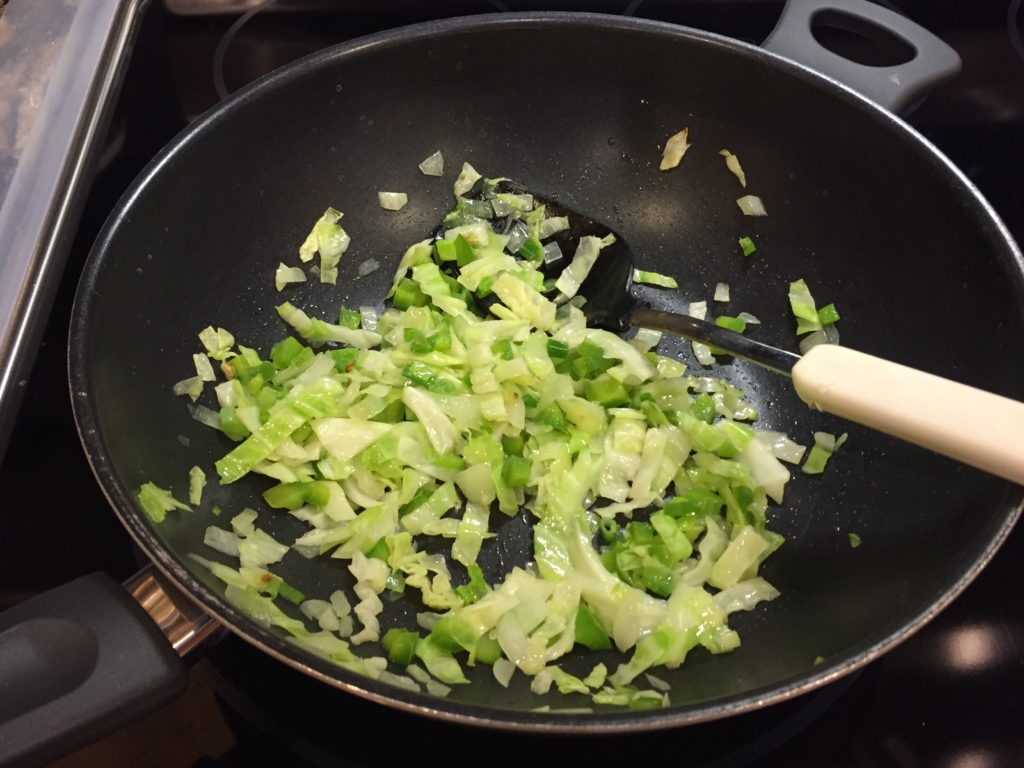
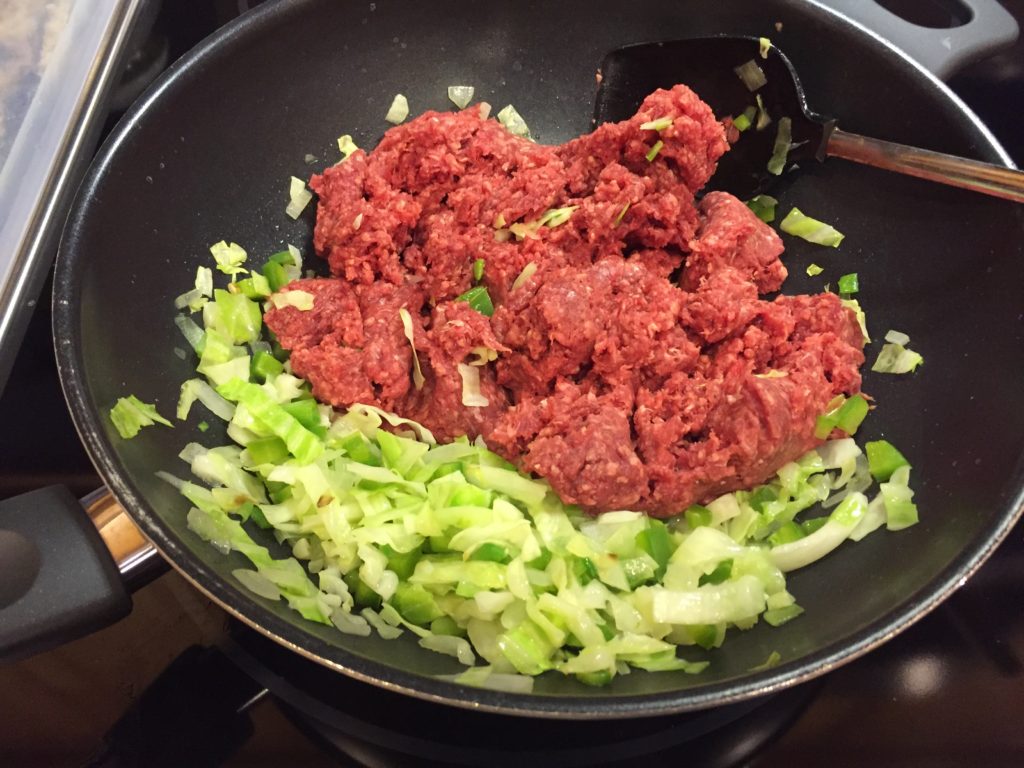
The veggies I choose to use were cabbage, green onions, onion and green pepper. Â I sauteed them in a tablespoon of olive oil to cook them through a little
Saute Vegetables
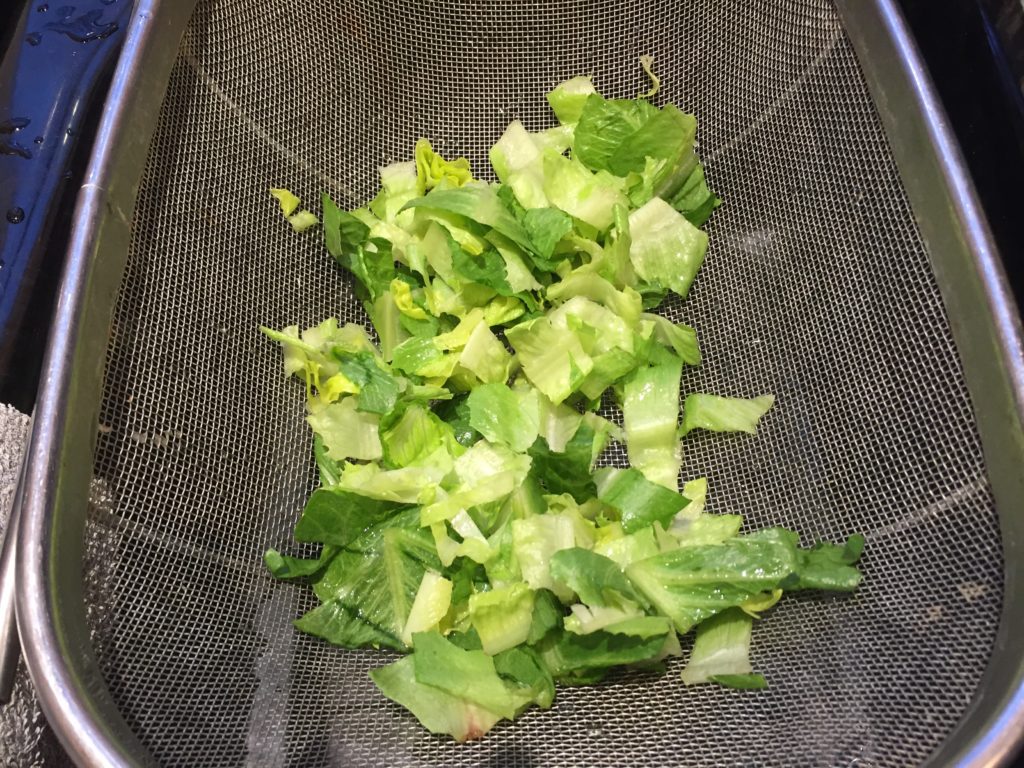
The chili is served on a bed of shredded lettuce which gives it a crispness when you bite into it. Â I sliced the lettuce up, cleaned it with water then put it in a mesh holder to allow the water to drain. Â After a few minutes, I take a paper towel and dry it to remove most of the water.
Prepare Lettuce
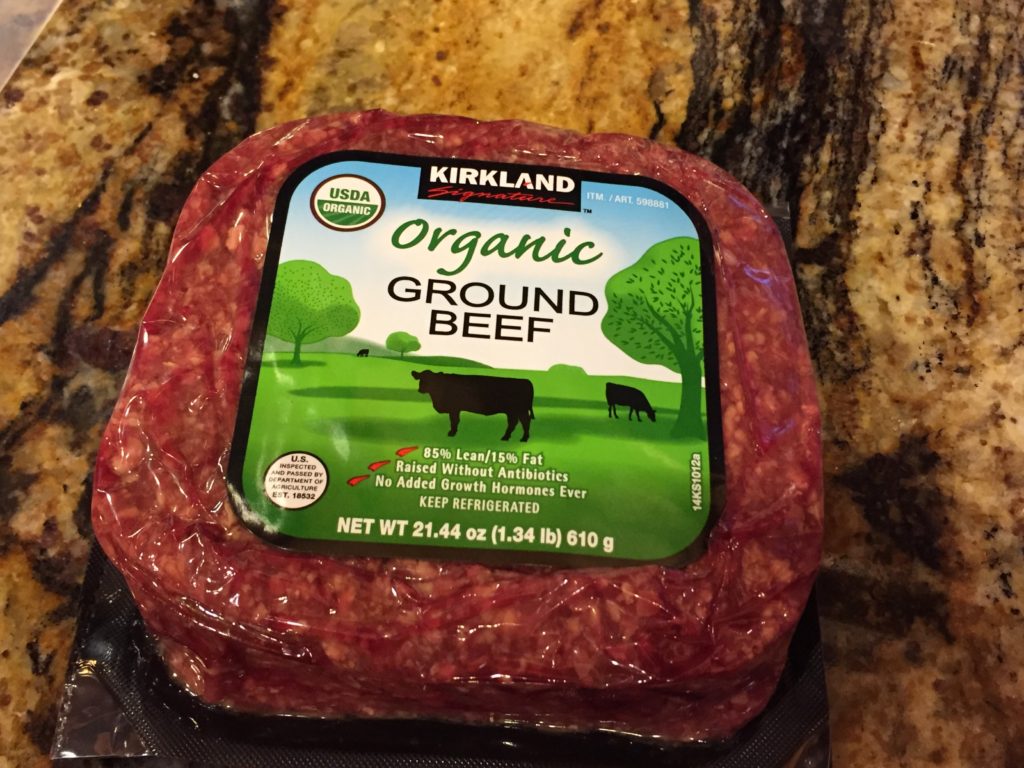
I like to use the Organic Ground Beef that I purchase at Costco. Â It doesn’t taste grainy when cooked like other ground beef I’ve tasted.
Costco Ground Beef
Once the vegetables are sauteed, I added the ground beef to them until the beef browned.
Add Ground Beef to Sauteed Vegetables
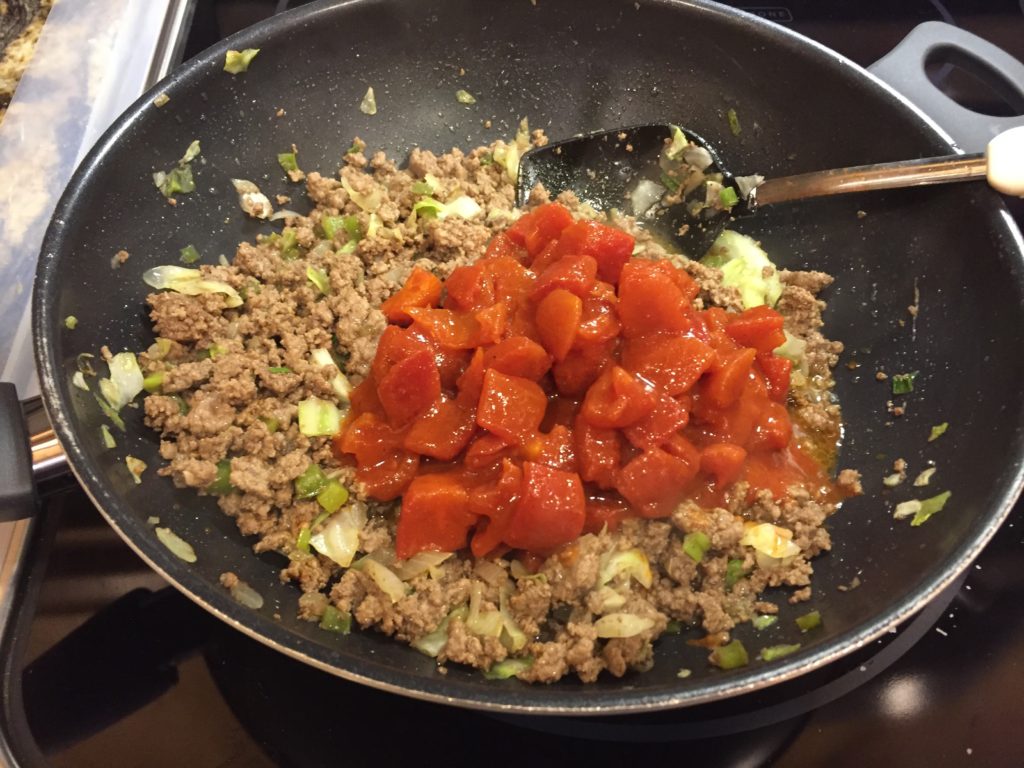
Next I seasoned the beef with the chili powder and salt. Â Then I added the canned diced tomatoes.
Season the Beef then add the Diced Tomatoes
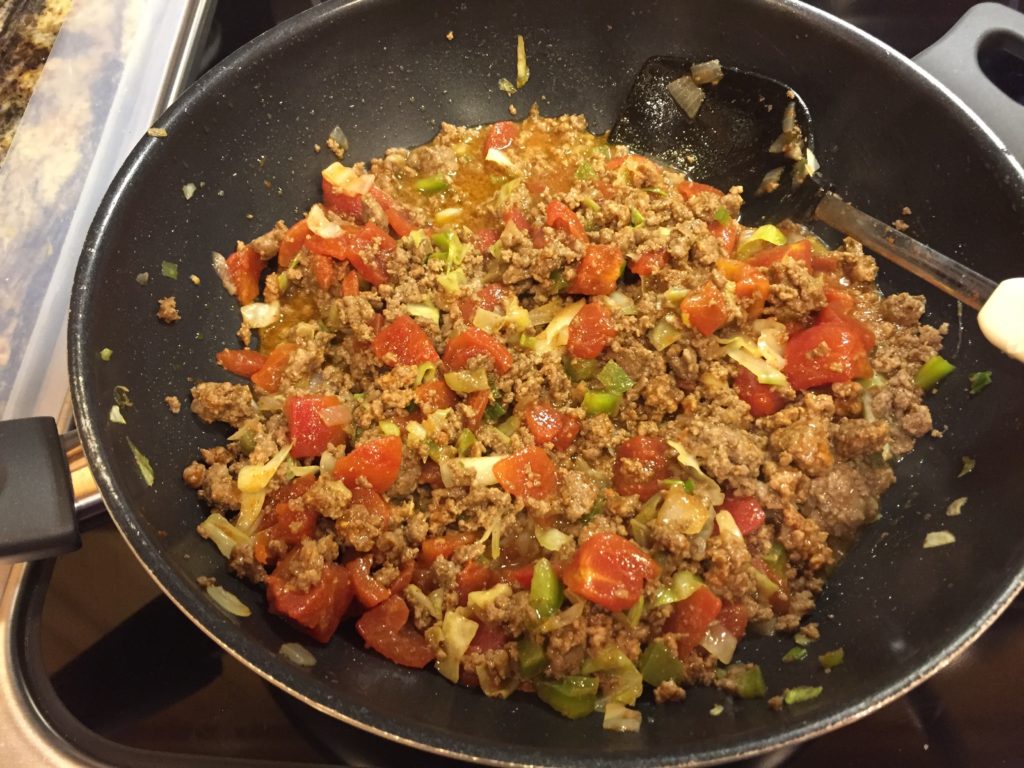
Once everything is combined and cooked through, I added the pistachios, stirred and it was ready to serve.
Paleo Pistachio Chili
Pretty simple, no? Â Check out the recipe and let me know what you think.
When I was gifted a sewing machine a couple or so years back, I needed practice as I had never sewn on a machine before. Â Having YouTube videos to teach me along with online classes I take at Craftsy have really helped.
After I made my first king size quilt for my sister (it took me a year because when frustrated I just put it aside), I posted it on Facebook and made a statement to the effect of “anyone want something made so I can practice?” Â Oh boy! Â The people came out of the woodwork! Â I had about 6 people requesting quilts. Unfortunately they all wanted queen size quilts. Â Yes, I could have said no ~ well, come to think of it, I SHOULD have said no.
My sewing machine has a very small harp space and it’s hard to get the pieced quilt top, batting and back through the machine to quilt.  After taking a class on Craftsy on how to make a quilt in 2 or 3 pieces, I felt a little more confident. Not 75%, (or 65 or 50) but just a little more confident (laughing).
This quilt is my fourth and it didn’t come out too bad. Most of the quilts I see online are absolutely gorgeous and I admire them. Â Then I found out that one of the quilters whose work I really admire sends her quilts out to a “long-armer” who uses a very large sewing machine to do the quilting. Â Disappointment set in as I kind’ve feel that’s cheating. Â She gives credit to the long-arm quilter who does her work for her but … still … it makes it seem almost an impossibility that any of my quilts will come out as beautiful.
I’m still hopeful though.
My niece requested a heart quilt ~ one large heart in the middle of the quilt. Â She didn’t want smaller hearts surrounding it as she didn’t want anything to take the focus away from the large heart. Â The colors she was interested in were purple (first choice), blue, red and possibly orange.
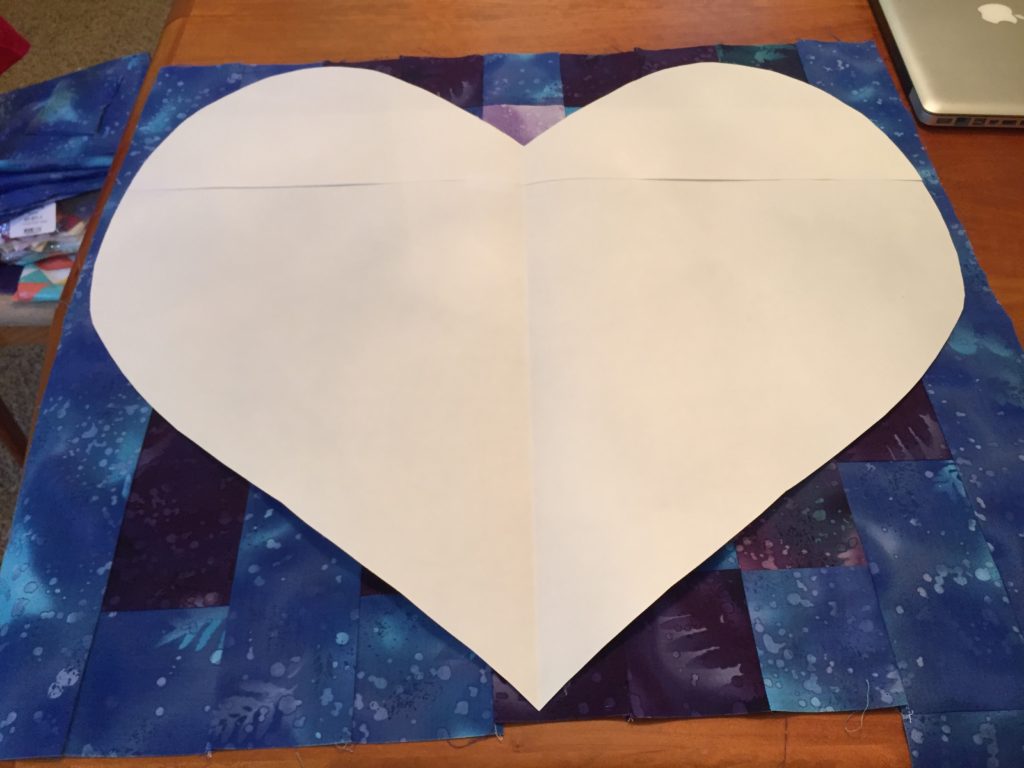
Since I could not find a template that was large enough for this heart, I had to create my own. Â I did that by purchasing two large pieces of art paper and taping them together. Â Then I folded it in half and cut a heart out of it. Â An engineer friend of mine gave me this suggestion.
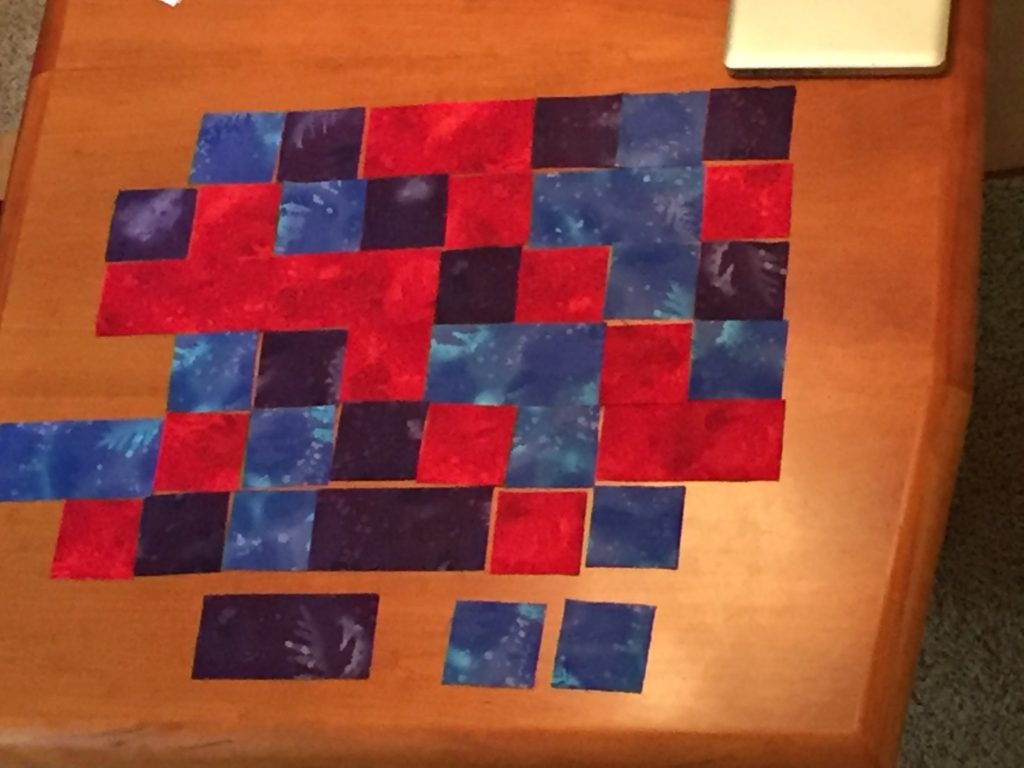
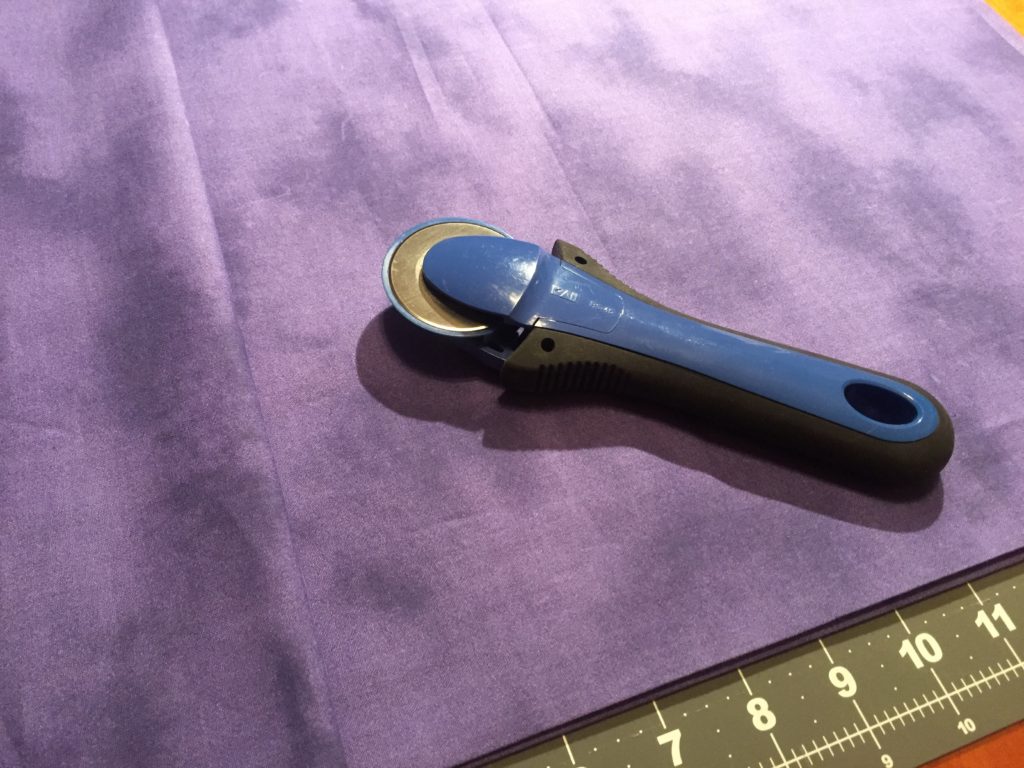
Next, I auditioned the fabric I would be using after cutting them into smaller pieces that would be pieced together. Â Needless to say, the red did not make the cut. Â Now I was left with the blue and purple.
Quilting Fabric
I measured the heart as if it were a square piece to determine how much fabric I would be needing. Â Then I cut the fabric into smaller pieces ~ they didn’t have to be the same width as I wanted a random arrangement. This was suggested to me by a friend whose a graphic designer.
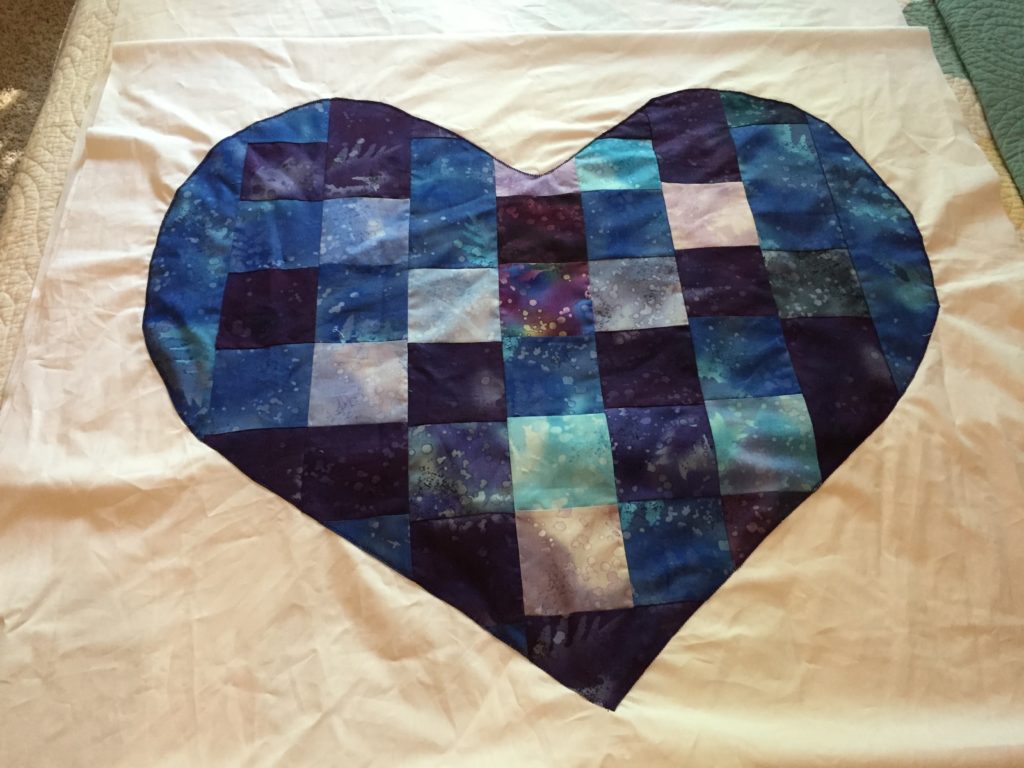
Once I had a pieced square made out of the fabric, I put the cutout paper heart on top of the square I made with the fabric.
Making A Large Heart Template
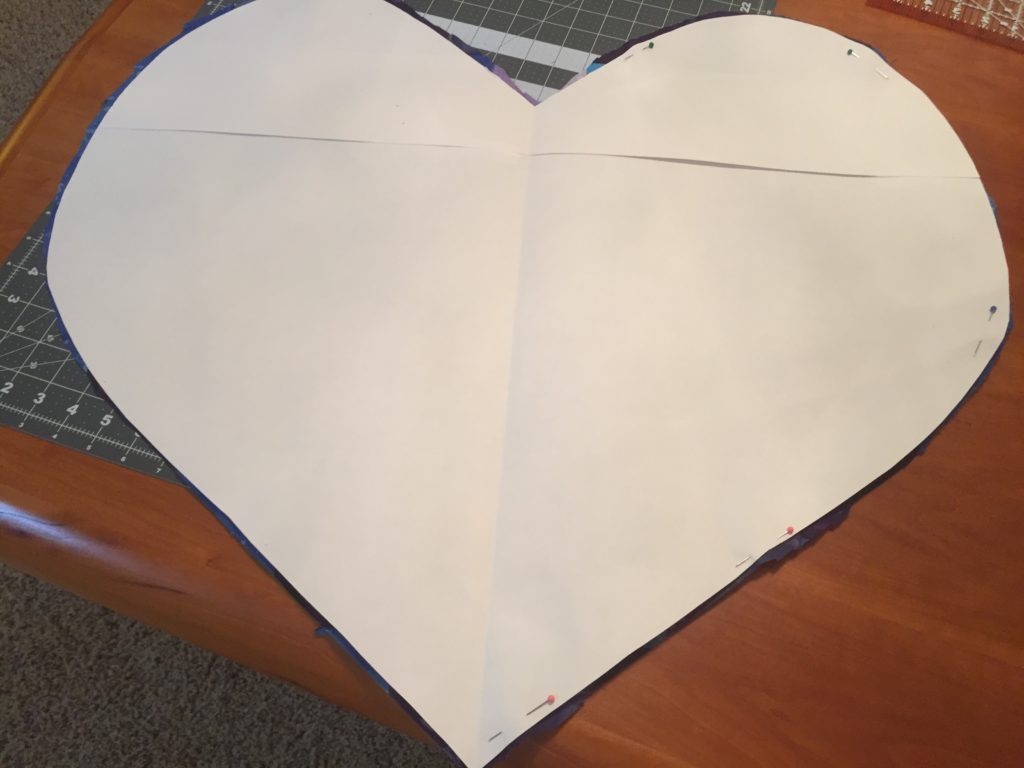
Then I pinned the paper heart template to the fabric and used my scissors to create a heart out of the fabric.
Making A Large Heart Template
I then pressed the fabric heart with starch.
Making A Large Heart Template
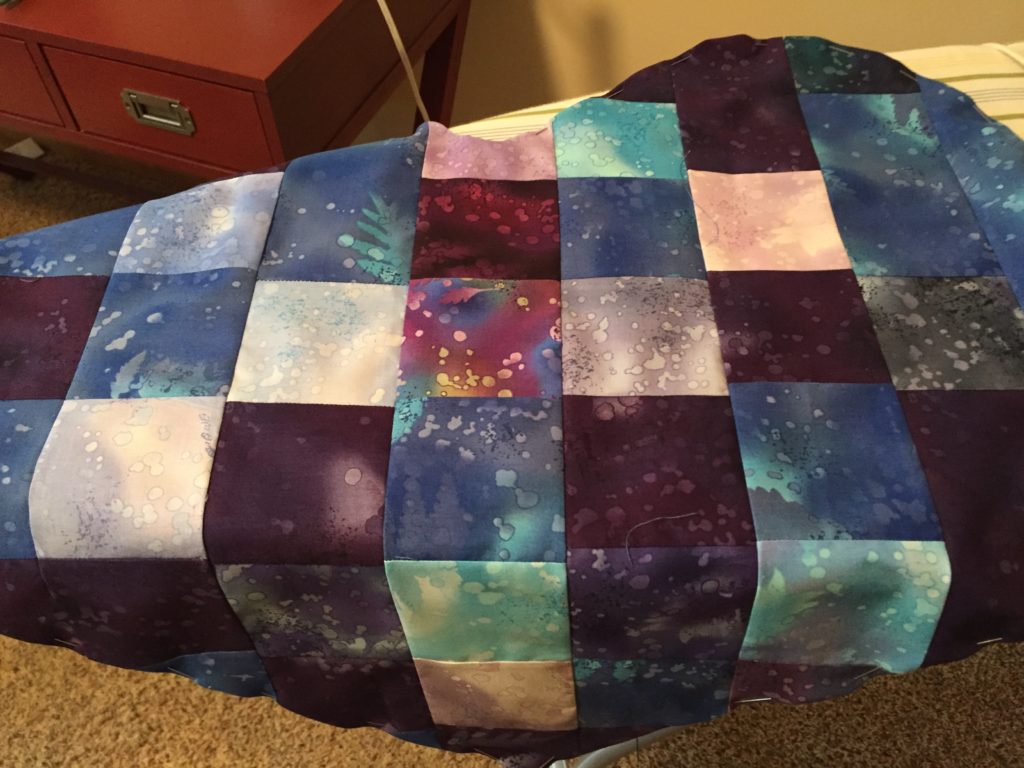
Notice the random fabric colors? Â It came out really well …
The quilt was made in 3 parts and the heart was appliqued into the middle section. Â I had approximately 6 inches on each side of the middle section which is needed to 1) take into account some shrinkage due to the quilting and 2) make sure there was enough fabric on the sides to sew to the other two pieces.
Making A Large Heart Template
I did not pin this quilt but used a basting spray which works a lot better for me.
Once the three pieces are quilted individually, they are hand sewn together. Â Although I thought this would be hard, it’s really easy but takes time.
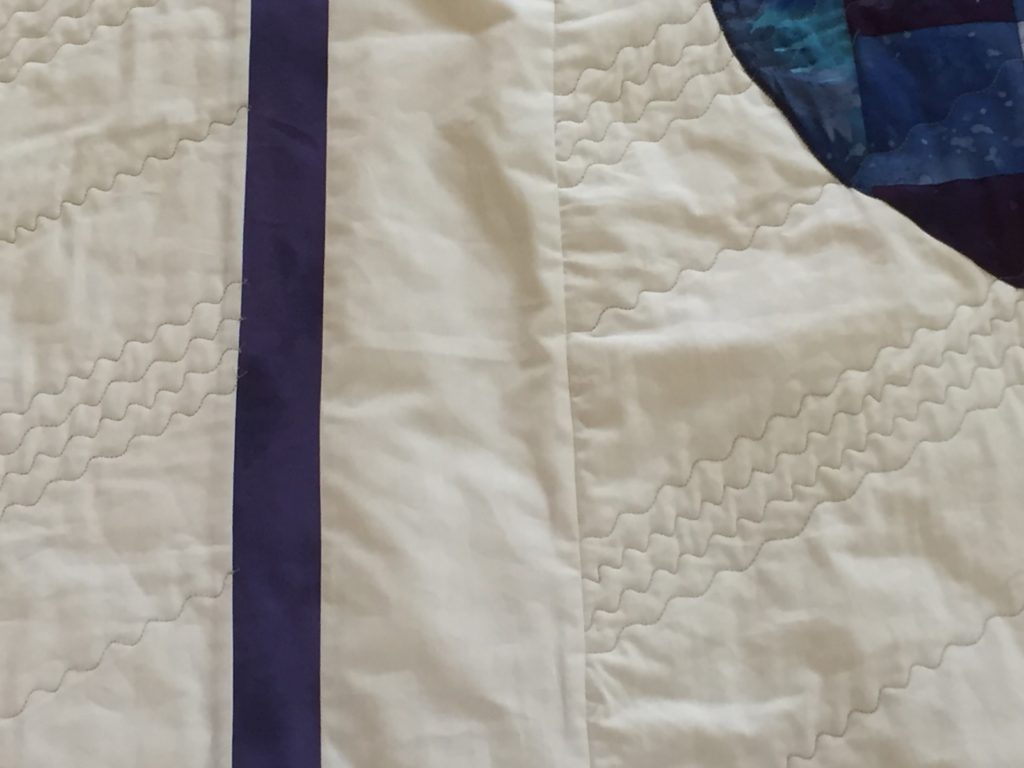
The seam is on the right in the picture below. I decided to use an angled serpentine stitch throughout the quilt but I left the space between the large purple stripe (I added one on each side) unstitched. This actually brings the eye more to the middle of the quilt.
Making A Large Heart Template
Once the three pieces are sewn together I hand sewed the binding on. Â Now ~ THAT took a lot of time as it was my first time doing a binding by hand. Â On this queen quilt, it took this newbie 7 hours. Â It looks really nice though and I think it was worth it.
The back side of this quilt was made with one fabric color ~ purple.
Making A Large Heart Template
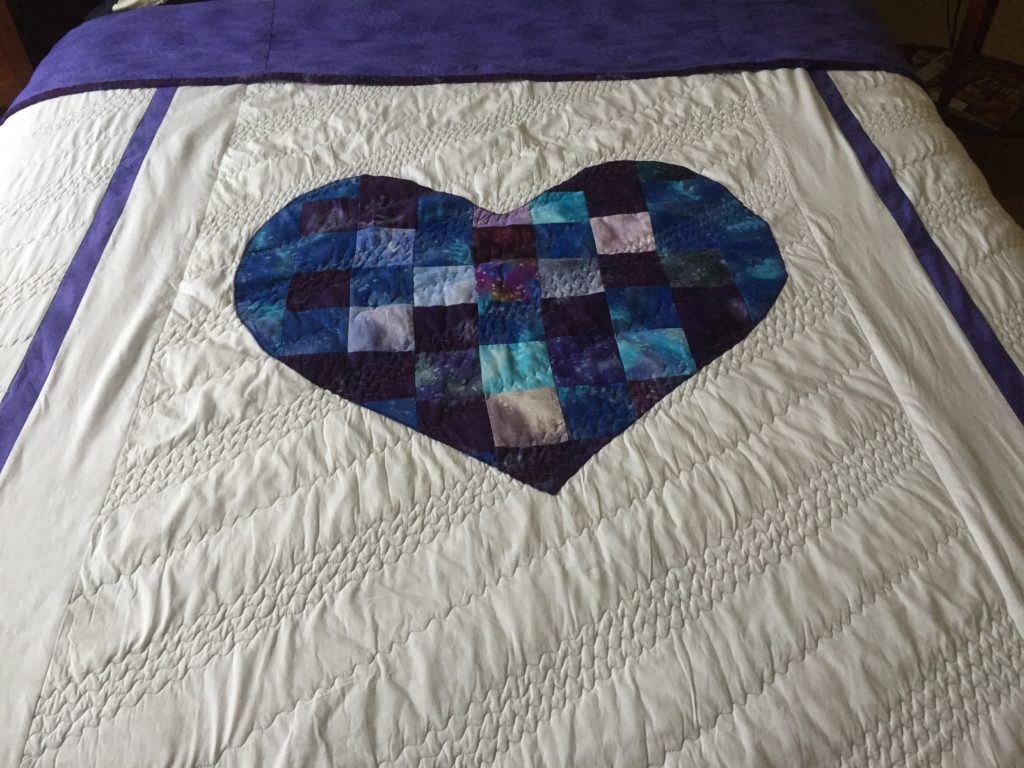
Here’s the quilt on a queen bed ~ it’s washed but not yet ironed so looks more wrinkled than the final quilt.
A Large Heart Quilt
Well, for a fairly new quilter who did her own quilting on a queen sized quilt with her own created heart design, I’d say I did pretty good, eh?
A Large Heart Queen QuiltA Large Heart Queen Quilt
If you’re being challenged by a quilt you think you can’t make, hang in there! Â My next project will be a star quilt. Â Now that should be challenging!
One of the strangest things I had ever seen when we moved to Minnesota was the weather person who stood outside to give us the weather report.
In the summertime, no problem. Â In winter though, these weather folks still go outside in their coats, hats, umbrellas ~ no matter the temperature and report the weather to us.
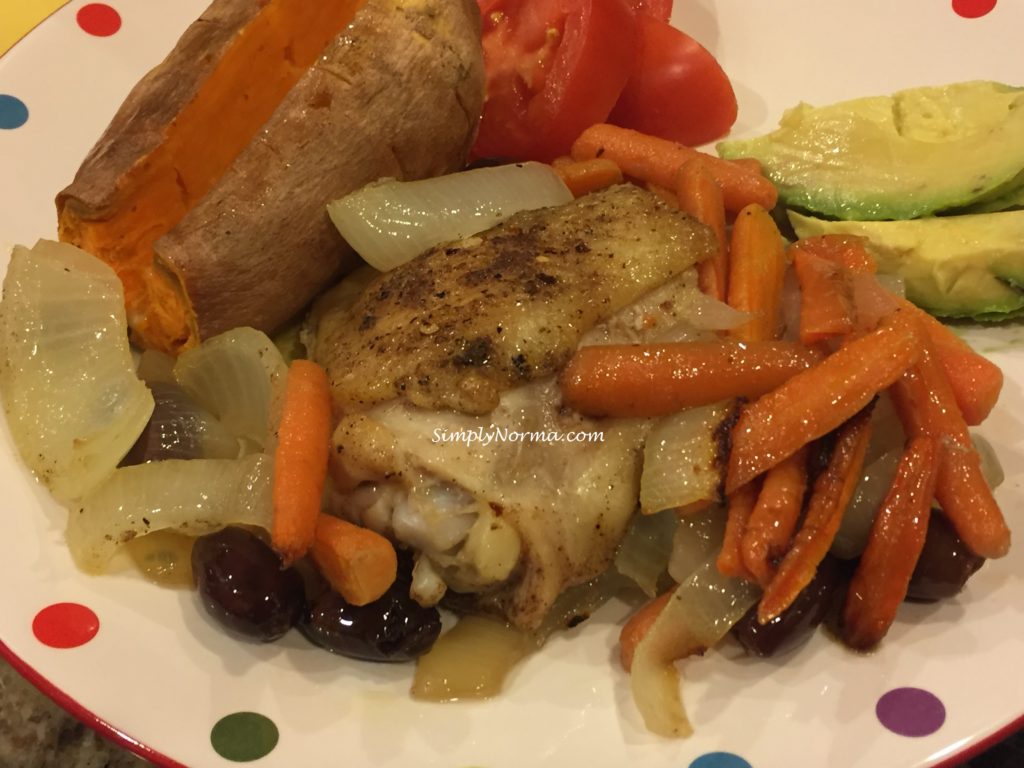
Paleo Baked Chicken Thighs With Carrots and Olives
The end of 2016 crept up rather quickly on me. Â The beginning of 2017 did also.
For the past three months I have been troubled by pain in my right shoulder. Â One night the pain was excruciating and I finally made it to the doctor’s office. Suffice it to say that I am in physical therapy now and recuperating. Â It feels like forever since I’ve posted on this blog although it’s only been a month.
I am currently in downsizing mode ~ getting rid of things I haven’t used in awhile. Â And so I went to the cabinet that holds all of my cookbooks and started going through them one by one.
One of my favorite books is Cooking Light and that’s where I found the inspiration for this recipe. Â I have tweaked it a bit to make it more simple and have removed grapes from the recipe also.
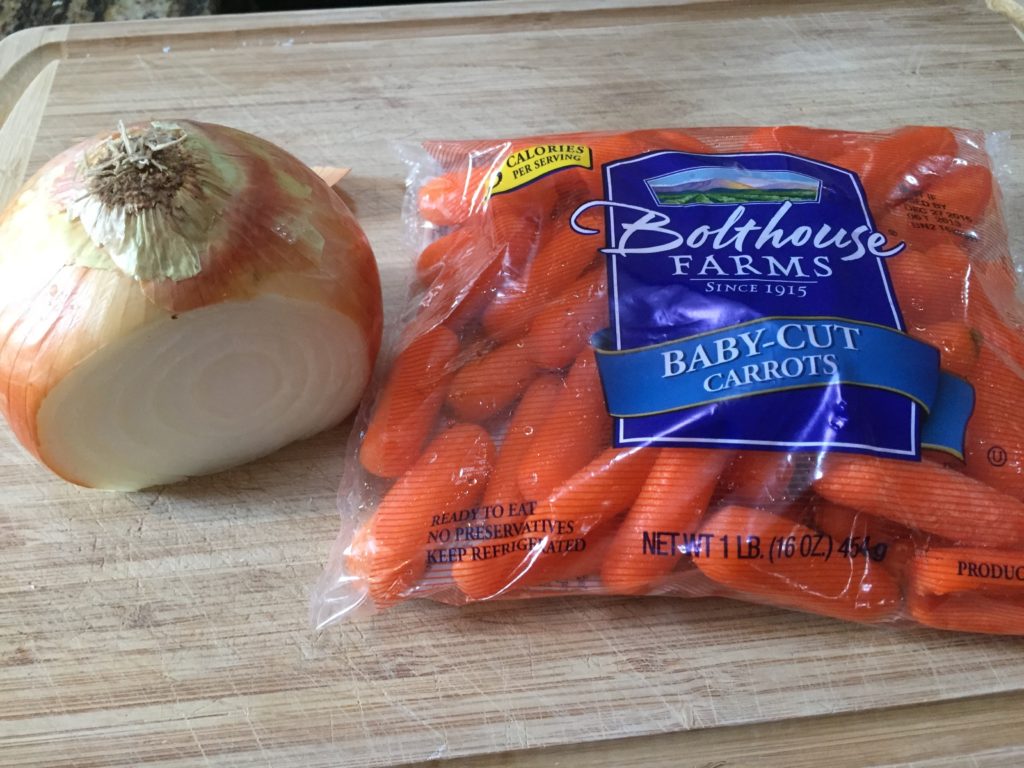
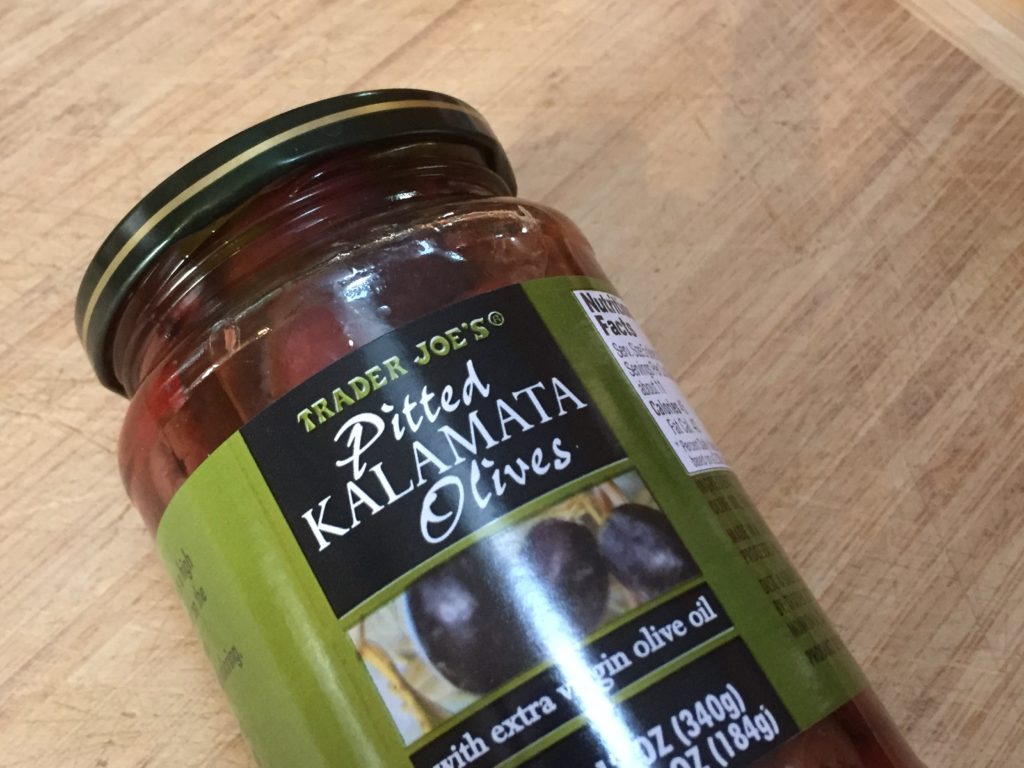
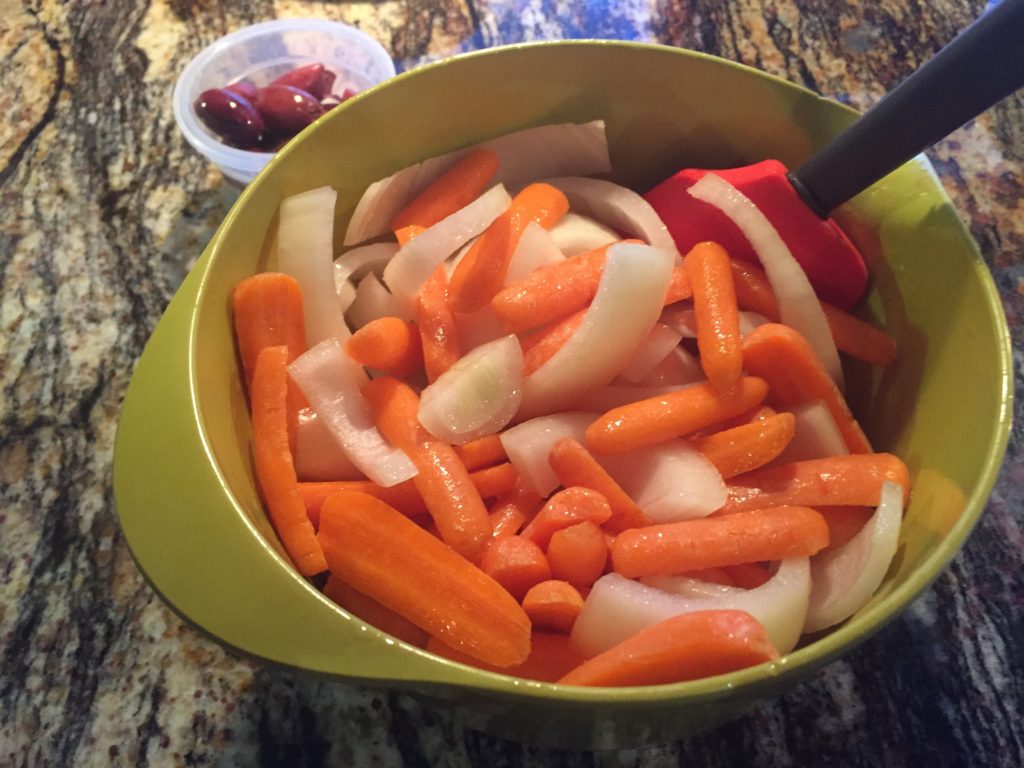
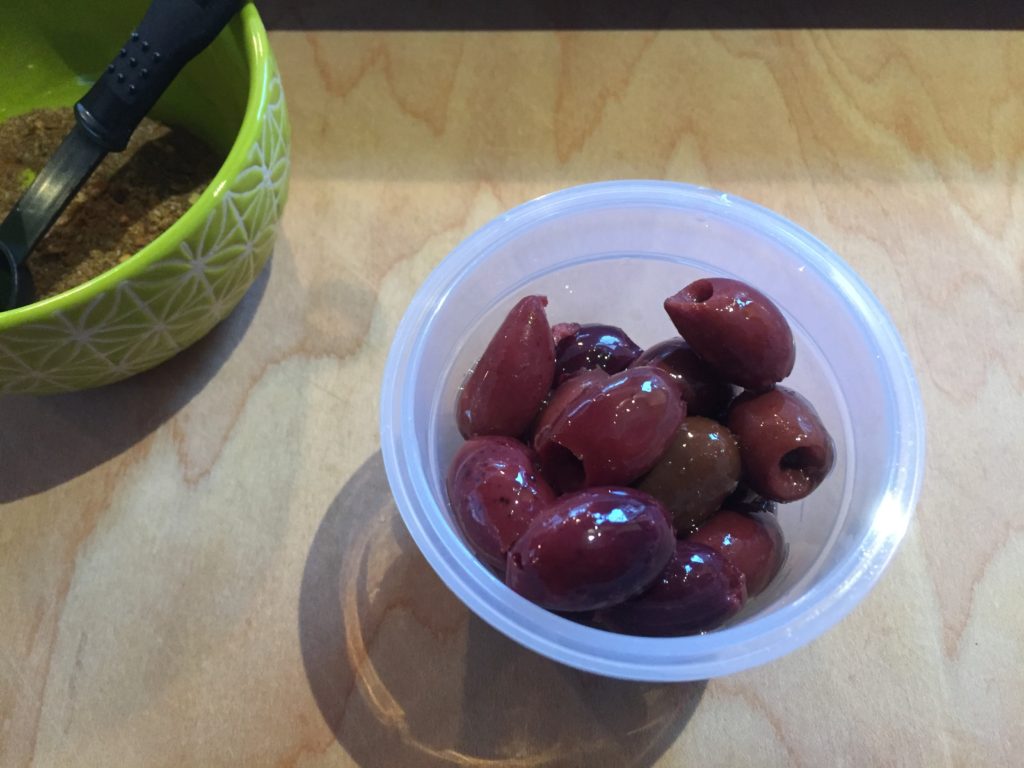
The main ingredients are carrots, kalamata olives (or regular olives if you don’t like the kalamata ones), onion, chicken and spices.
Carrots & OnionKalamata Olives
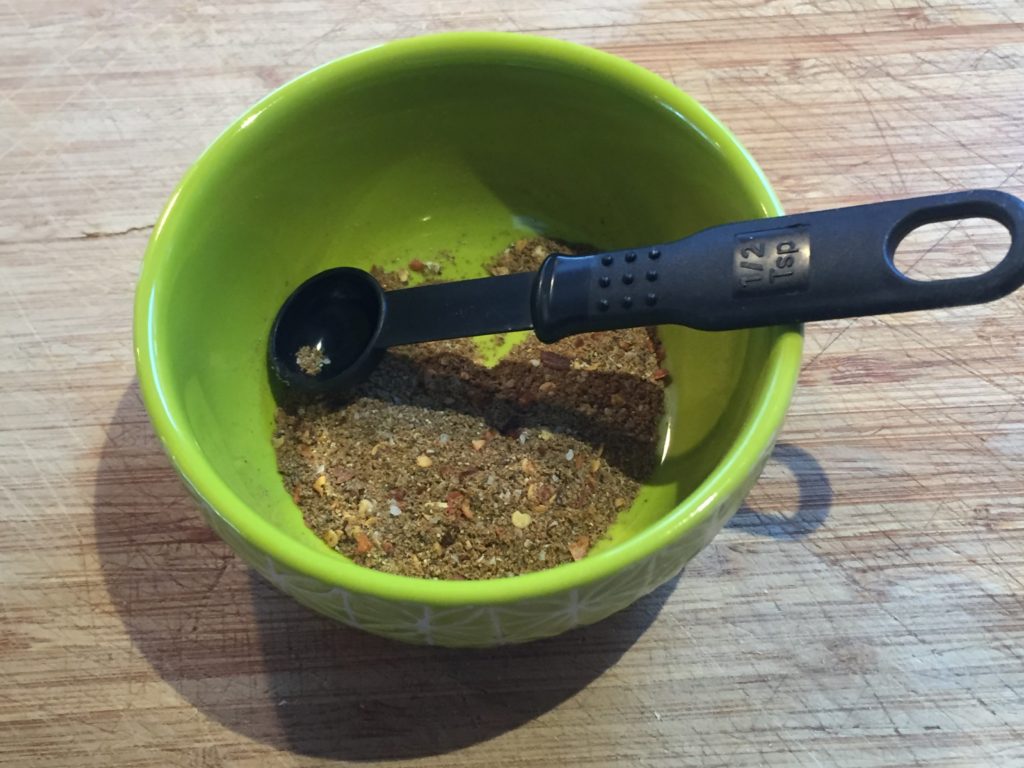
Throughout my short cooking life, I have learned to substitute spices for what I already have ~ well, assuming I like them. Â (laughing)
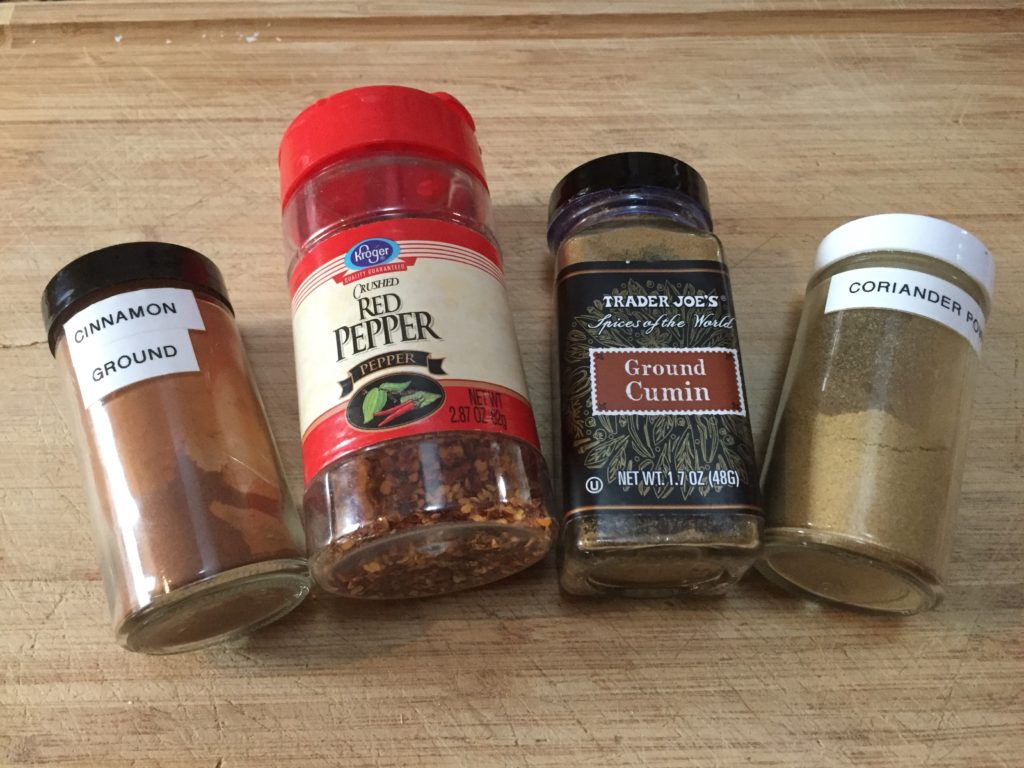
Spices
I chose to use the smaller carrots and sliced them in half. Â Then I sliced the onion, added them to the carrots along with a tablespoon of olive oil and salt then mixed it all together.
Sliced Carrots & Onion
I used a handful of kalamata olives that I added to the carrot mixture after it had been roasted for a little while. Â I really like the taste of these olives ~ they make my mouth happy.
Kalamata Olives
The spice mixture of cinnamon, red pepper flakes, coriander and cumin can really be adapted to whatever spices you like. Go ahead ~ be bold! Â I also added a splash of salt and pepper in the spices. Â It doesn’t look like a lot but it was enough to coat both sides of four chicken thighs.
Spice Mixture
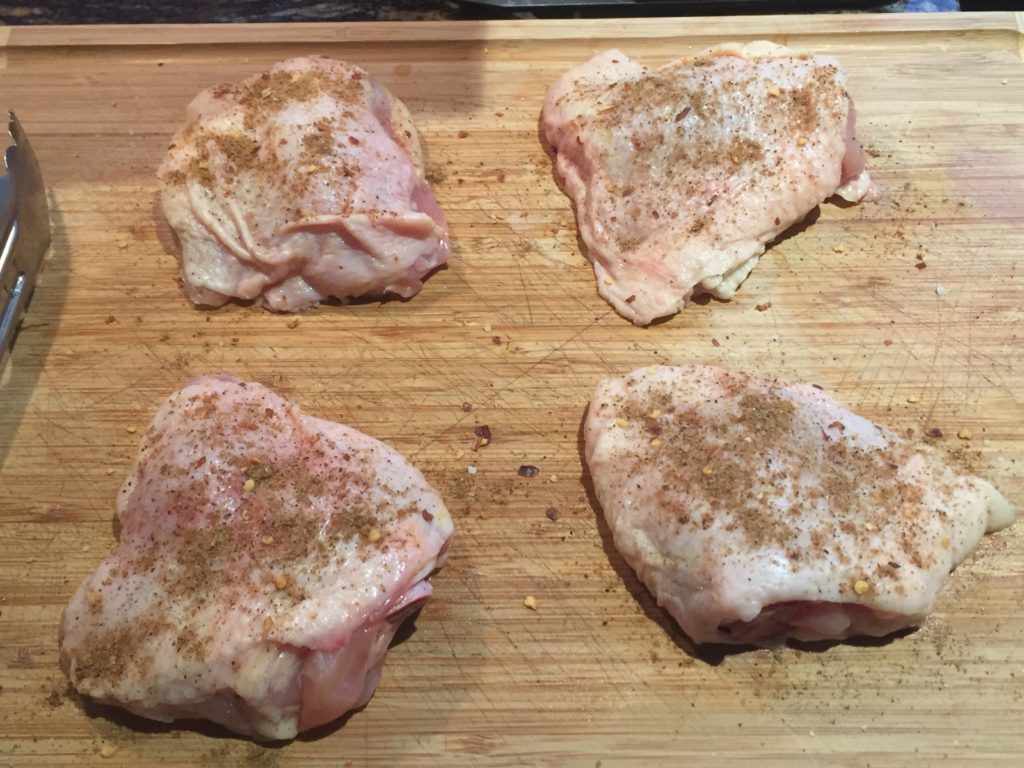
Once I cleaned and trimmed the bone-in skin-on chicken thighs, I patted them dry with a paper towel then sprinkled half of the spices on them.
Spiced Up Chicken Thighs
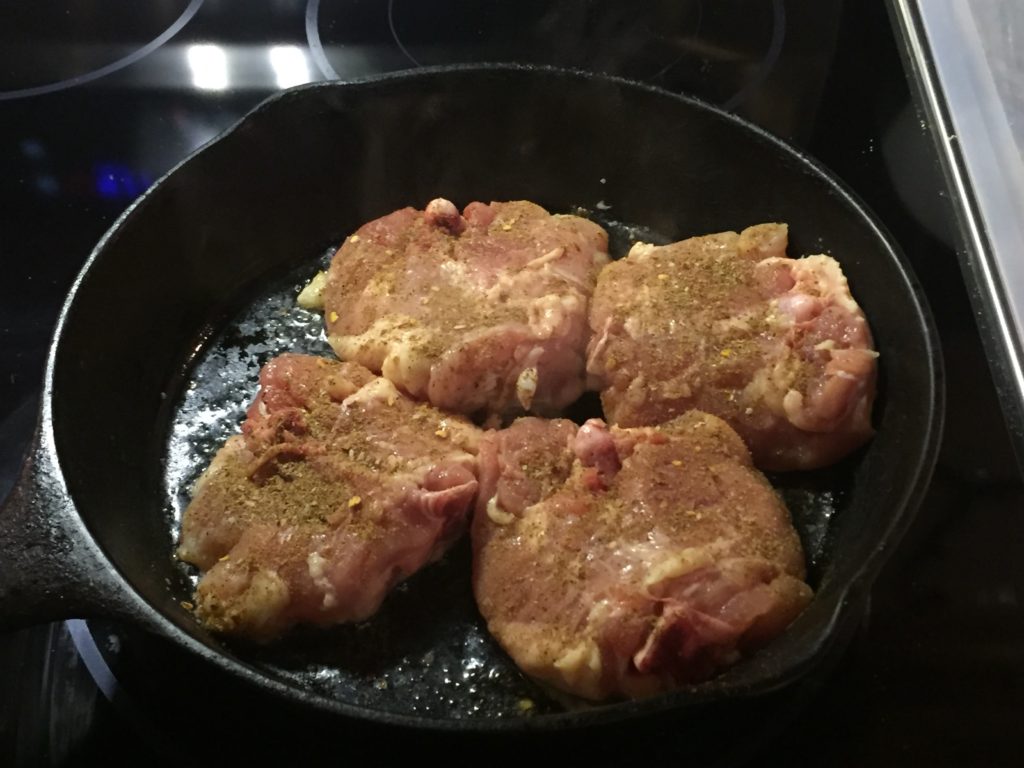
The chicken thighs will be put in an oiled skillet skin side down so they can become crusty-ish. While in the skillet, I seasoned the other side of the chicken thighs.
Seasoned Chicken Thighs
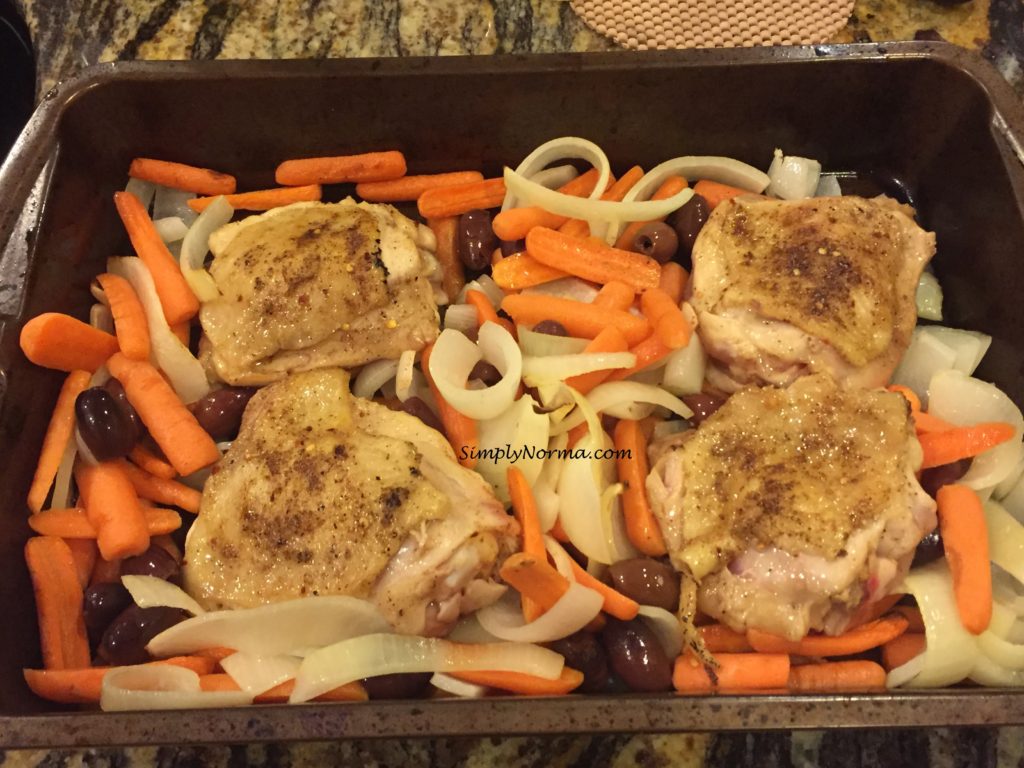
Once the veggies roasted a bit in the oven, I removed them and added the olives to them along with the chicken thighs to bake them together.
Add Chicken Thighs to Roasted Vegetables
Sound easy enough? Â Okay then, here’s the recipe for you.
Paleo Baked Chicken Thighs With Carrots and Olives
During the holiday season, I always try to make easy recipes so I don’t feel stressed. Â Simple recipes take less time ~
I found this paleo recipe (although they don’t call it paleo) in a magazine called Real Simple and the only thing I changed on it was using Beef Short Ribs instead of Strip Steak.
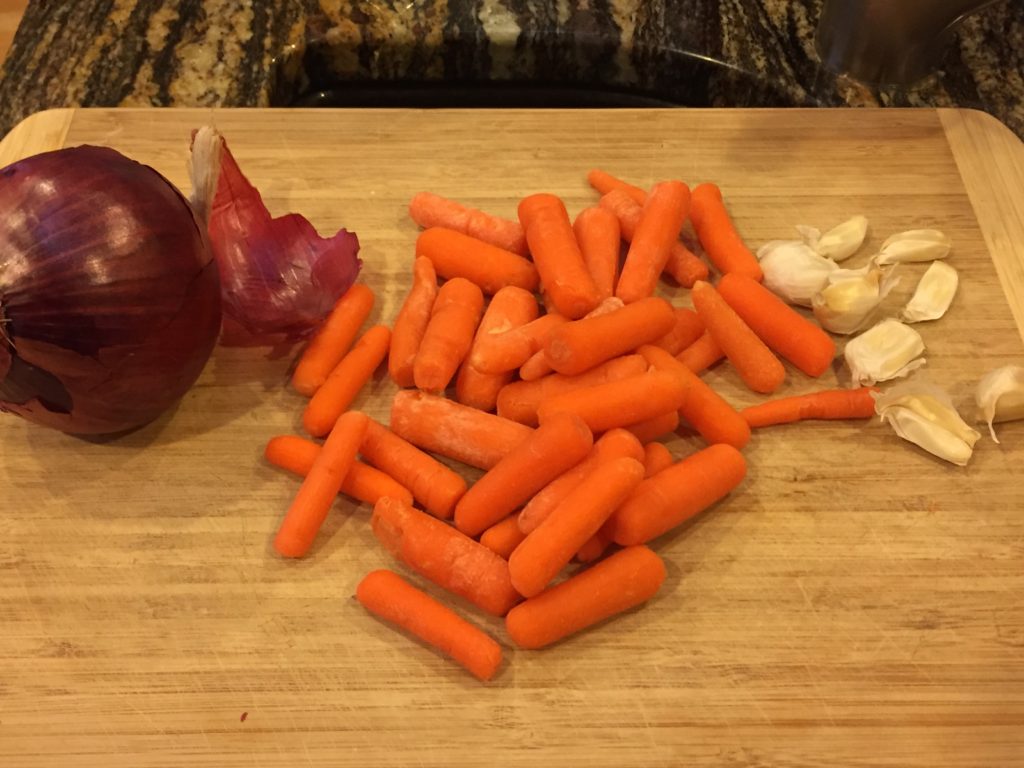
The vegetables are tossed together with 1/4 cup or less of olive oil then seasoned with salt and pepper and anything else you’d like. Â Some of the carrots I had looked a little sad but they were still good ~ no need to throw them out just use them right away, yes?
Side note: Â My mother always said to do your best not to throw food away because there are people starving in China. Â I believe the phrase was used in “the olden days” because at one time there was a famine in China and people were literally starving.
Veggies
The veggies will be put into an oven to roast and while that’s happening, you can season the meat with a combination of coriander, cinnamon, cayenne, and ½ teaspoon salt in a small bowl.  Then you’ll be cooking the meat on a skillet to whatever “doneness” you’d like.
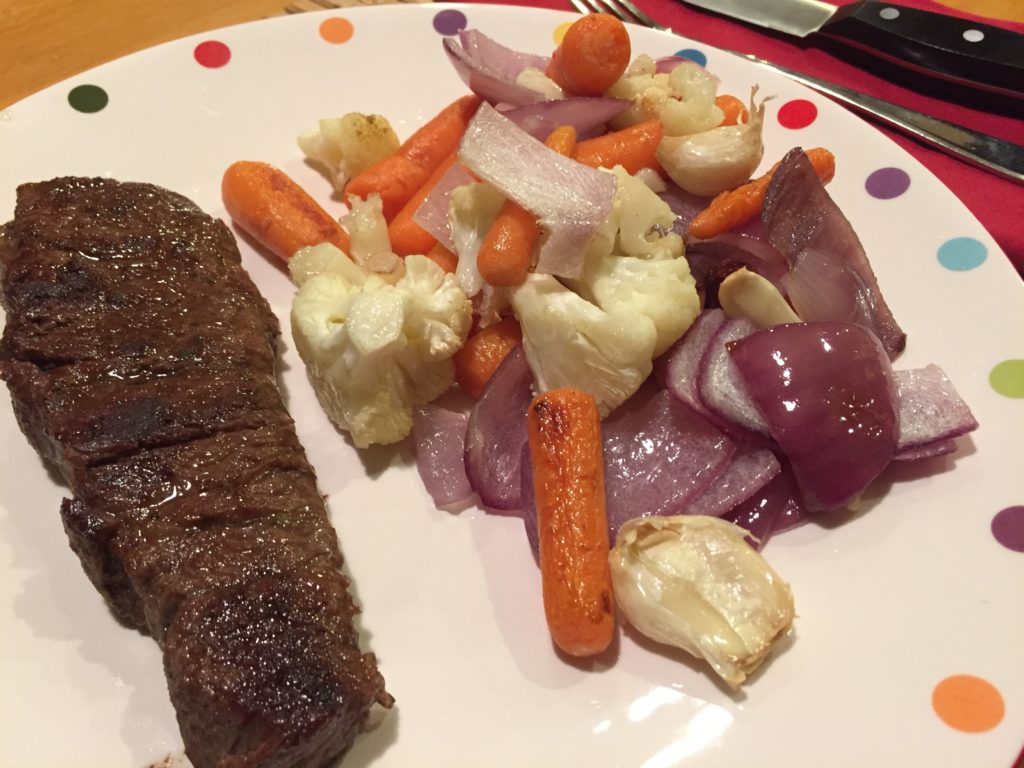
Here’s the final product which was quite delicious …
Beef Short Ribs with Carrots, Onions and Garlic
Oh, I see you noticed that the cloves still have the skins on them ~ well, that’s intentional. Â When you go to eat the garlic whole, the skin will peel right off. Â Pretty cool!
Now ~ since this wasn’t my original recipe, I’ll direct you to where you can see the original one. Â Just click below.
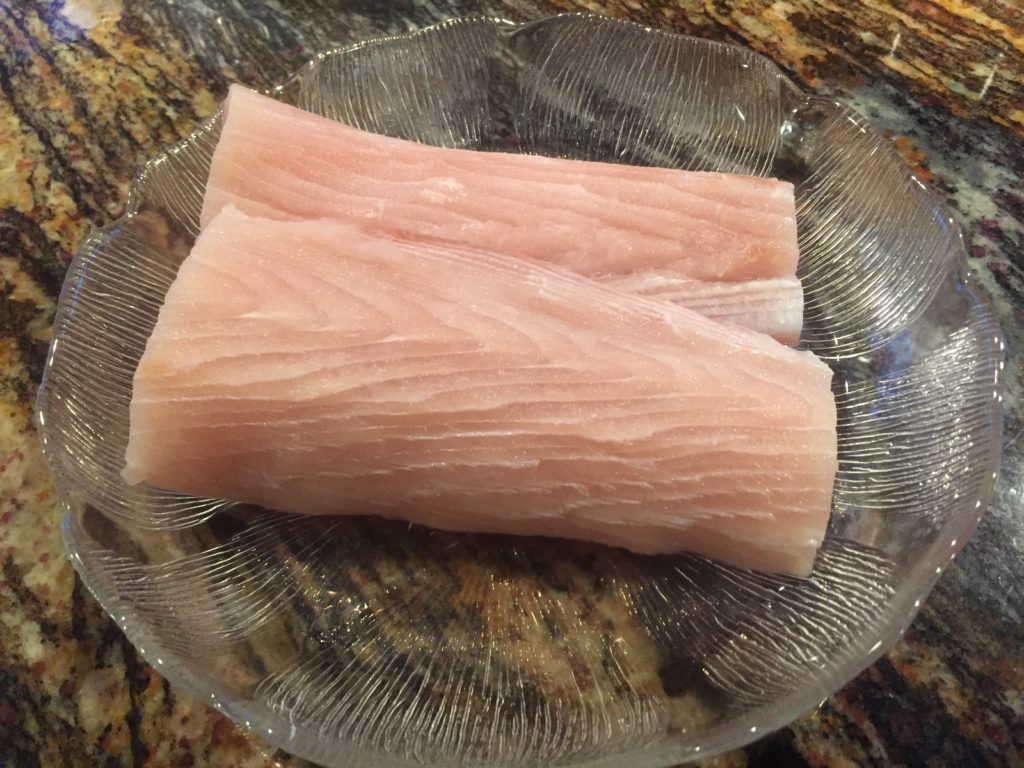
It may sound unusual to some people, but I had never tasted Mahi Mahi until recently. Â And you know what? Â I really like it! Â I even like it better than salmon, halibut or cod. Â It doesn’t seem to get dry as easily as salmon does.
When I first saw it, it looked a little odd to me ~ beefy. I had never seen a beefy looking fish. Â hehe
Uncooked Mahi Mahi
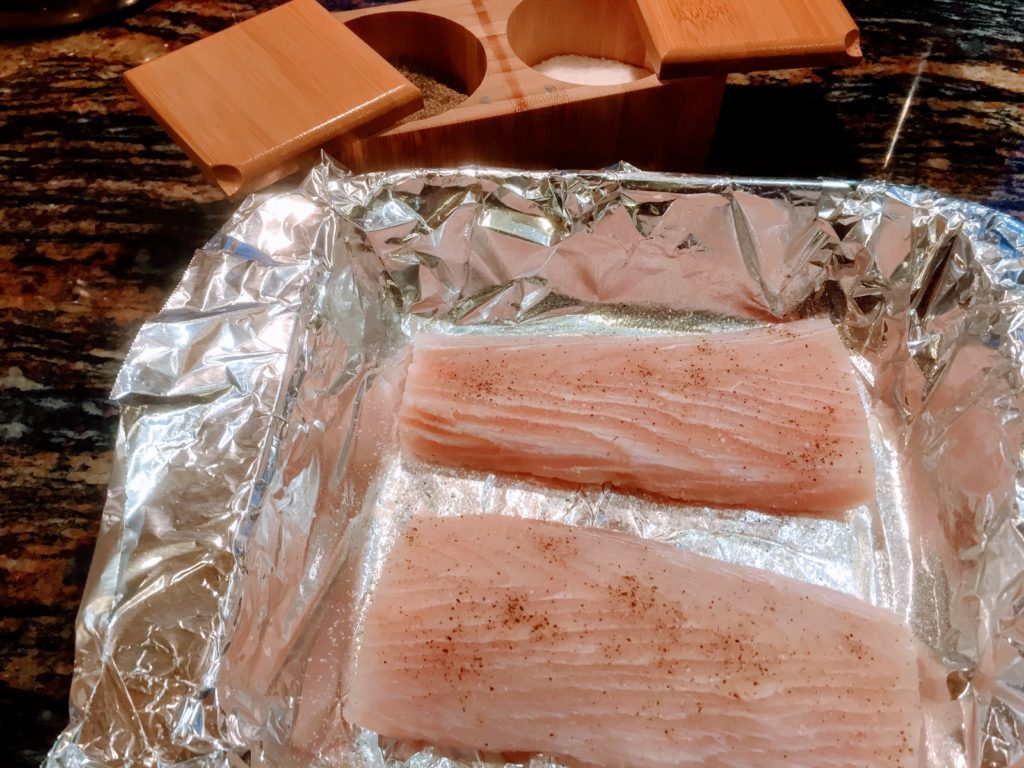
I didn’t want to put too much seasoning on it, so I just sprinkled salt, pepper and a little paprika on top.
Uncooked Mahi Mahi
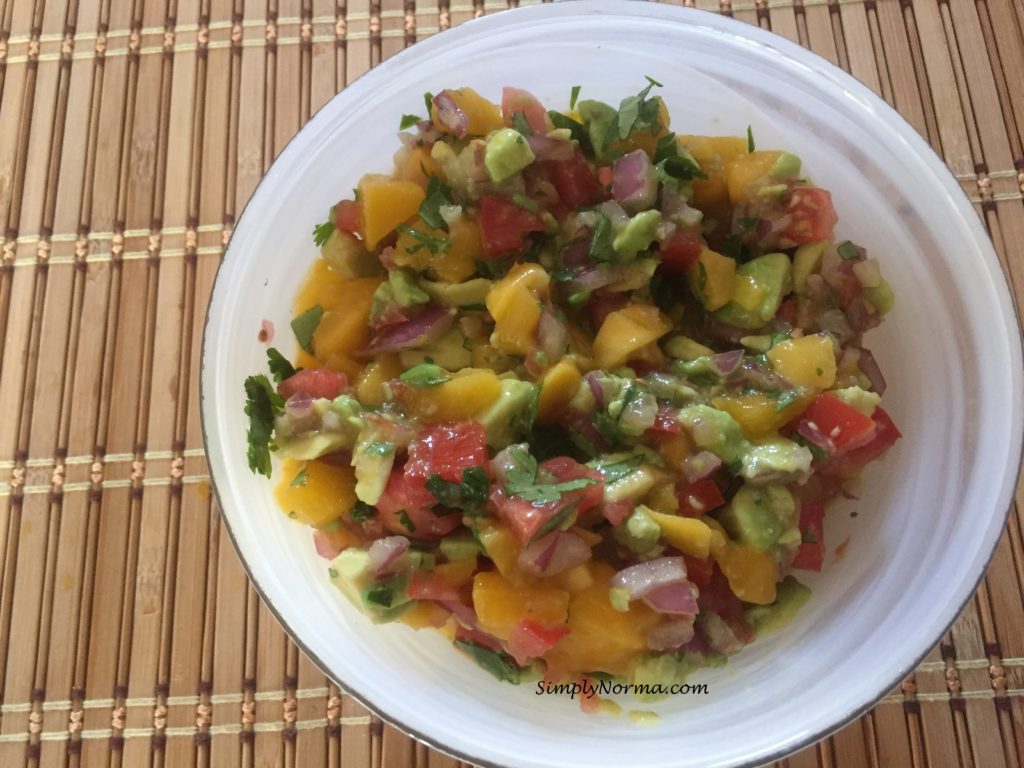
I decided to try it with a Mango Salsa. Â It tasted great! Â Simply easy ….
Mango Salsa
The Mahi Mahi doesn’t take long to bake ~ approximately 10-15 minutes.
Mahi Mahi with Mango Salsa
I served this recipe with a carrot/parsnip side dish.