I’ve been spending a lot of time teaching myself to machine sew and quilt — did I tell ya? I’m still searching for and making new paleo recipes but I’m doing those twice a week or so instead of trying a new recipe a day. So, hang on! More recipes are on the way.
Sewing is enjoyable to me — I’m surprised that I like it so much. And I’m learning the importance of making sure that when I follow a pattern and cut the fabric precision is very important — an 1/8 of an inch here or there makes a huge difference!
The first quilt I made was a lap quilt. The blocks were already cut (so easy!) and all I had to do was sew the blocks together, add the batting and backing and then sew the three together.
I did what is called “sewing in the ditch.” You simply sew in the same places where you pieced the fabric together. It takes practice to this so that only the thread on the back of the quilt shows. I later found out that I could have used “transparent” or “clear” thread — then it would have shown even less but as it was, my sewing was not as straight as it could have been.
Some other things I’ve learned as a beginner:
- Get the fabric ready to sew by washing it if it’s not synthetic as it gets out the smell and/or chemicals that are on it and will also shrink if it’s susceptible to that (you want to know about shrinkage ahead of time).
- Press your fabric to get the wrinkles out but don’t iron it. What I mean by this is use a steam iron and put the iron on the fabric without moving it around. Just “press.”
- There are a couple of ways to press the seams — open or closed (aka off to the side). Everyone has their own opinion on this so you’ll have to practice on your own to figure out what works best for you.
- Click here for a great site on getting your fabric ready to cut.
- You can “pin” or baste a quilt. I have yet to baste but that what I will use on the next quilt I’m making.
- I’ve been taking classes through a website called Craftsy. Some classes are free and some you pay for but if you sign up for their emails they occasionally have 50% off days and you can take advantage of those classes. Â I really enjoy them as you can view the videos at your own pace, ask questions of the instructor (they normally take a day to respond) and make notes. (One note: make sure you read the description and FAQ’s (Frequently Asked Questions) before you sign up to make sure the class is not too advanced for you. I had to back out of one class as it was too advanced for me.)
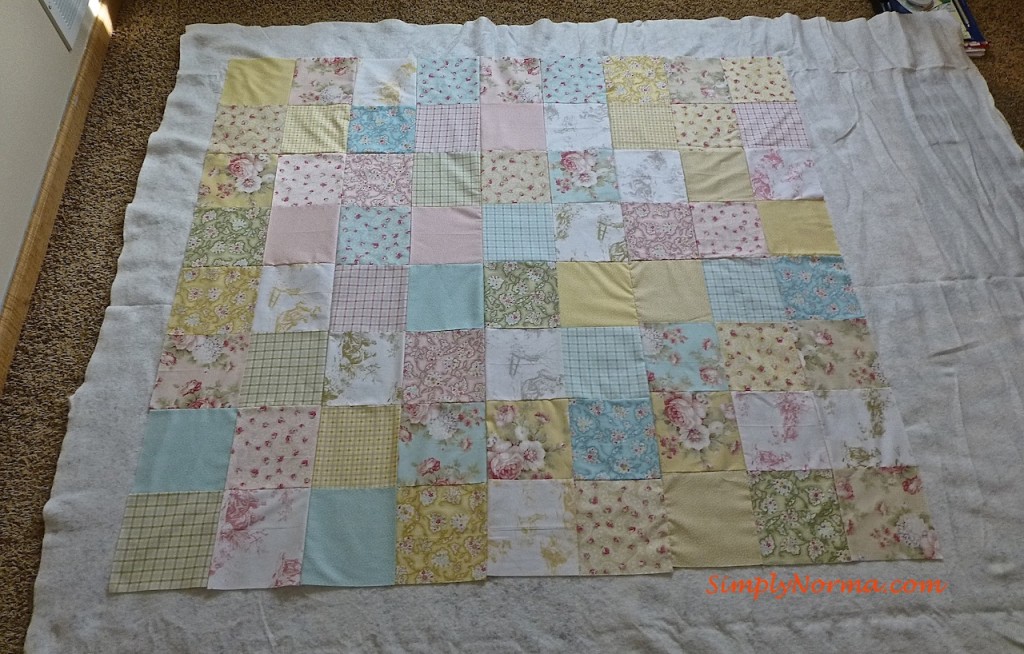
Here is a picture of the lap quilt that I made when I was putting it together, i.e. the top, batting and back were not stitched together yet.
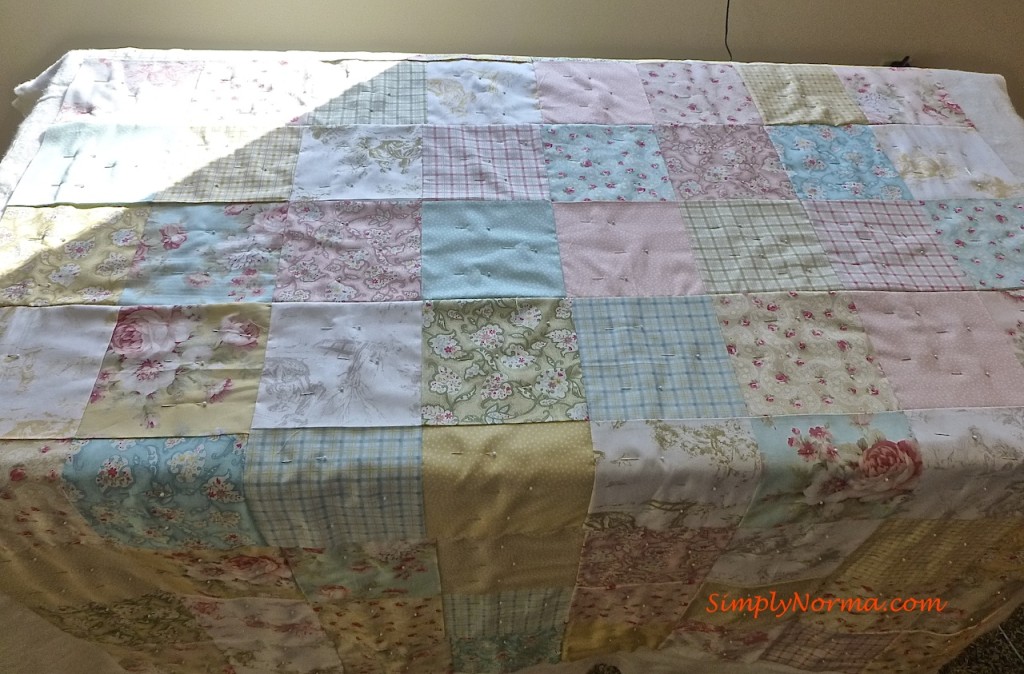
Once I laid it out, I put all three layers on a table and pinned them together to get it ready for sewing. (This is where you can baste instead of pinning — you don’t want your fabric wiggling around while you’re sewing.)
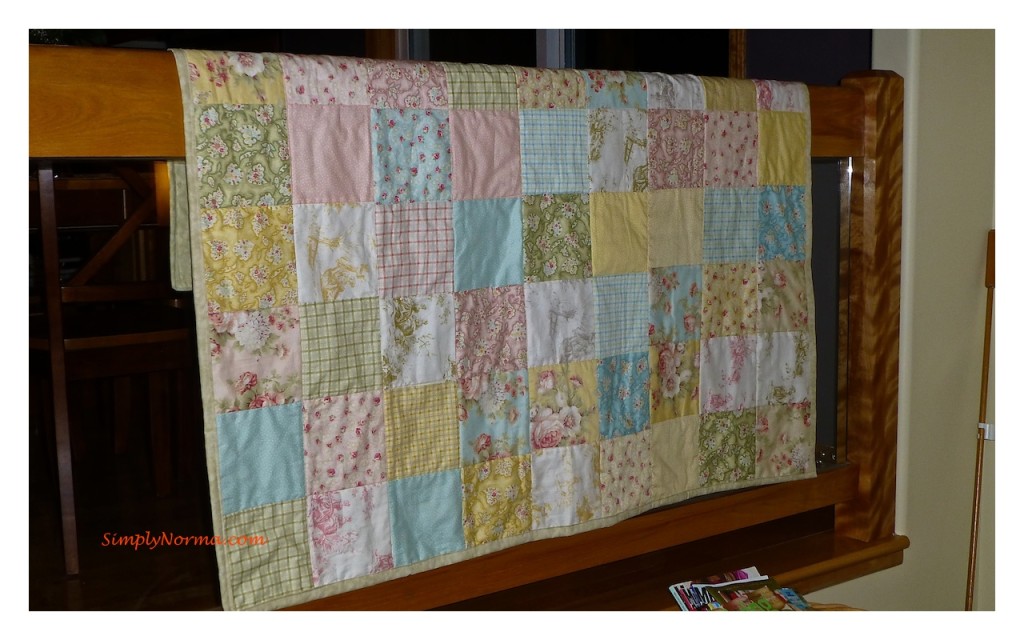
Here’s what the quilt — in final form — looked like
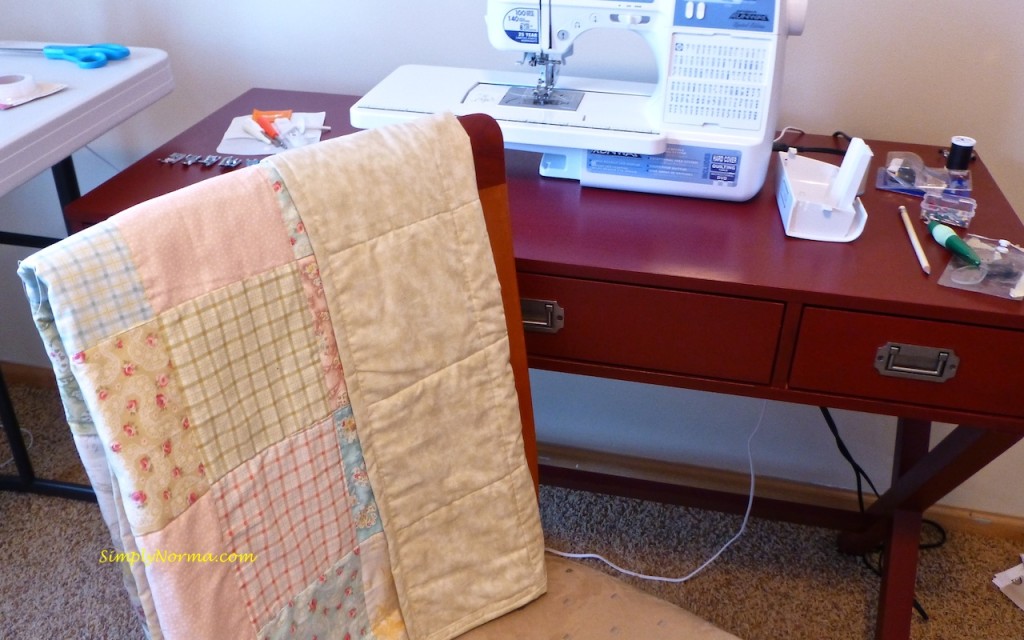
I made the other side of the quilt beige-ish.
My  next quilt project was going to be a king size quilt as I took a class on how to make a quilt in three pieces and then sew it together but I decided against it because 1) I simply haven’t practiced enough and 2) I couldn’t find a good pattern that I really liked.
Instead, I am making a large “throw.” Want a peek at what that will look like? Â I’ve already cut the fabric pieces and am in the process of sewing the top now.
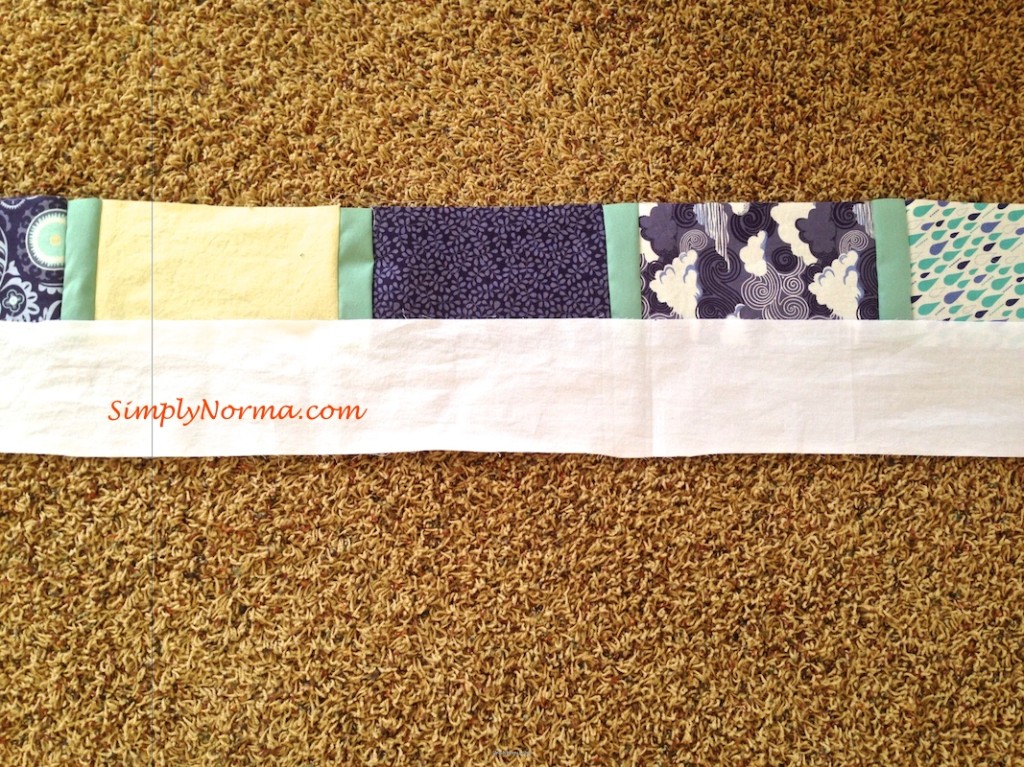
Doesn’t look like much yet, eh? Â Well, you just wait! (laughing) Â It’s starting to look pretty although I really am learning the importance of making sure the fabric is cut precisely (I just can’t emphasize that enough.) Â And no, I don’t use scissors for cutting the fabric — I find it’s essential to use a rotary cutter along with a cutting mat and a long ruler.
I must warn you — sewing and quilting can become a very expensive hobby. I’m fortunate that my neighbor is moving and has given me lots of fabric and batting that he was going to throw or give away to a second hand store.
Well — onward!

