Our outside adirondack chair had gotten to look pretty raggedy. Parts of it were peeling and other parts were okay. What’s a woman to do?
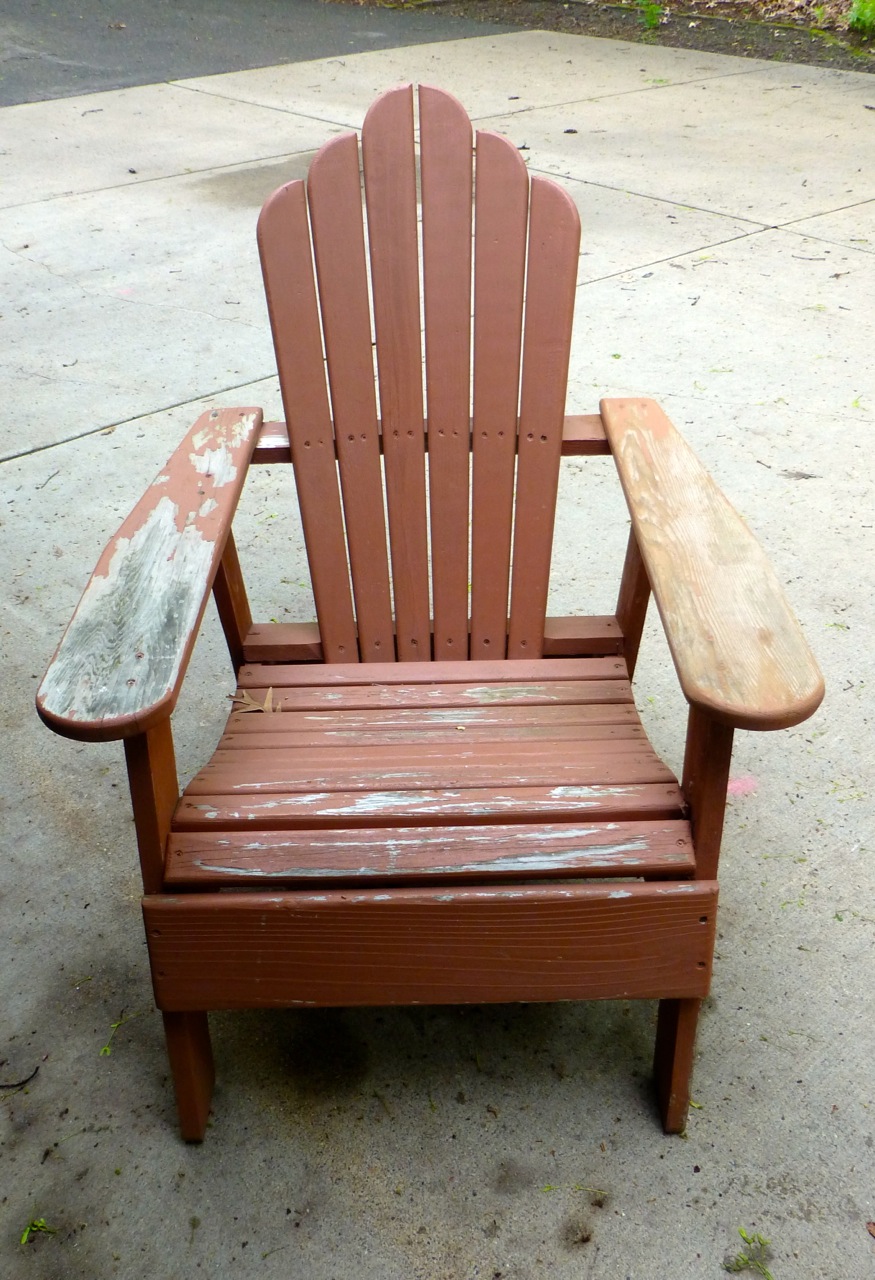
Of course! I decided to make this one of my summer projects and it came out beautifully!
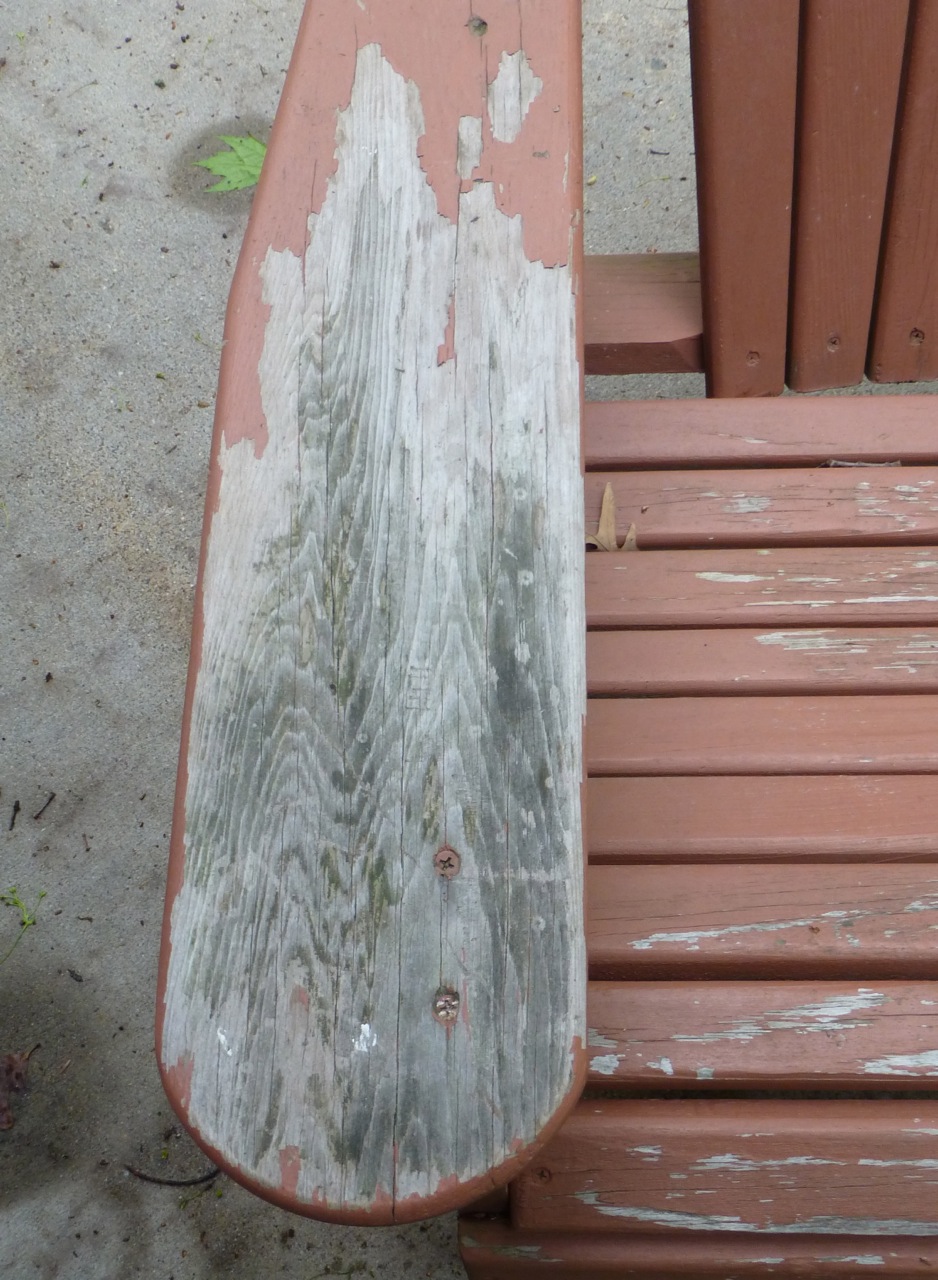
After reading all the “google” suggestions, I put most of the suggestions together (they didn’t seem to agree) and go with my gut. My chair had water damage from being neglected for so long.
I was told by a friend whose a carpenter that I should strip the whole chair. Uh, no. That’s not what I decided to do. Instead, I used different grits of sandpaper on different parts of the chair. On the parts that didn’t have any peeling or were semi-peeling, I used 80 grit sandpaper  to roughen up the stain so the new stain would adhere to it. I was not looking to sand the old stain off — just “rough it up.” (This is one of those times in my life where I can say I “roughed” something up. – laughing)
On the arm of the chair that had the water damage, I used the 80 grit sandpaper then 100 grit then I finished it off with a 220 grit to make it very smooth.
After I finished all the sanding (including the underneath) I took a clean almost wet rag and wiped off the sand from the chair. Then I let the chair dry overnight.
The next day, I took my hand and felt the wood to make sure that nothing needed to be redone. Now I was ready to stain the chair.
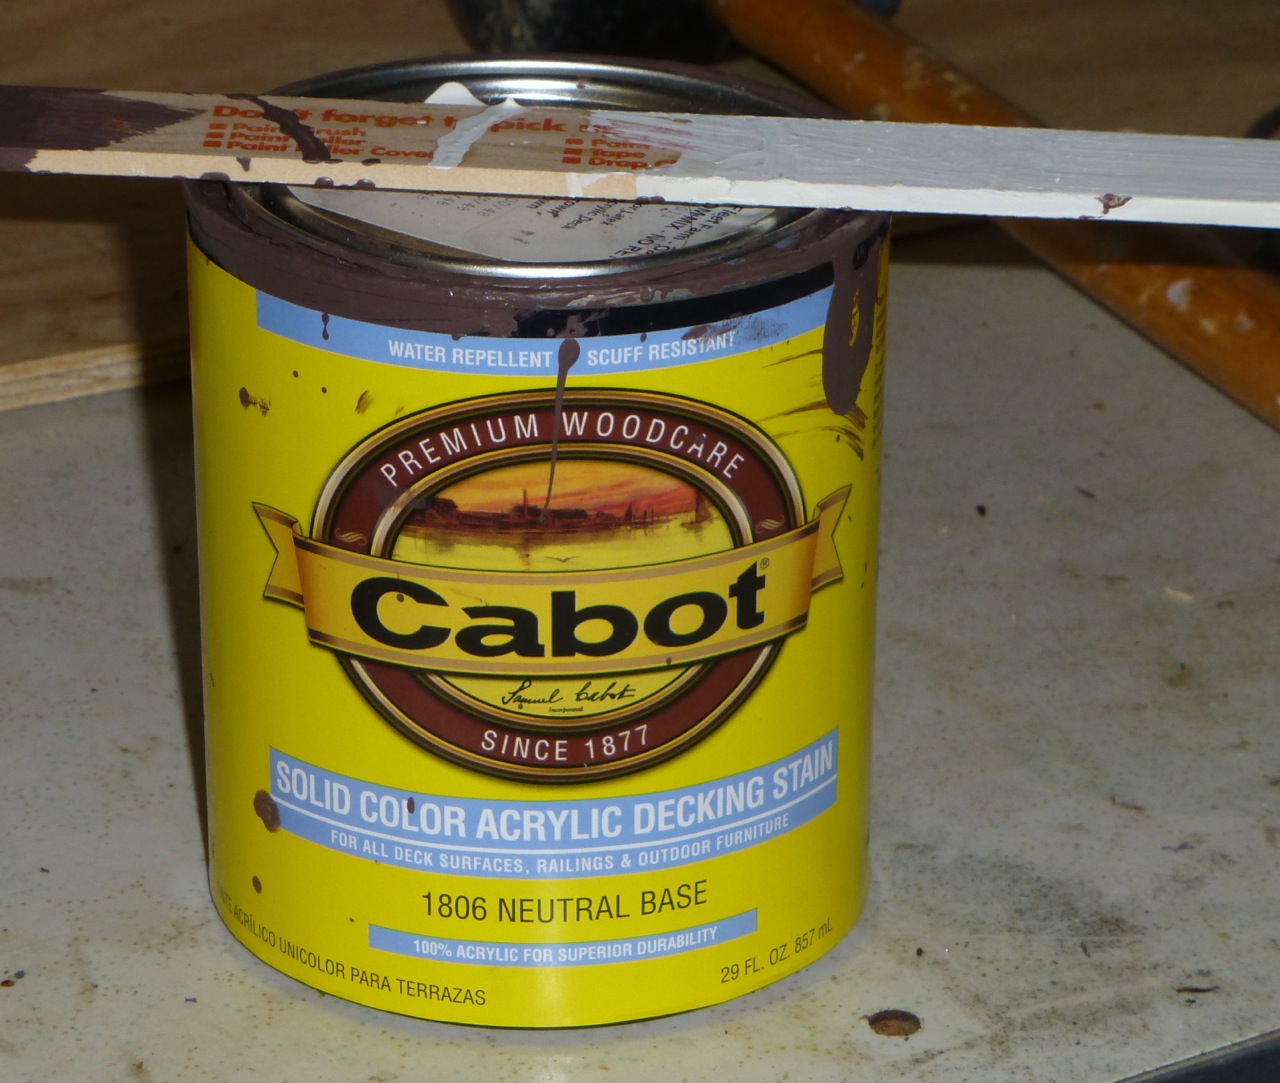
In the garage, I had some leftover Cabot deck stain and pondered whether to use it on this chair. The color was much darker and that would be a good thing as it would cover the “reddish” color stain very well.
Using a natural bristle brush, I stained the top of the chair and allowed it to dry. The next morning I stained the bottom of the chair and allowed it to dry.
I stained each side three times and allowed overnight drying each time. It appears to have worked perfectly.
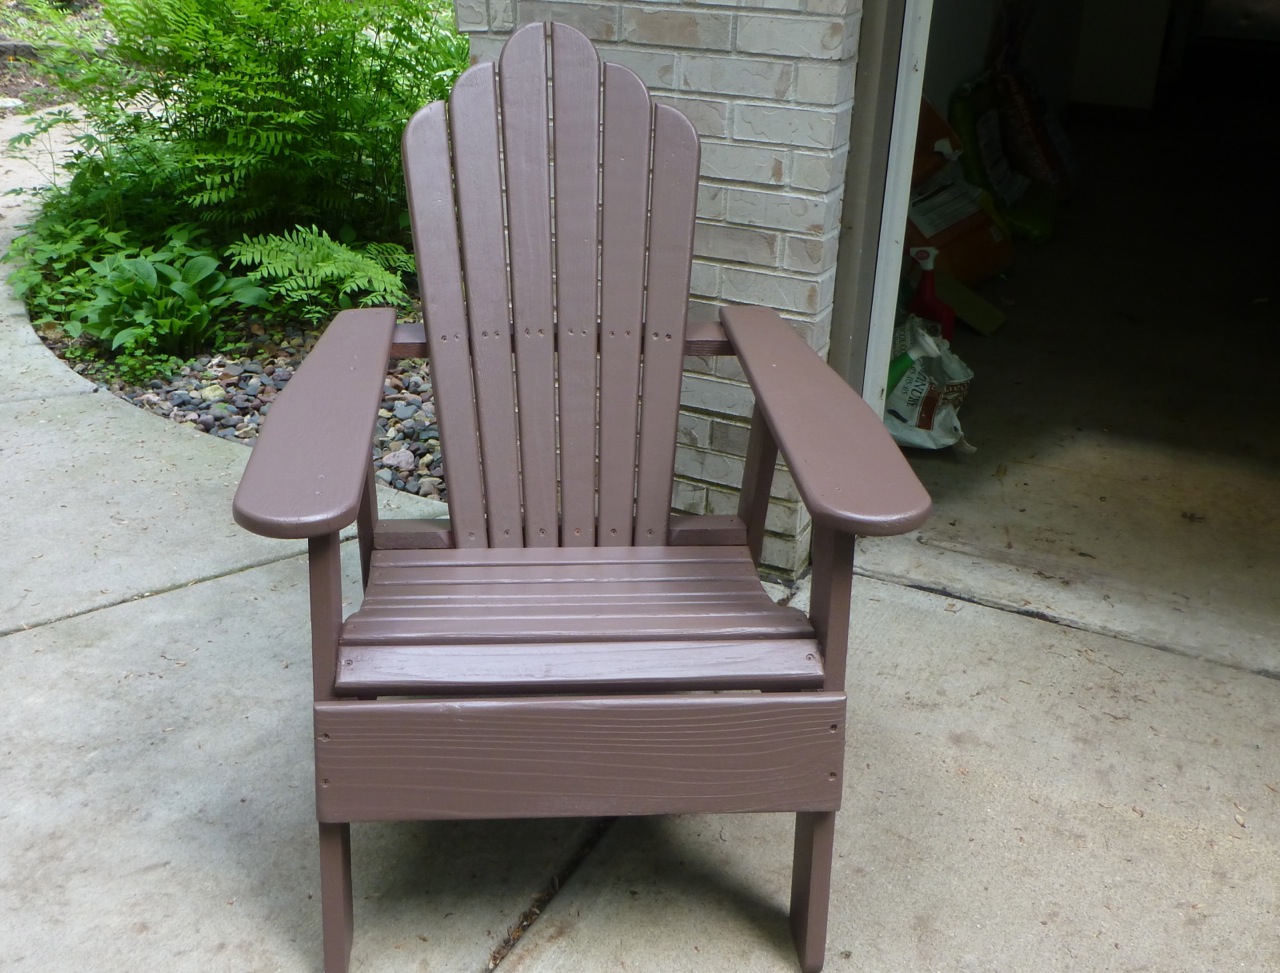
I could have applied a clear polyurethane varnish on top of the stain but I decided not to as I think three coats should be plenty. Overall, the project took 3 weeks because I had to have a “life” outside of working on the adirondack.
Now — on to another summer project. And I bet  you thought all I did was cook, eh?
[amazon_link id=”B000BZYXMU” target=”_blank” container=”” container_class=”” ] [/amazon_link]

